Get started with the Trezor Safe 3
The Trezor Safe 3 was released just before this change took effect. The 2023 version came with 12-word wallet backup cards labeled as recovery seed, while the 2024 version includes 20-word wallet backup cards.
For more details, please read our wallet backup card article.
To avoid confusion, this article will refer to it as wallet backup (recovery seed) so it aligns with both the new terminology and what’s printed on older backup cards.
This article walks you through the process of initializing your Trezor Safe 3 hardware wallet for use with Trezor Suite.
What you'll need
- Trezor Safe 3 + USB connecting cable
- Trezor Suite desktop app (alternatively you can use Trezor Suite for web)
- Wallet backup (recovery seed) card and a pen
- About 15 minutes
Process
- Trezor Suite will prompt you to connect your device. You’ll also have the option to opt in or out of anonymous data collection — this isn’t mandatory, but it helps us with bug fixes and performance improvements, so we recommend allowing it.
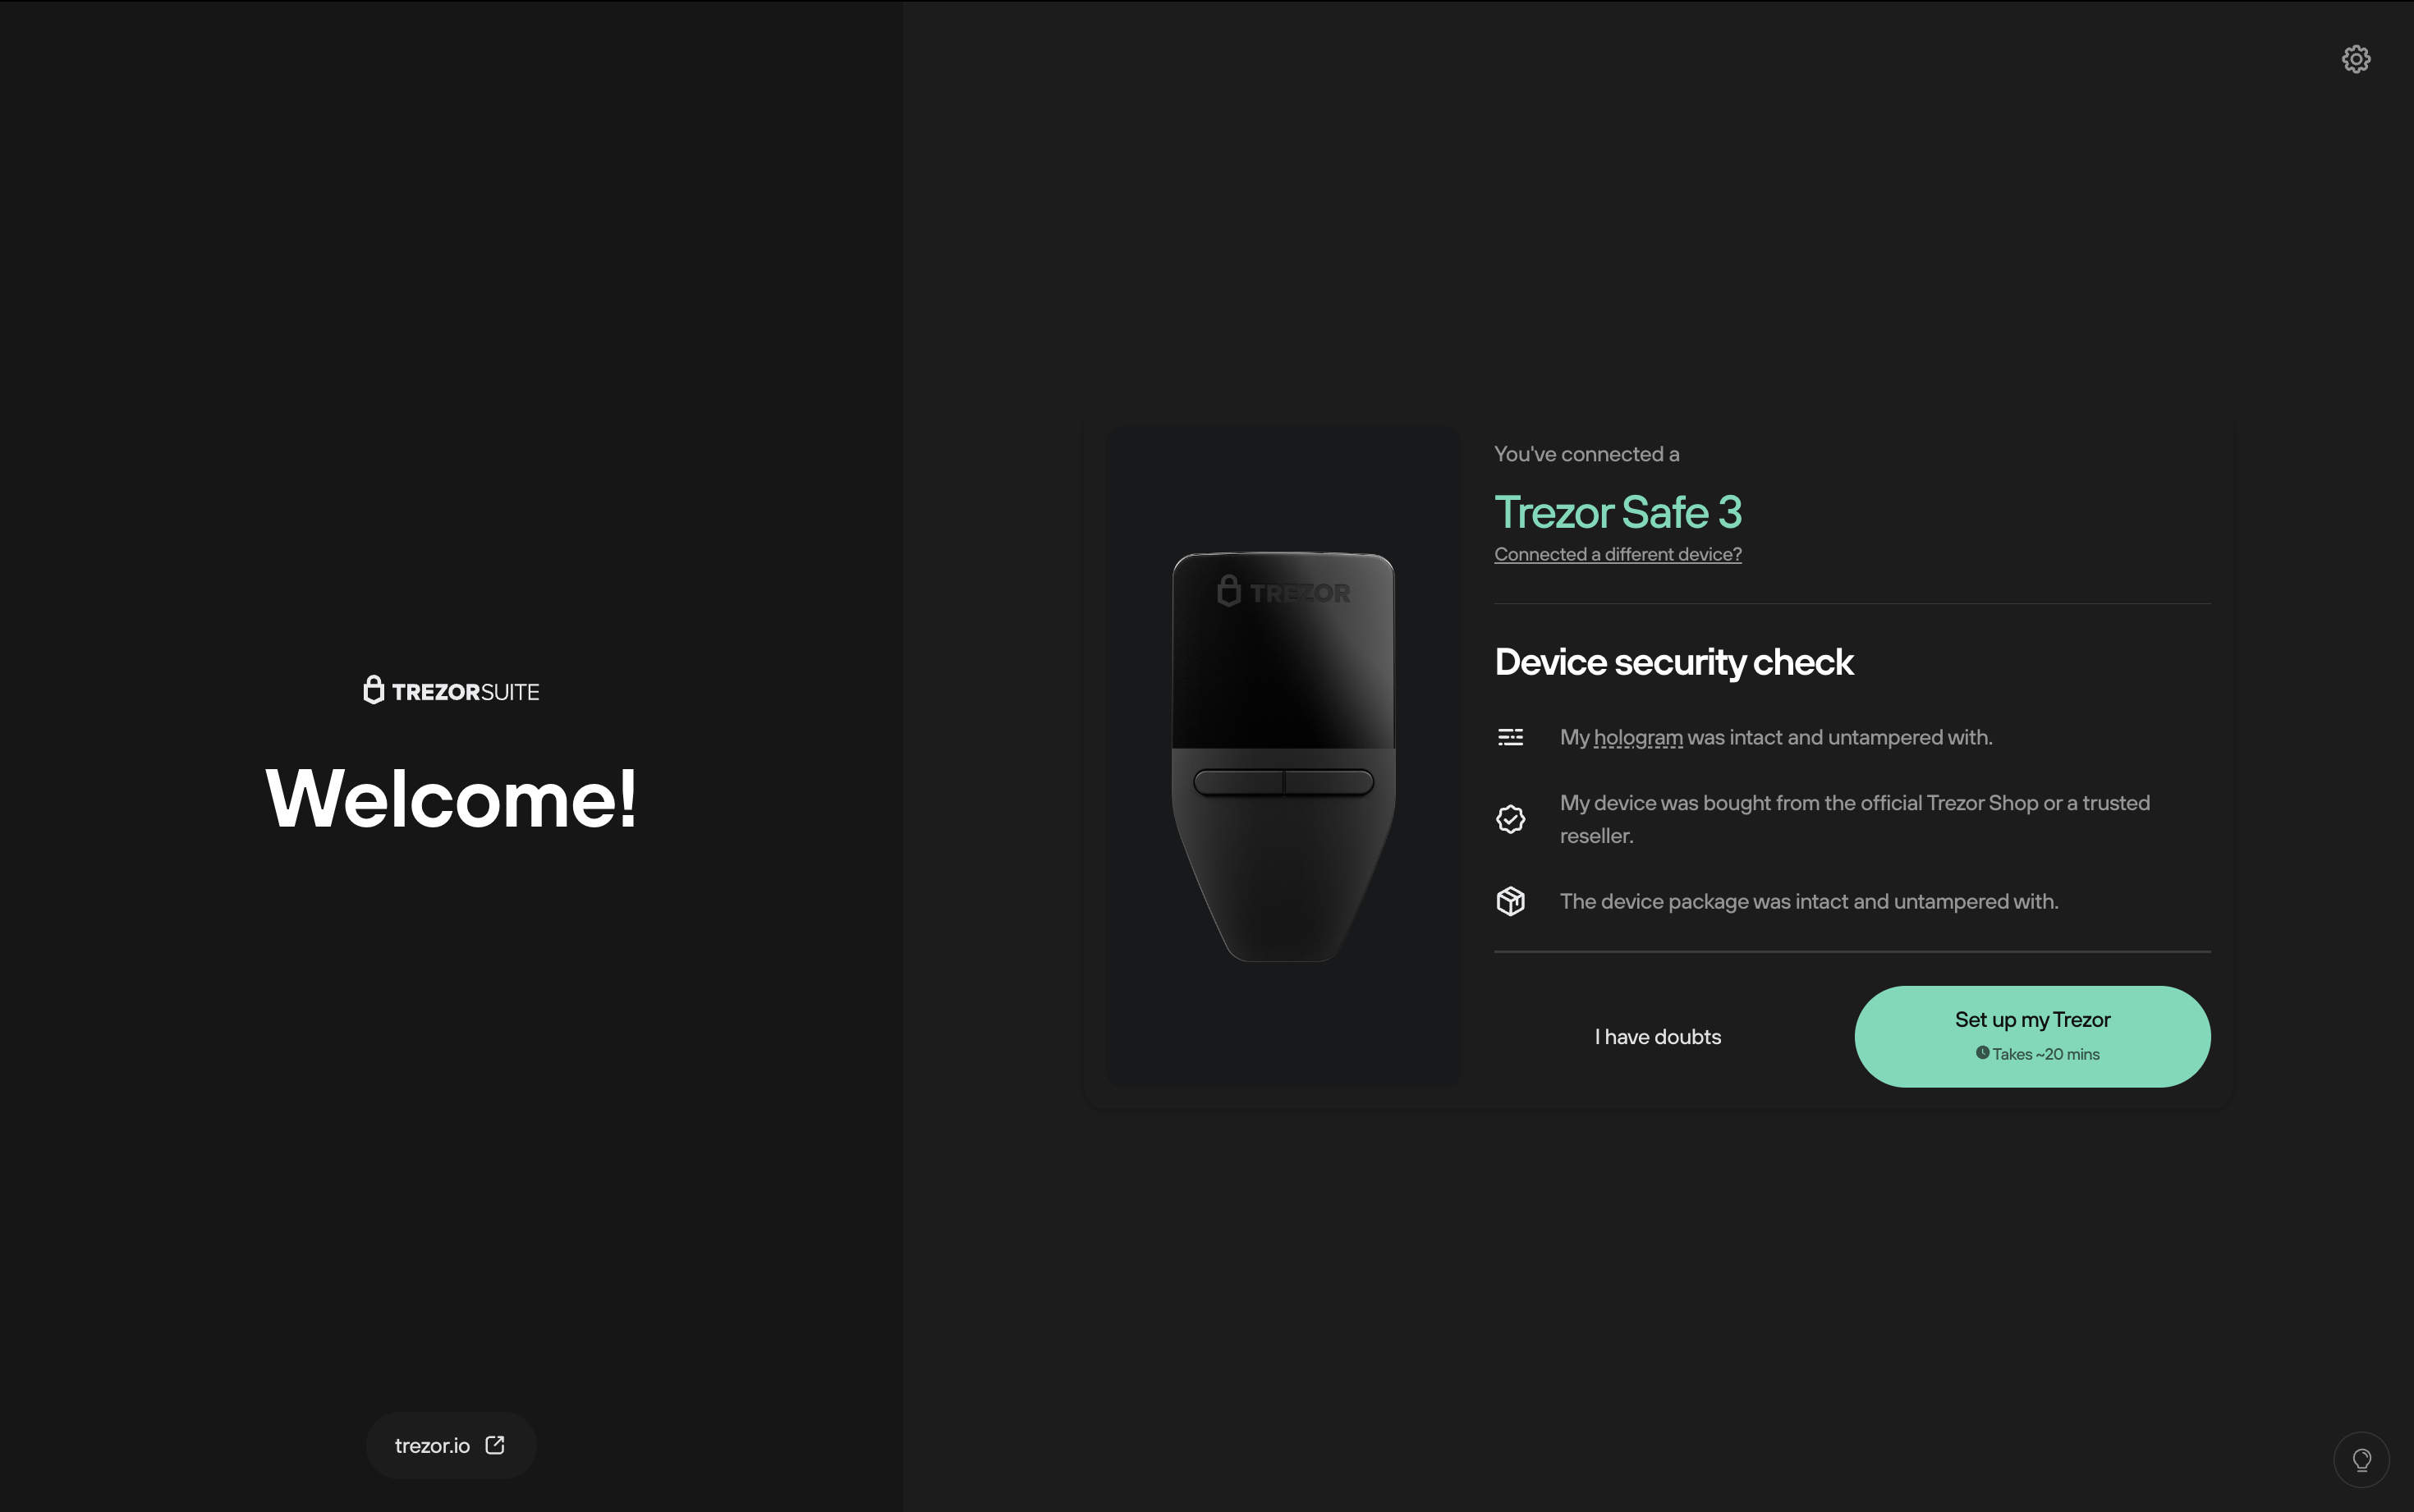
- Once your device is connected, you’ll be asked to do a quick security check. Before setting up your Trezor, you should check that the packaging is intact and that the holographic seal has not been tampered with.
- Once you’re sure everything is present and correct, click Set up my Trezor:
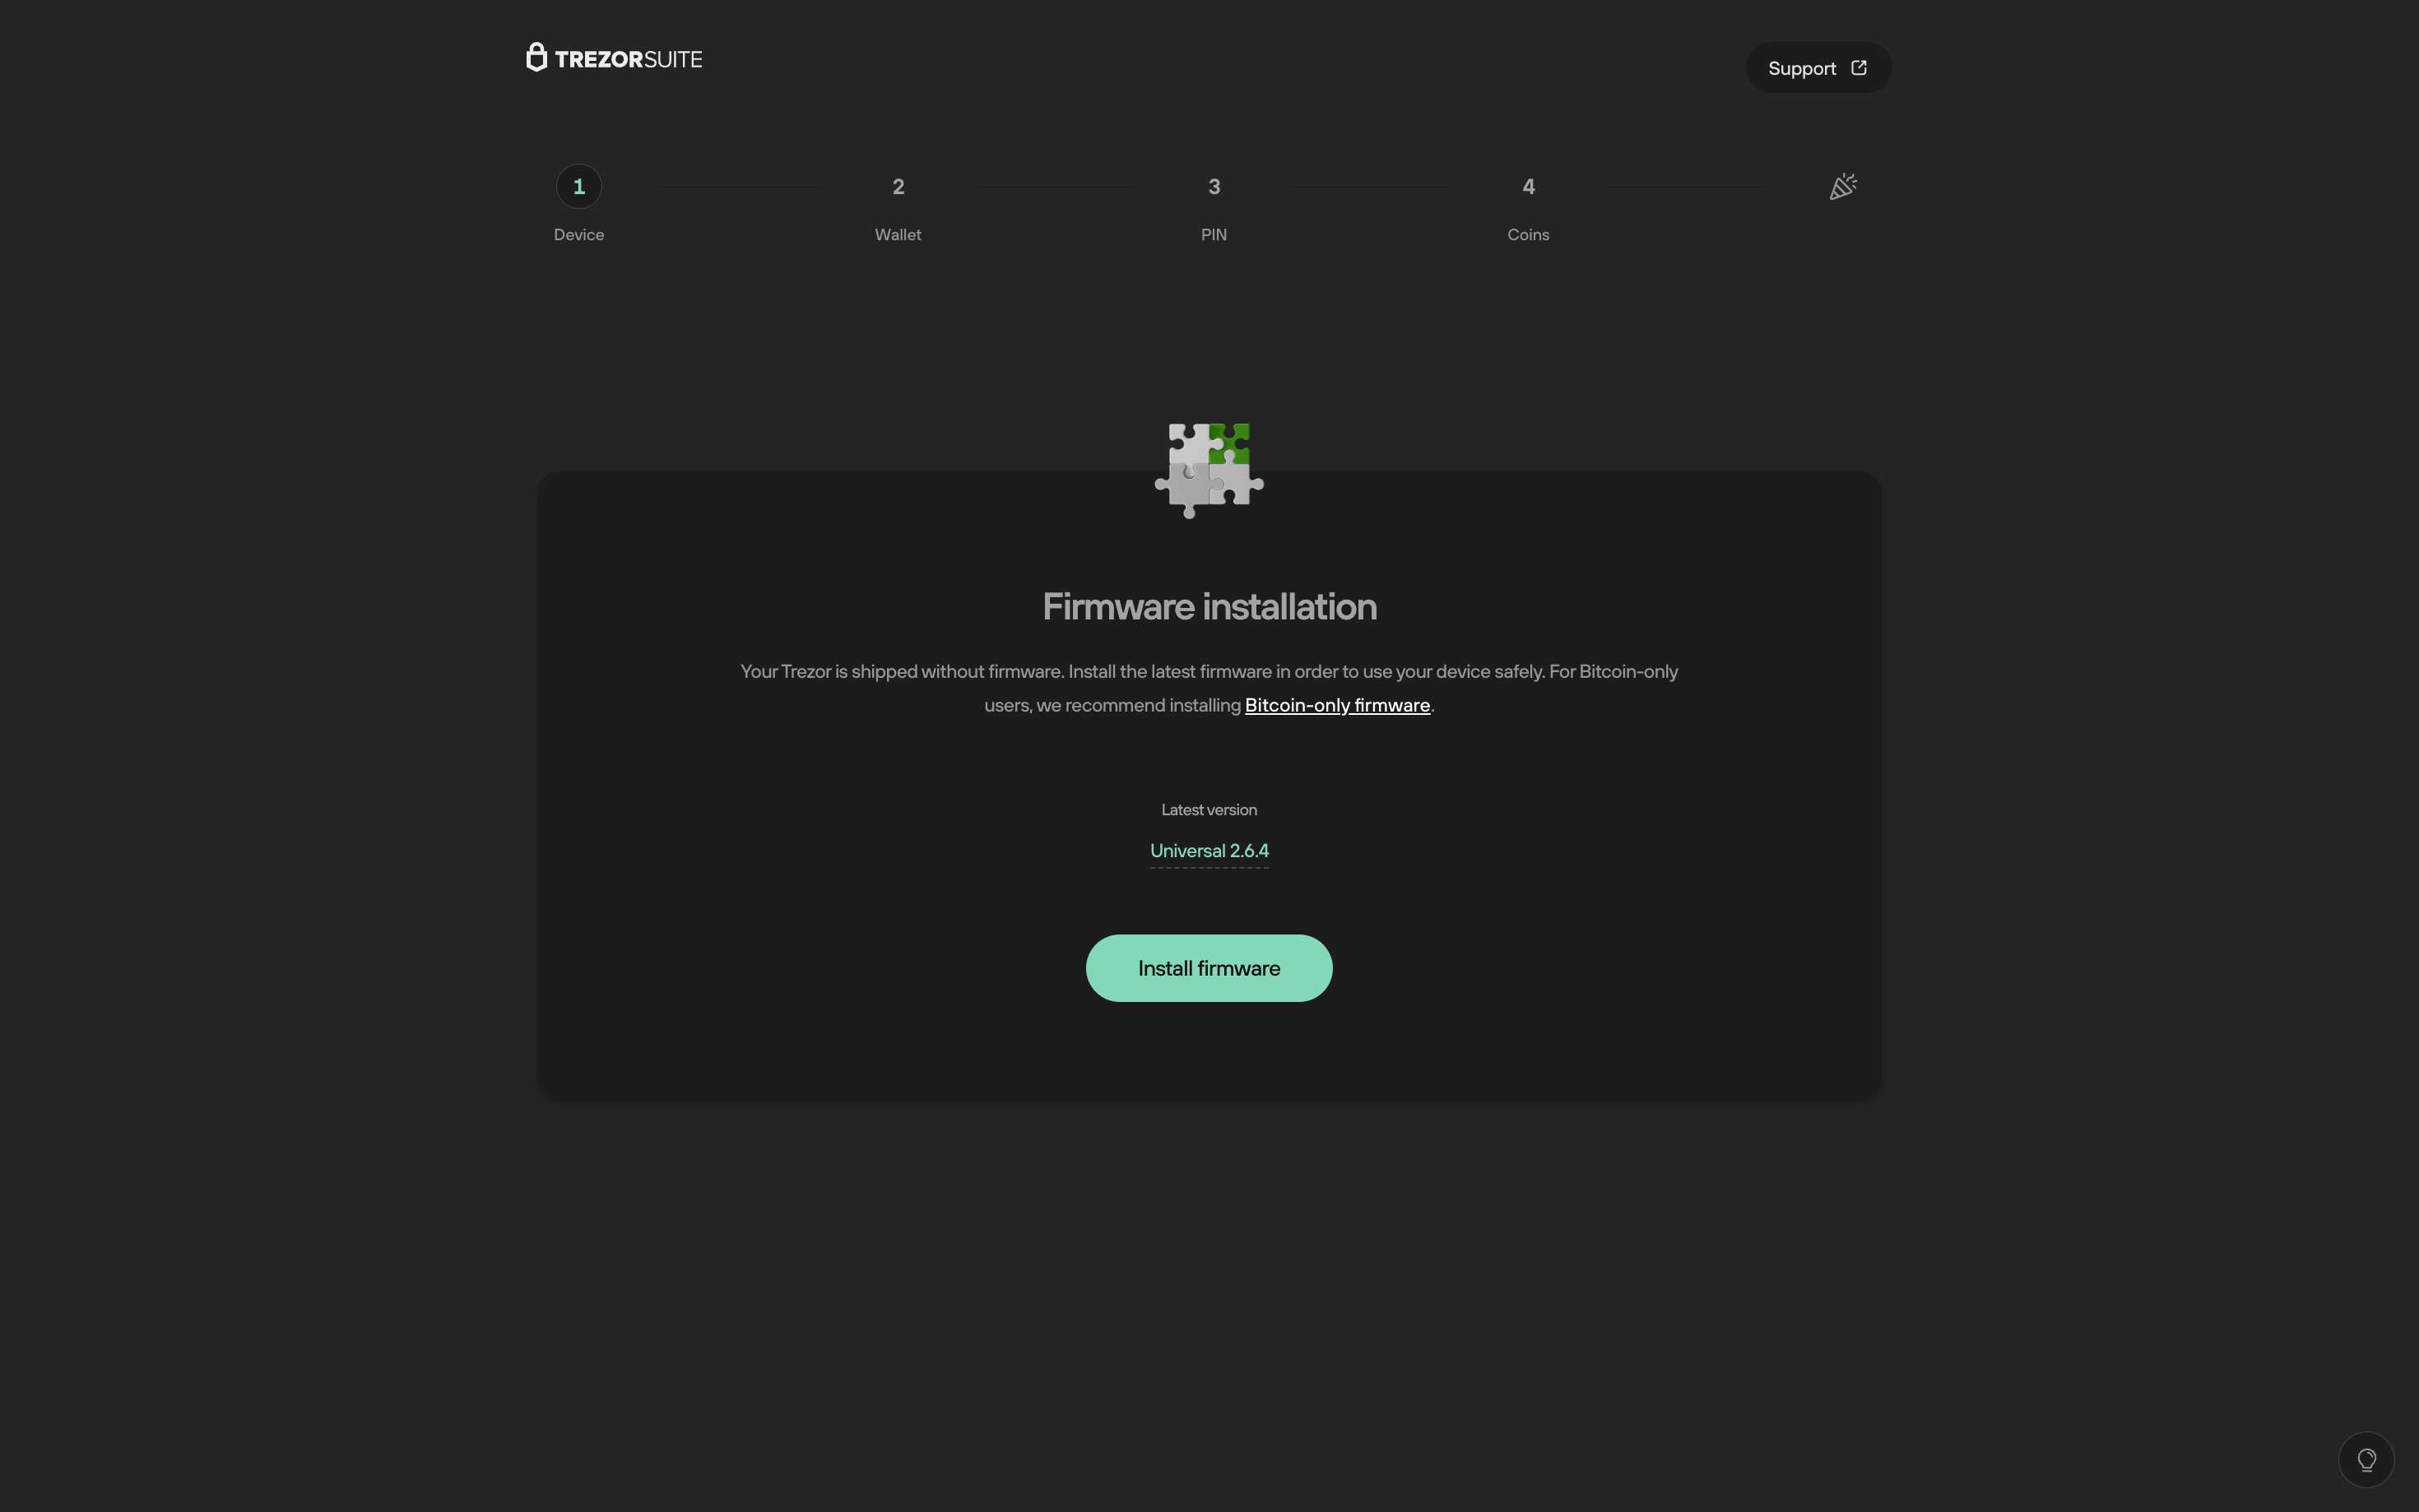
- Your Trezor is shipped without firmware, so the first step is to install the latest version simply by clicking the Install firmware button:
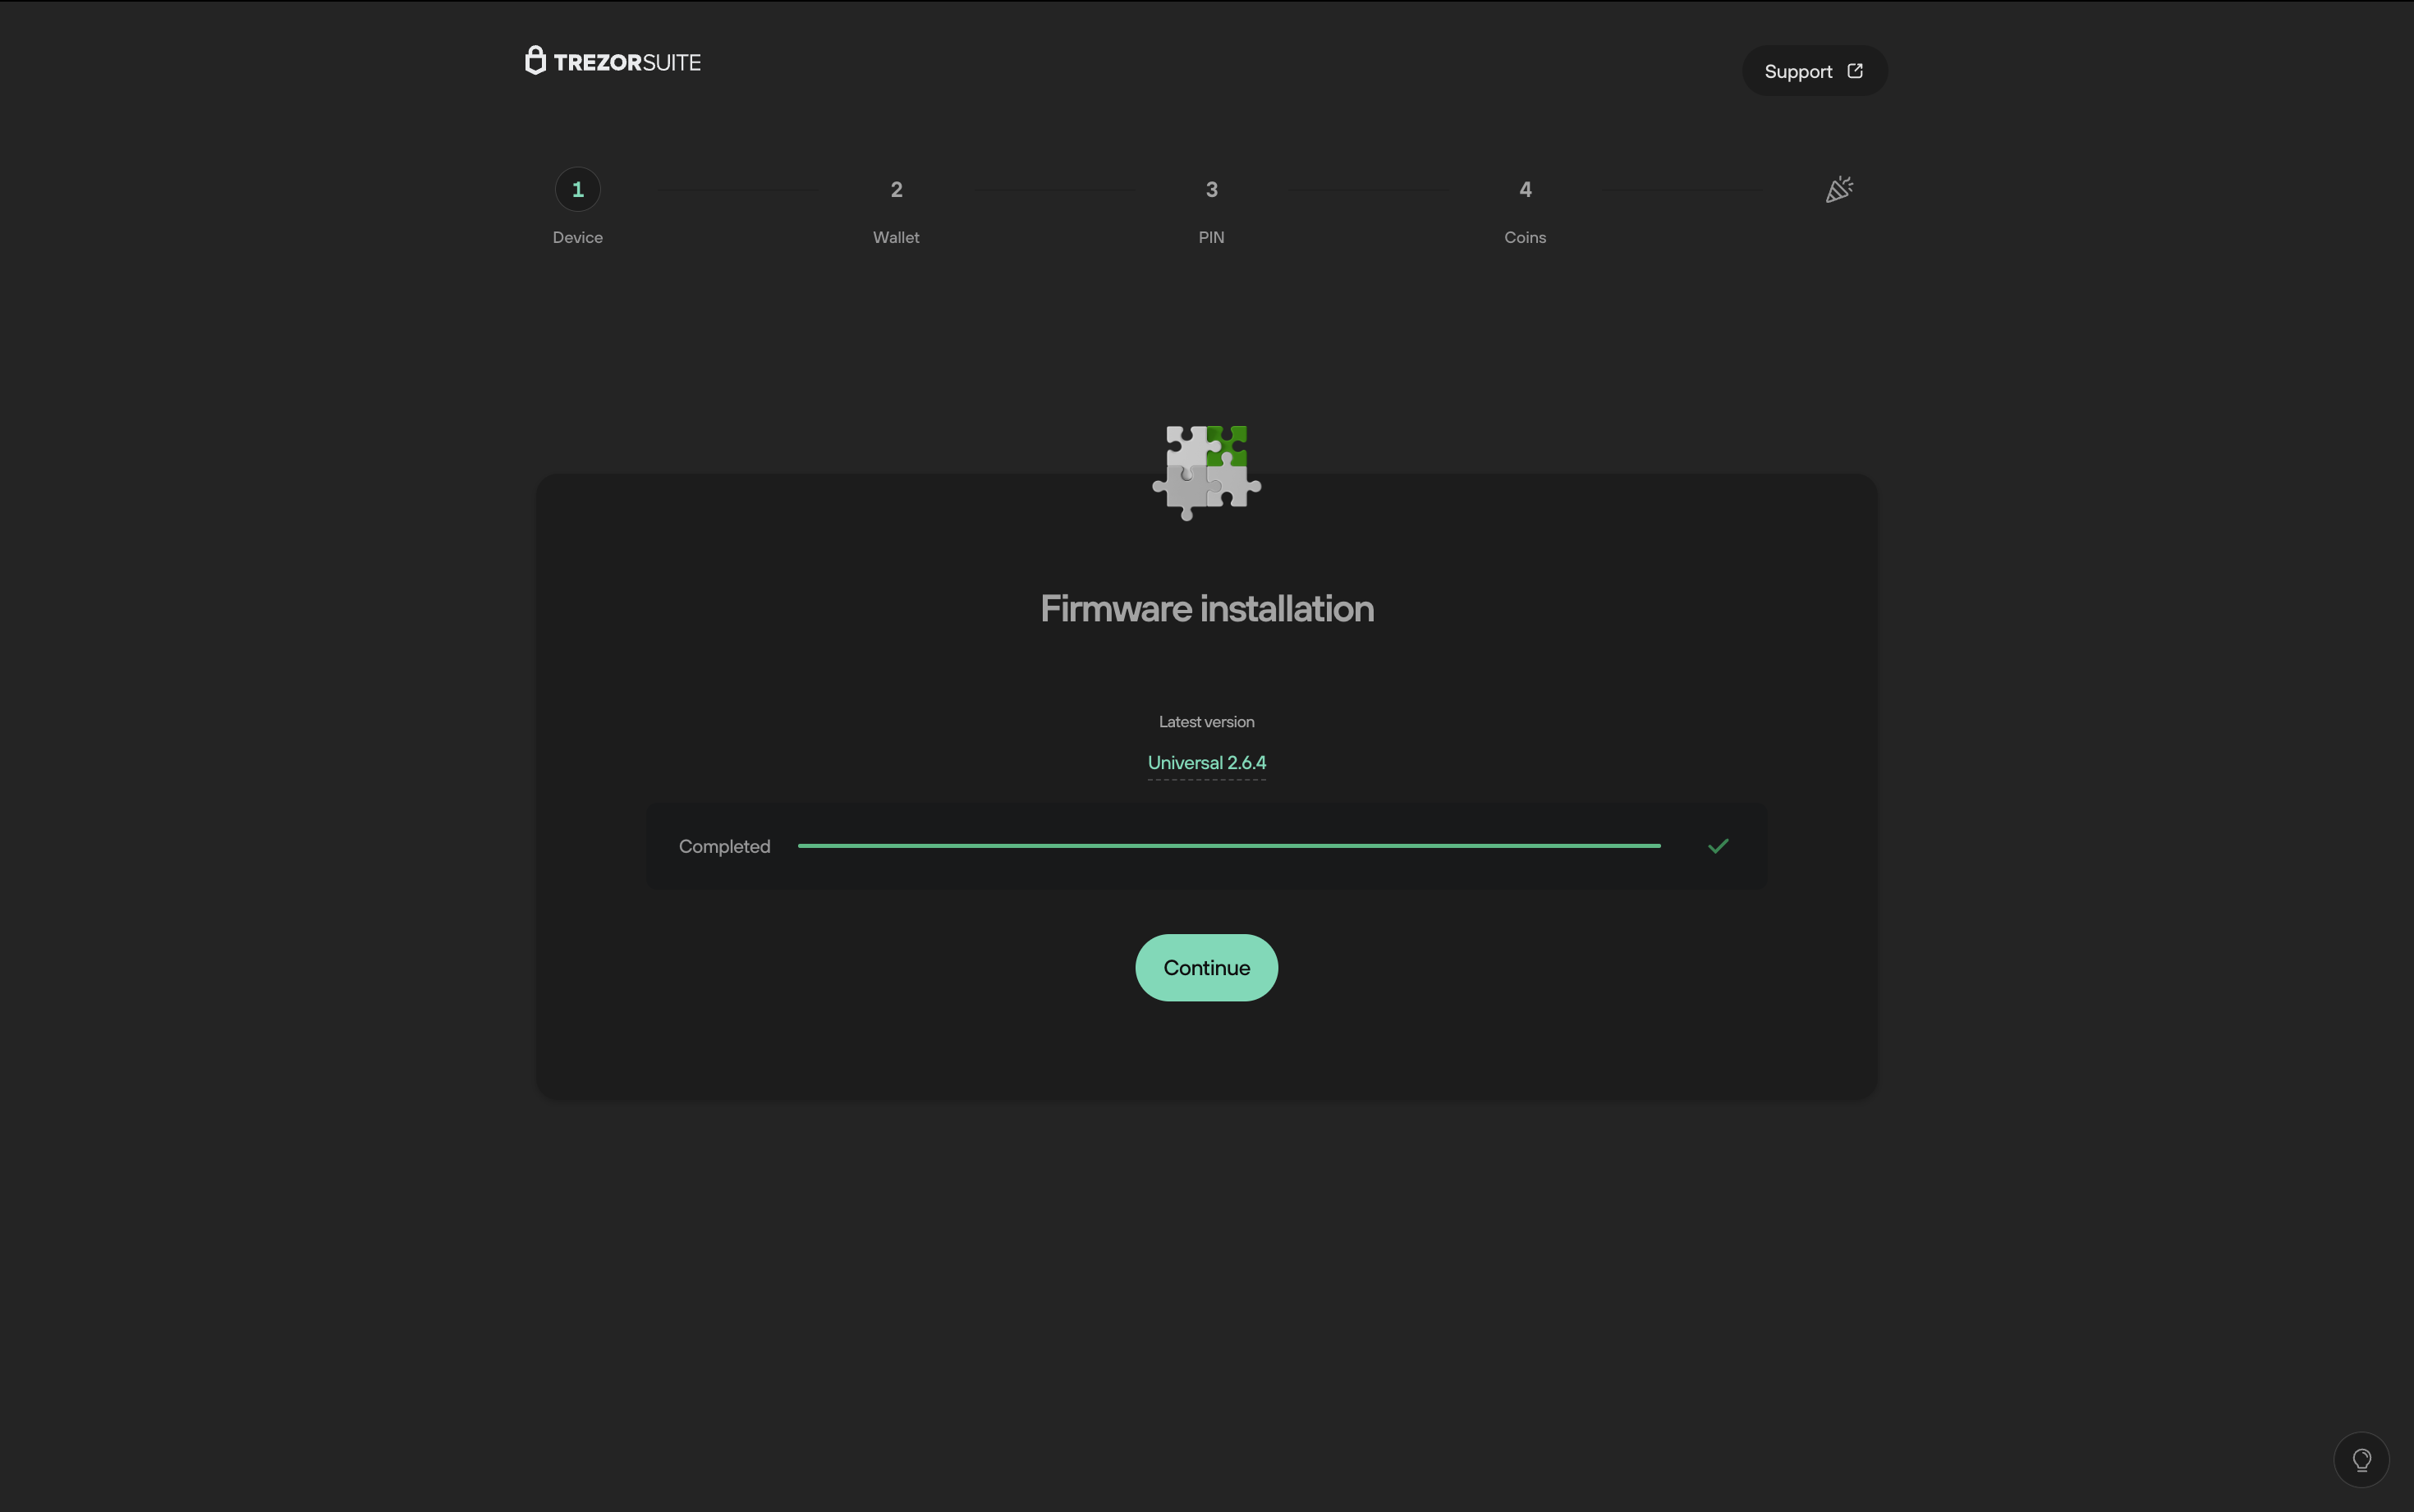
- Once firmware installation is completed, click on Continue:
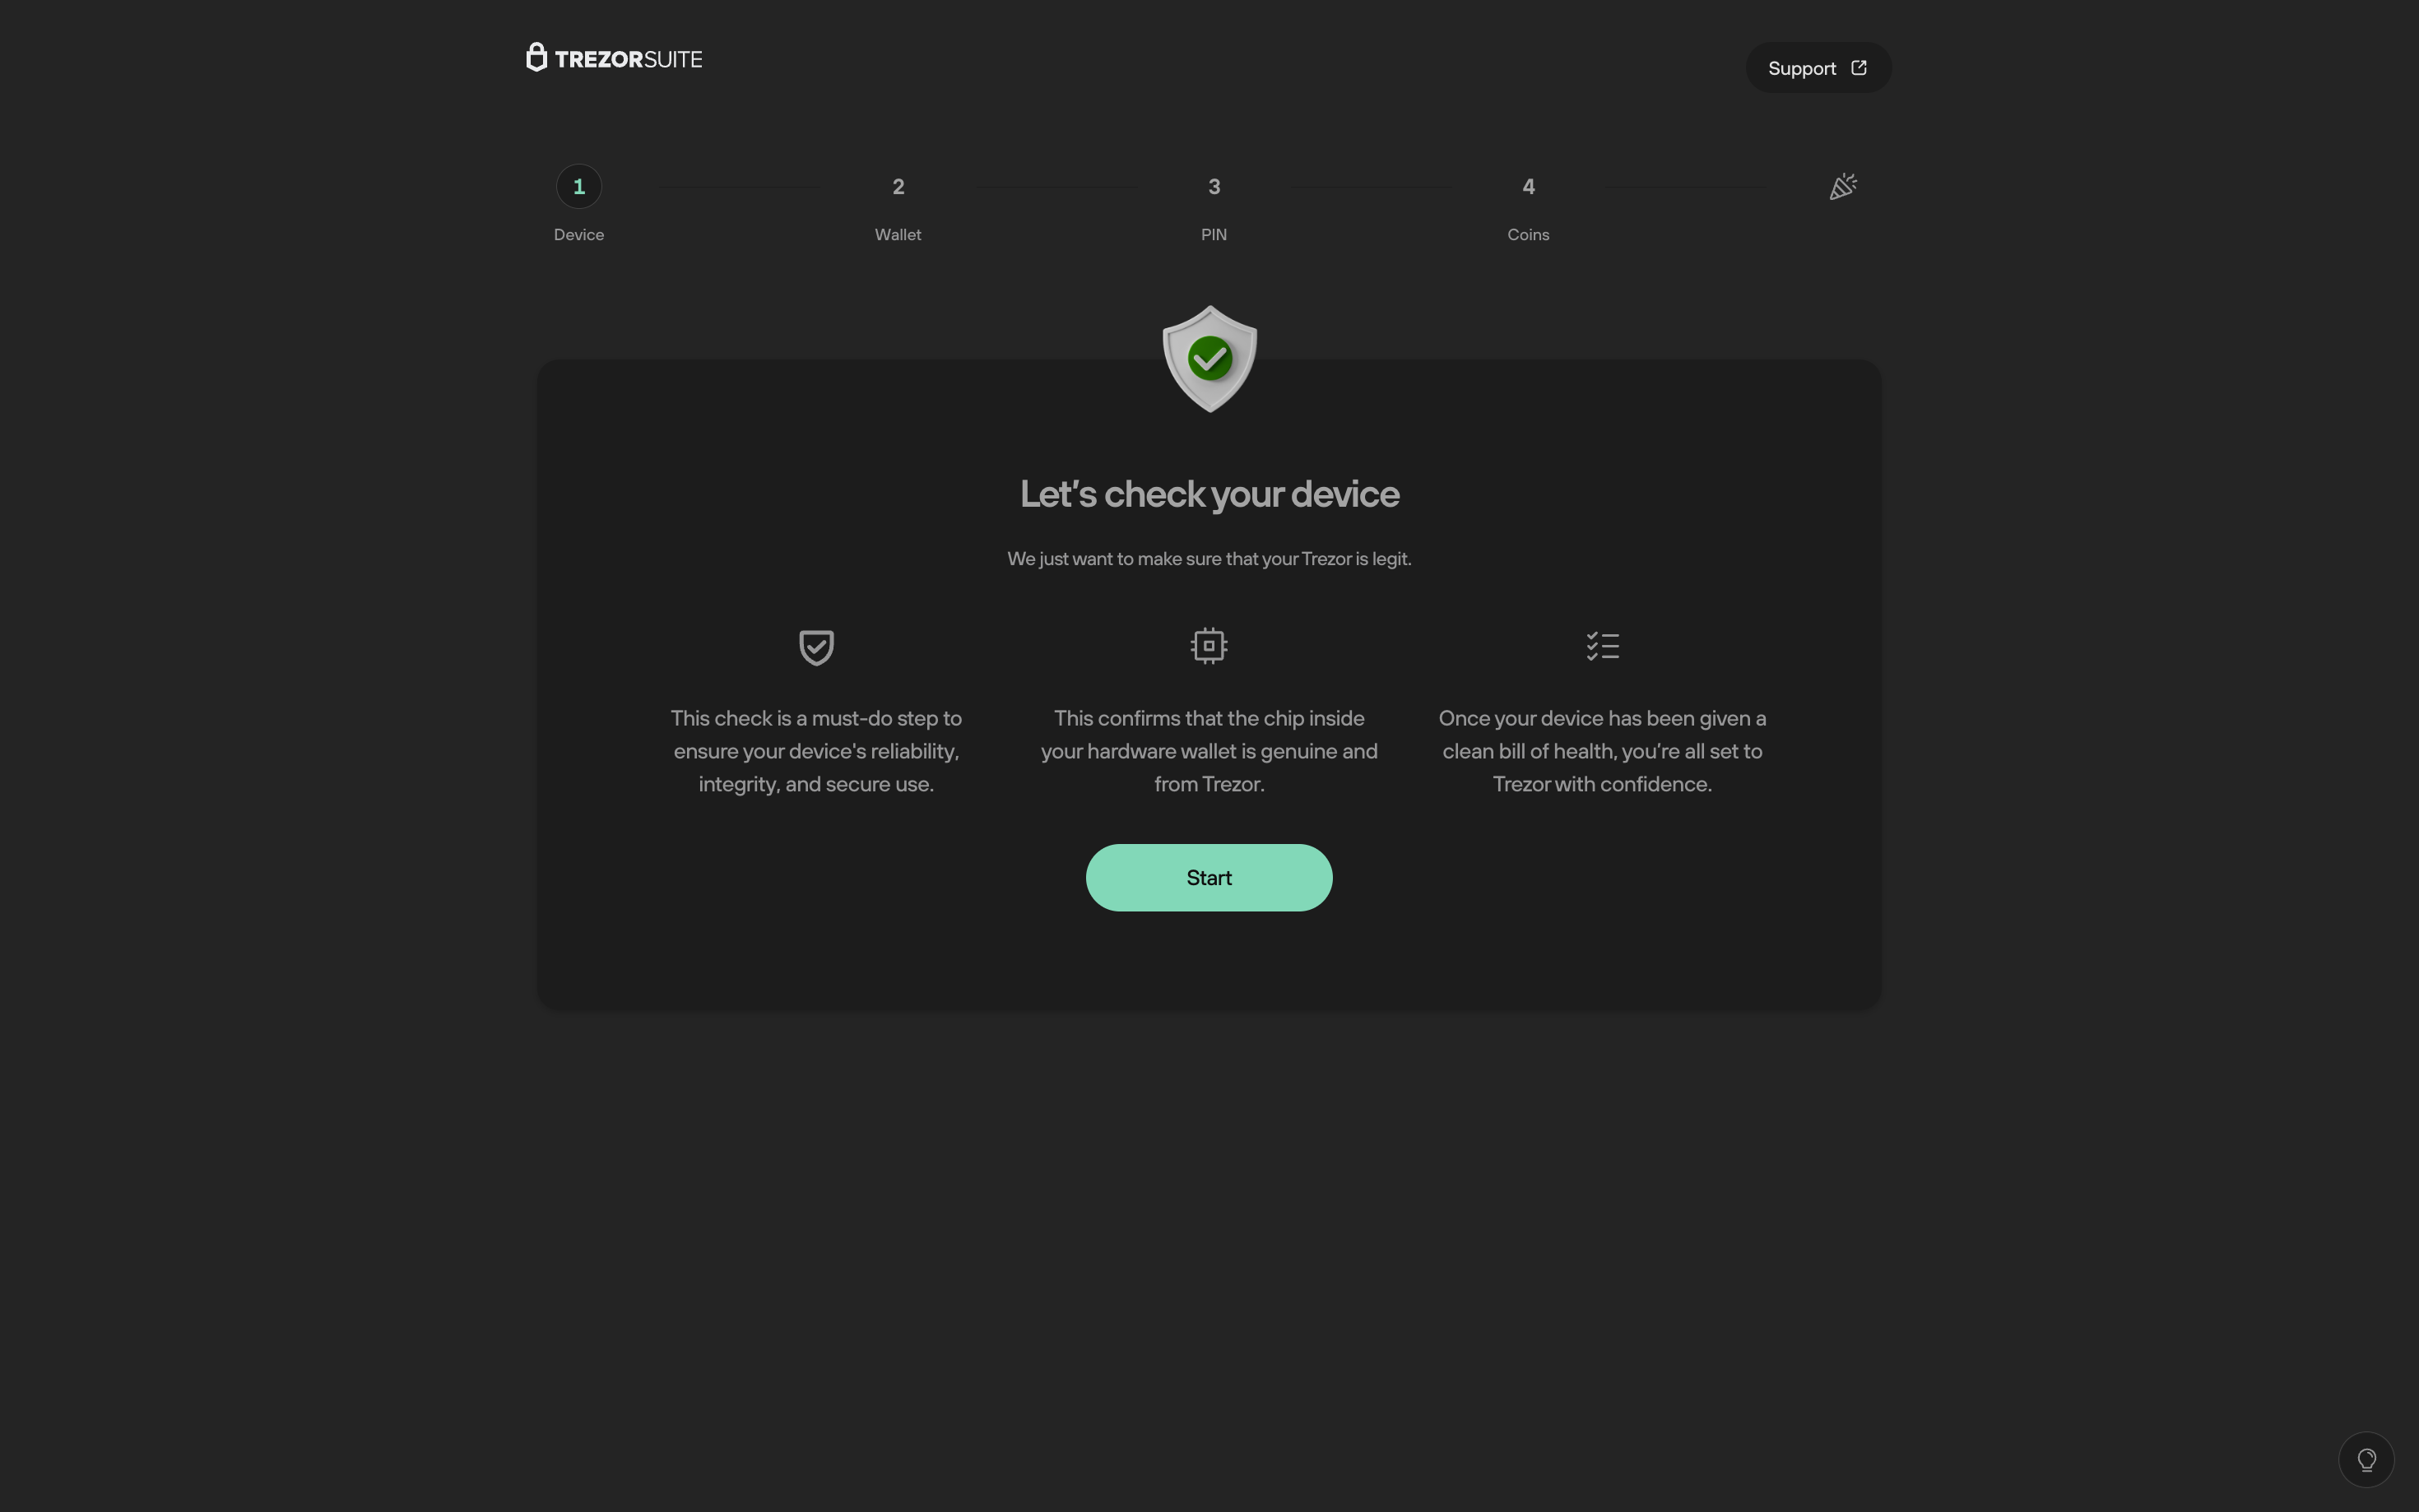
- You will then see the 'Let's check your device' screen; this important step helps confirm that your Trezor Safe 3 is genuine and safe to use. To begin, click on Start:
- Your Trezor will display the 'Authenticate device' screen; press 'Allow' (right button) to continue.
- After successful device authentication, click on Continue:

- Suite will then show the 'Know your Trezor' screen; this step lets you get familiar with how to use your new Trezor Safe 3:
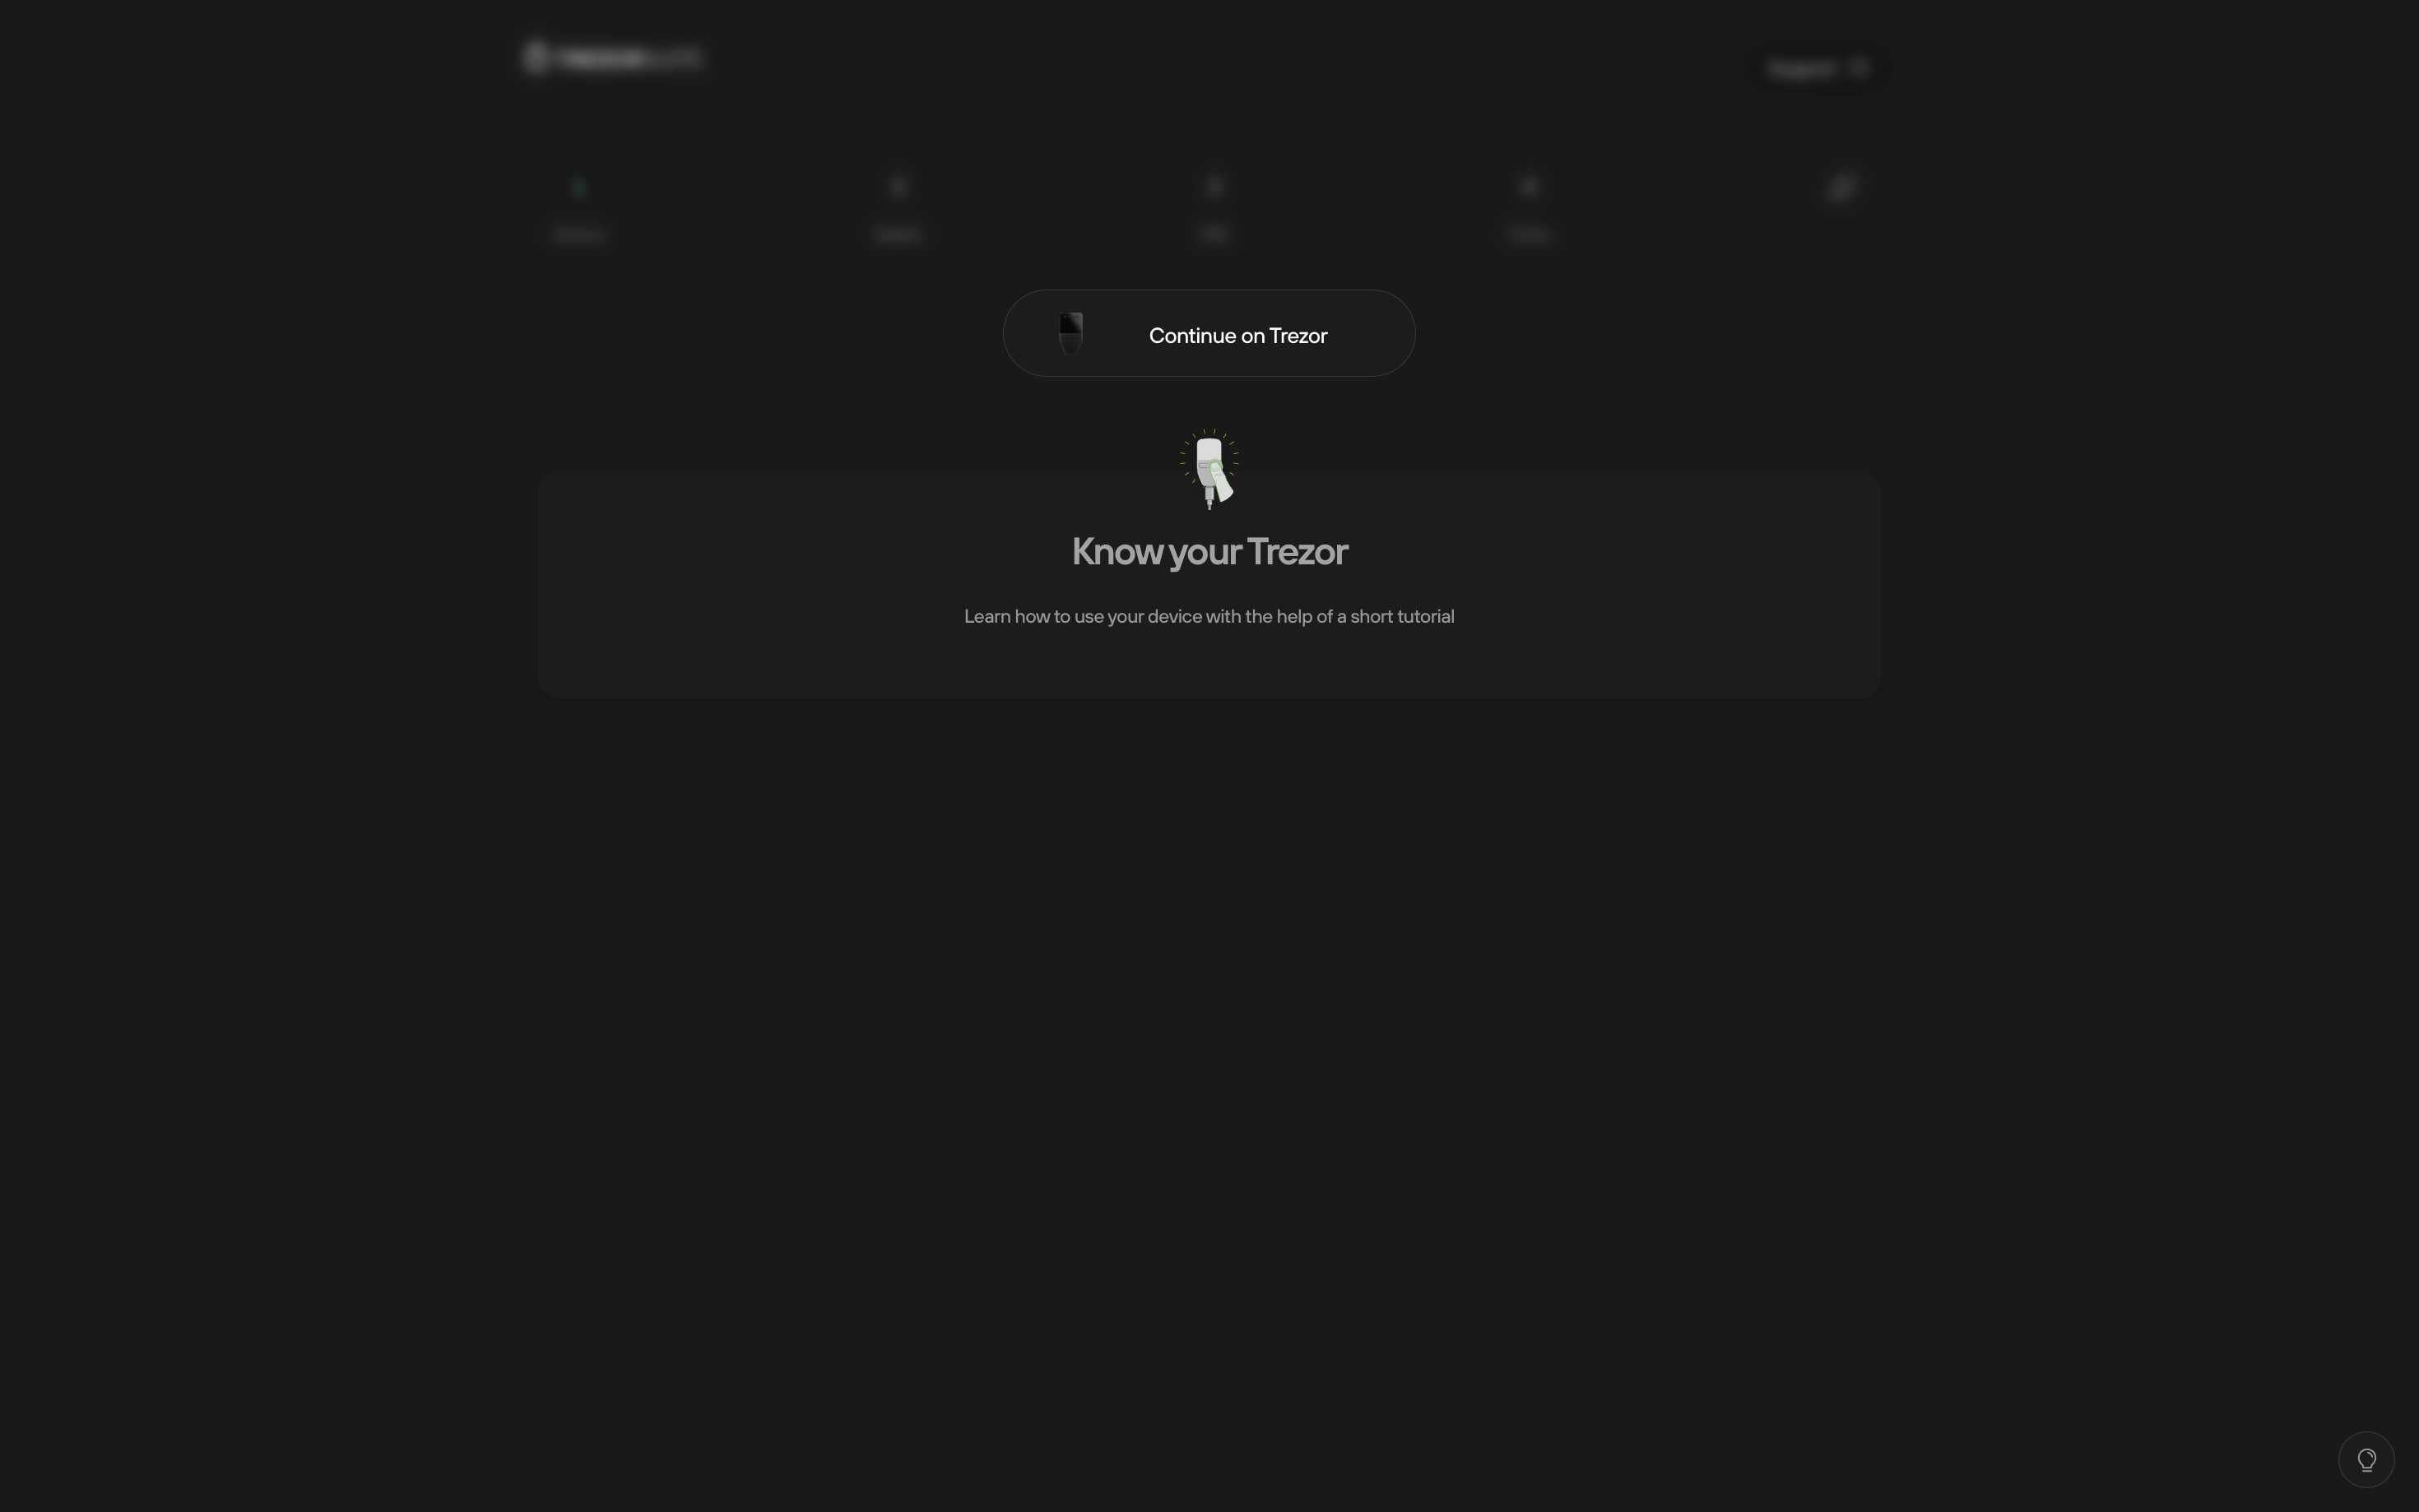
- Follow the tutorial on your Trezor. Once completed, click on Continue:
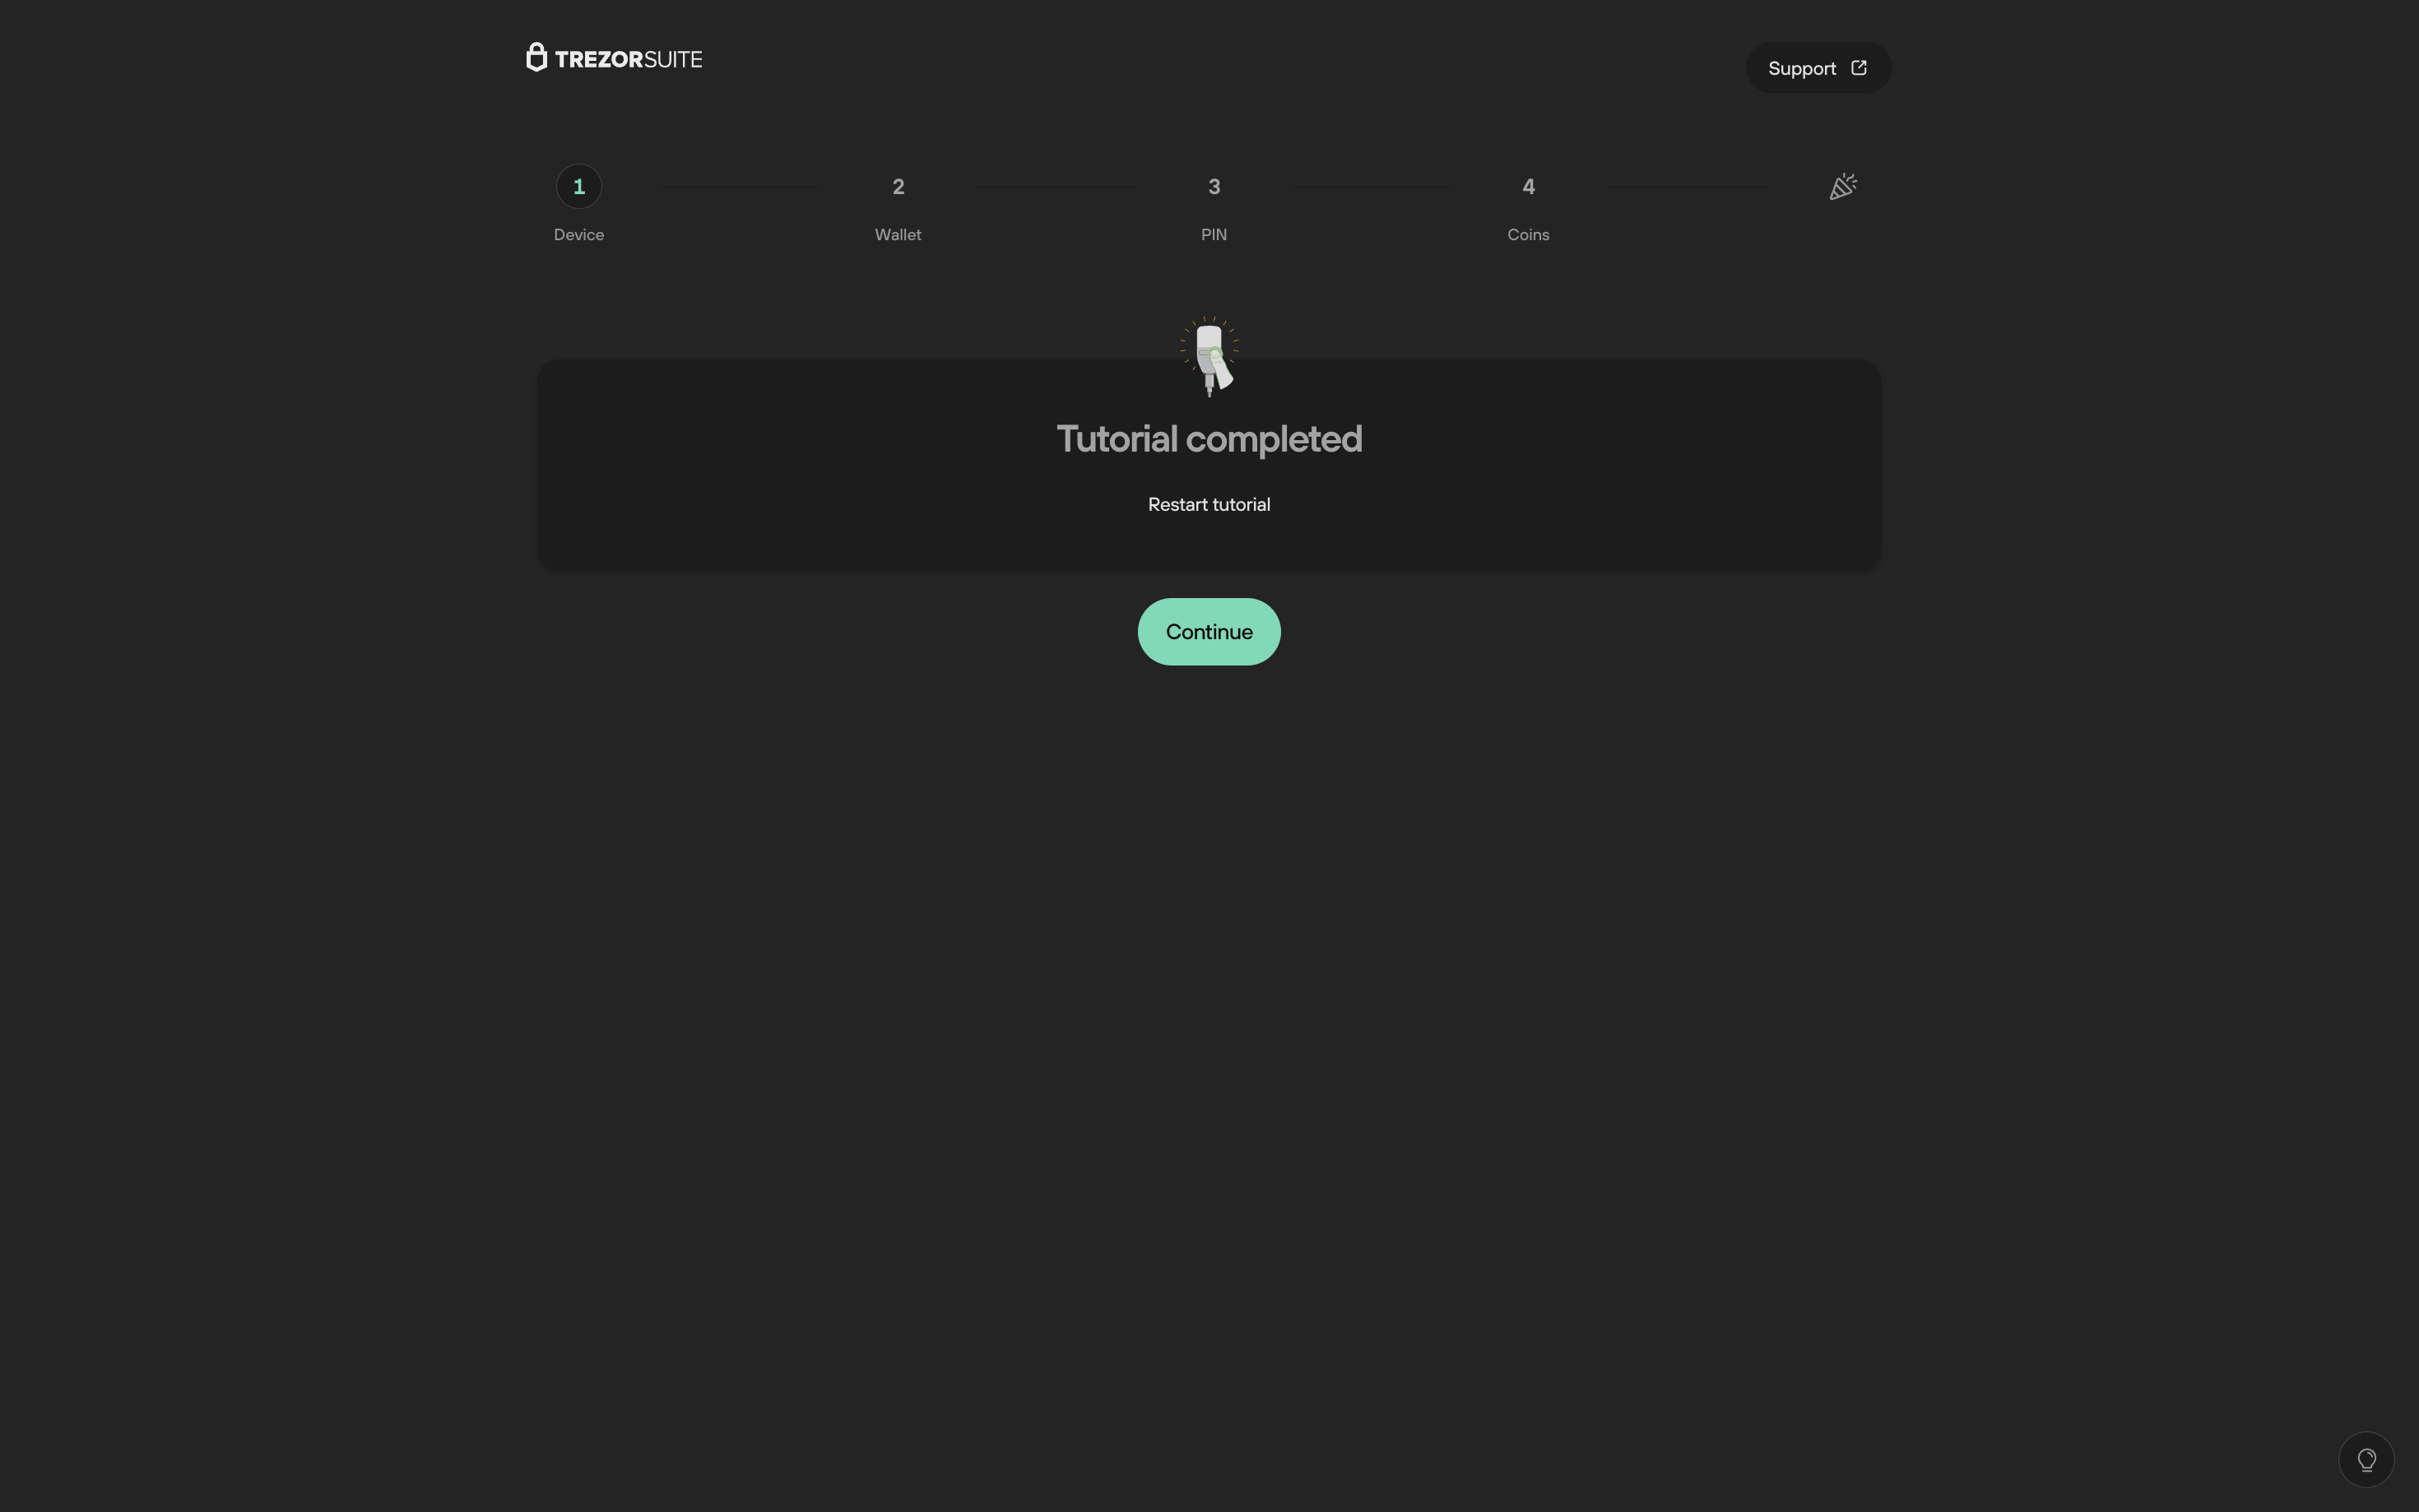
- In the next step you should choose 'Create new wallet' if this is your first time setting up your Trezor:
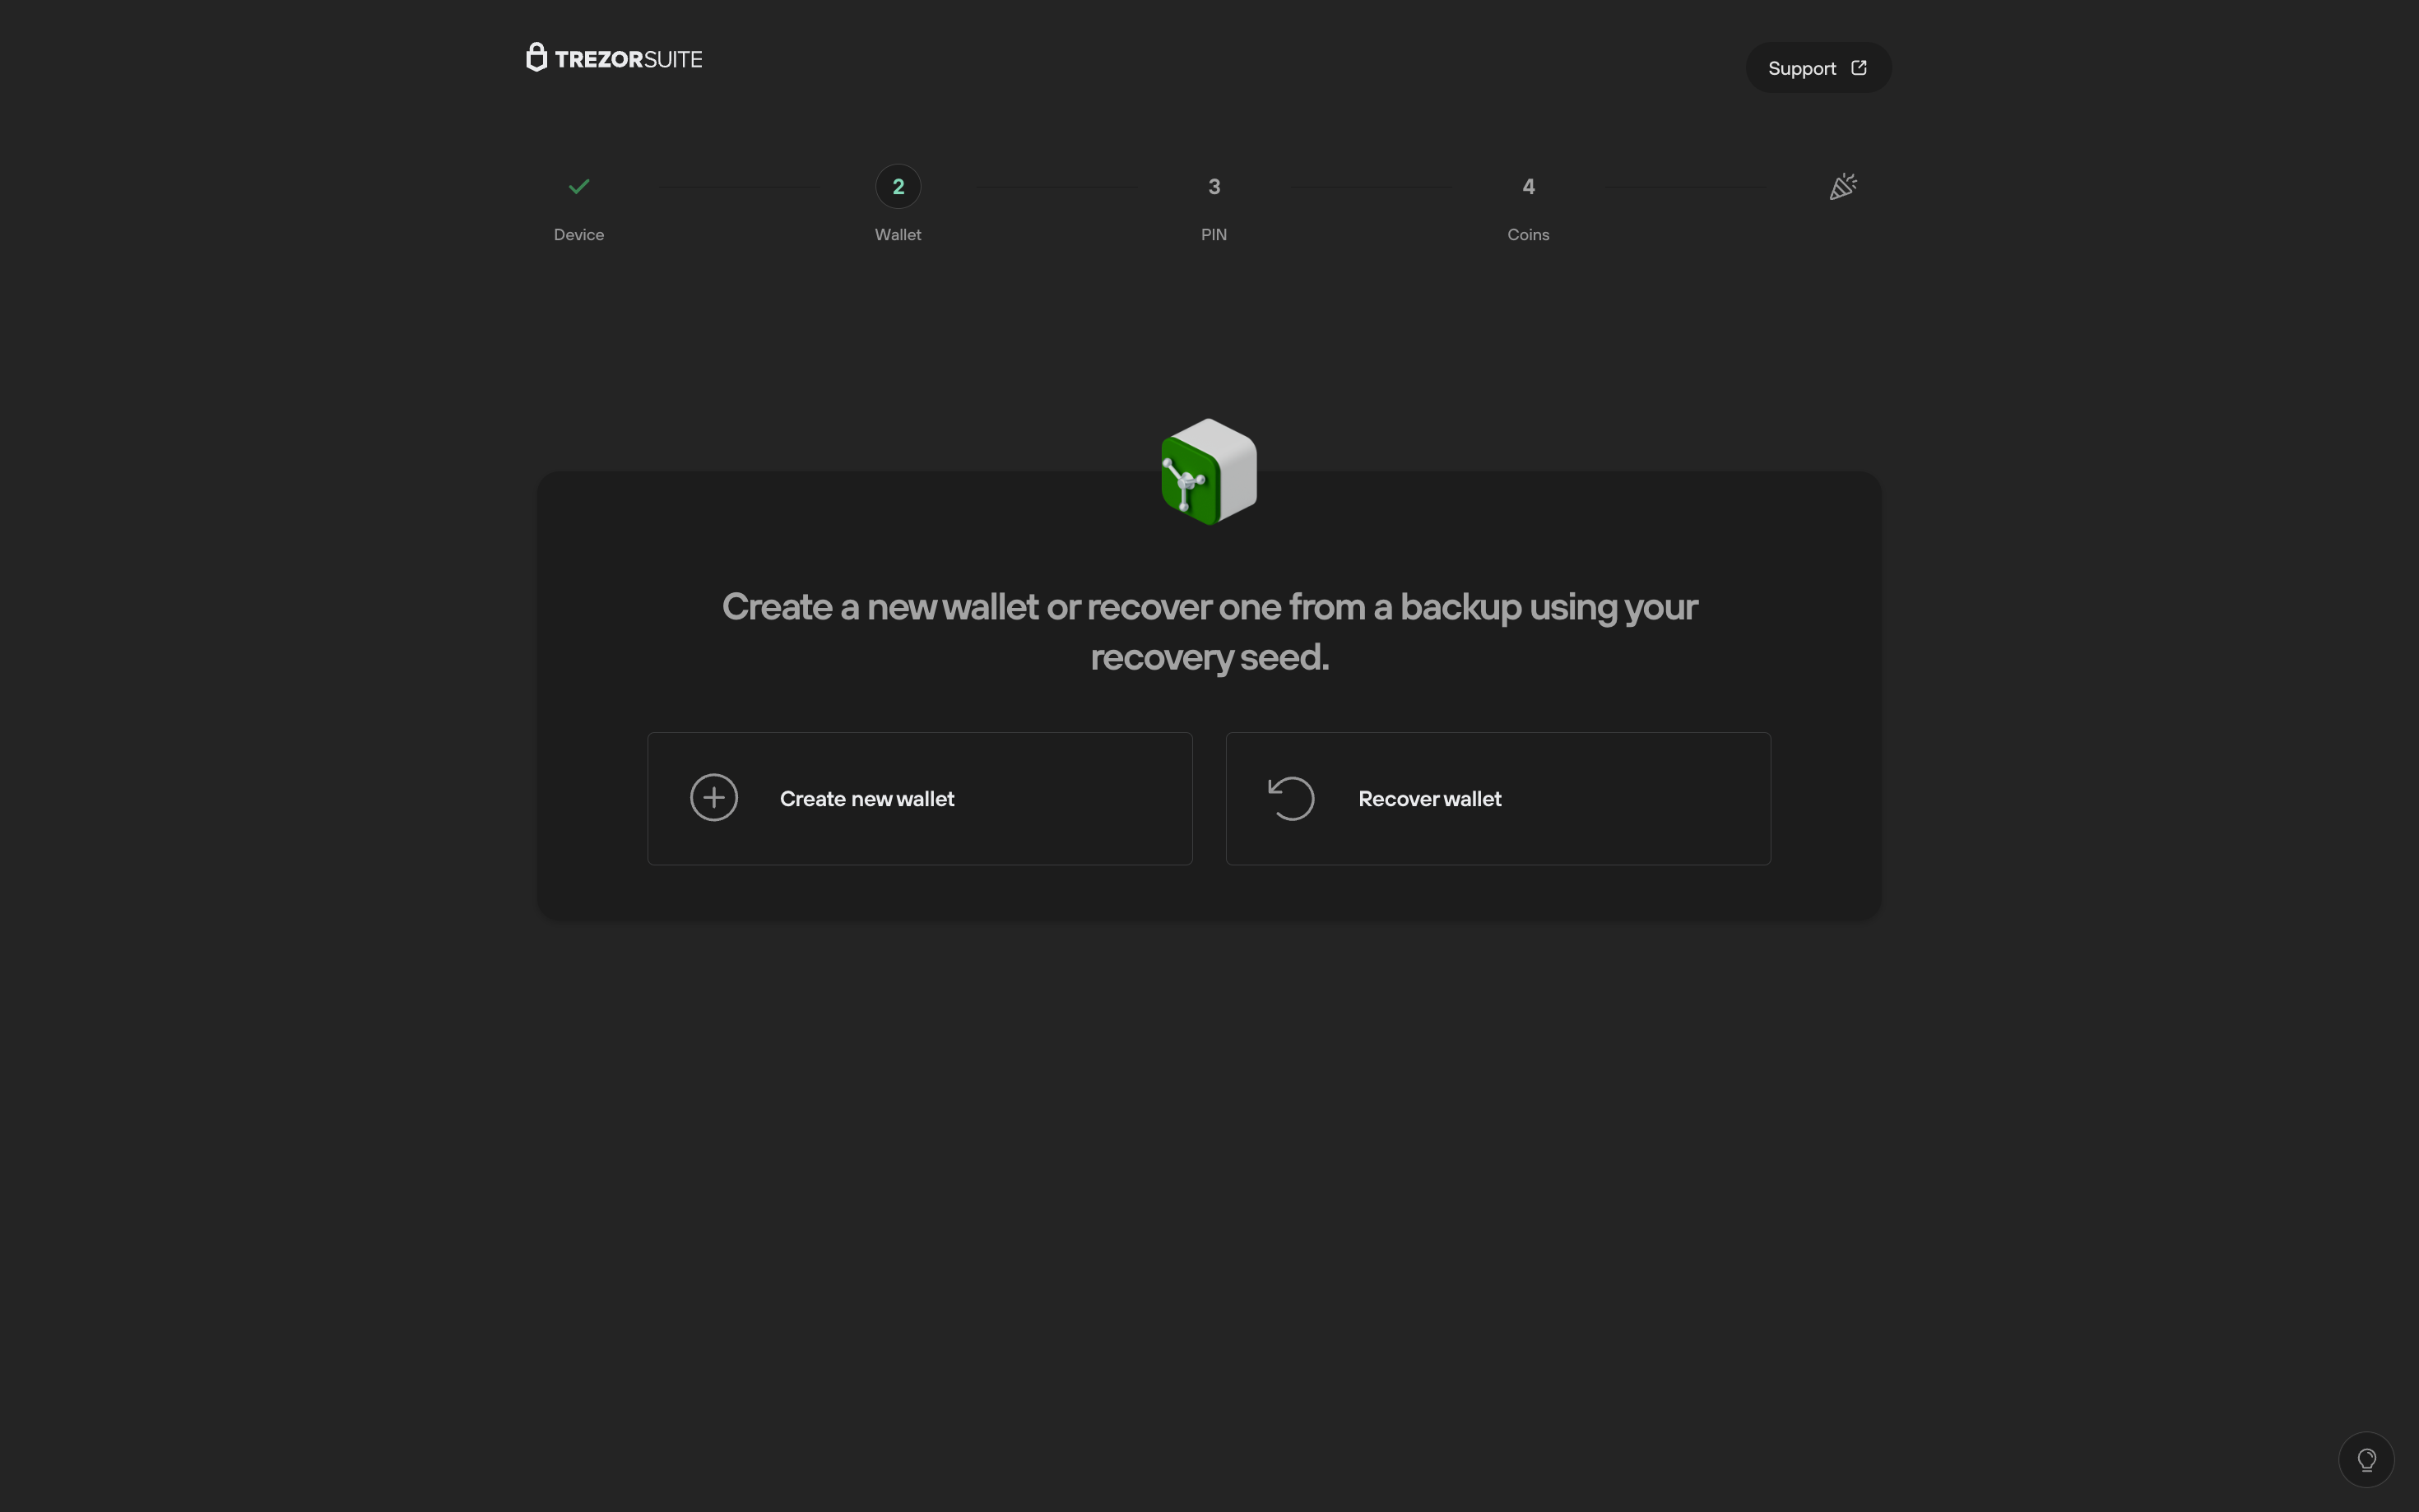
- After selecting Create new wallet you can choose between 'Standard seed backup' or 'Advanced Shamir backup'. Here we will show the ‘Standard seed backup’ process; the Shamir method is discussed in detail on the Trezor blog.
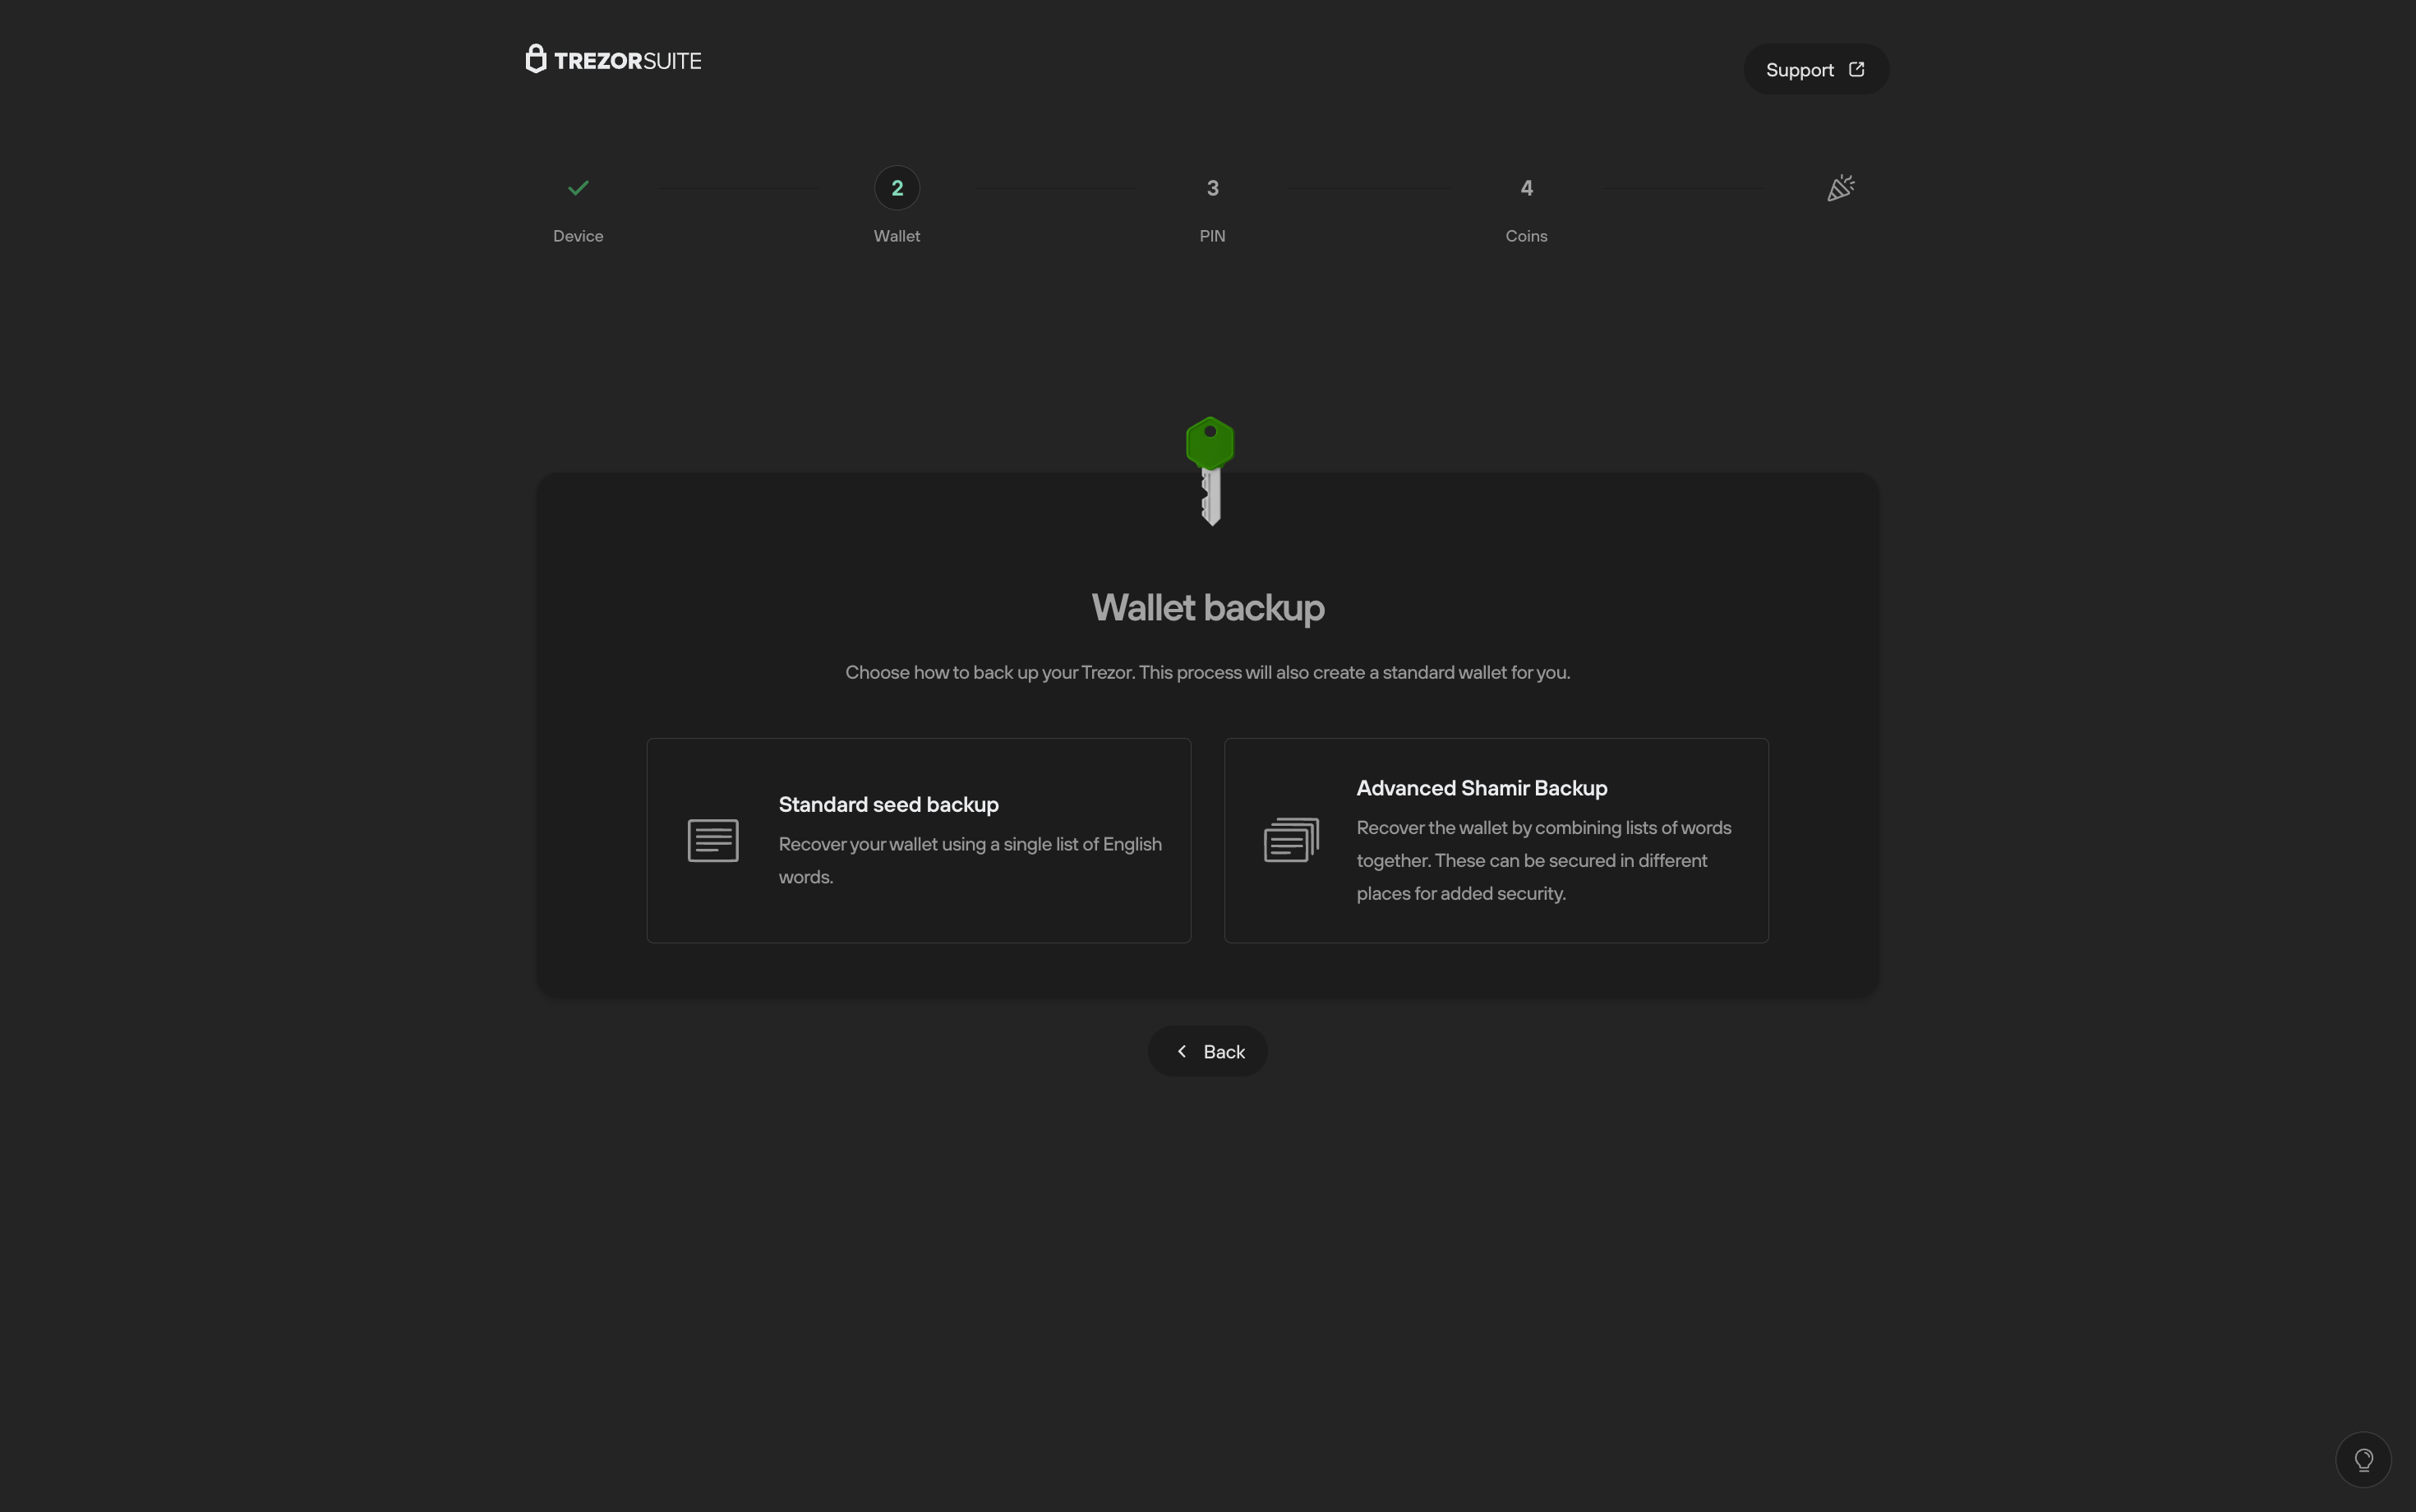
- After selecting ‘Standard seed backup’ you’ll be prompted to confirm the action on your device:
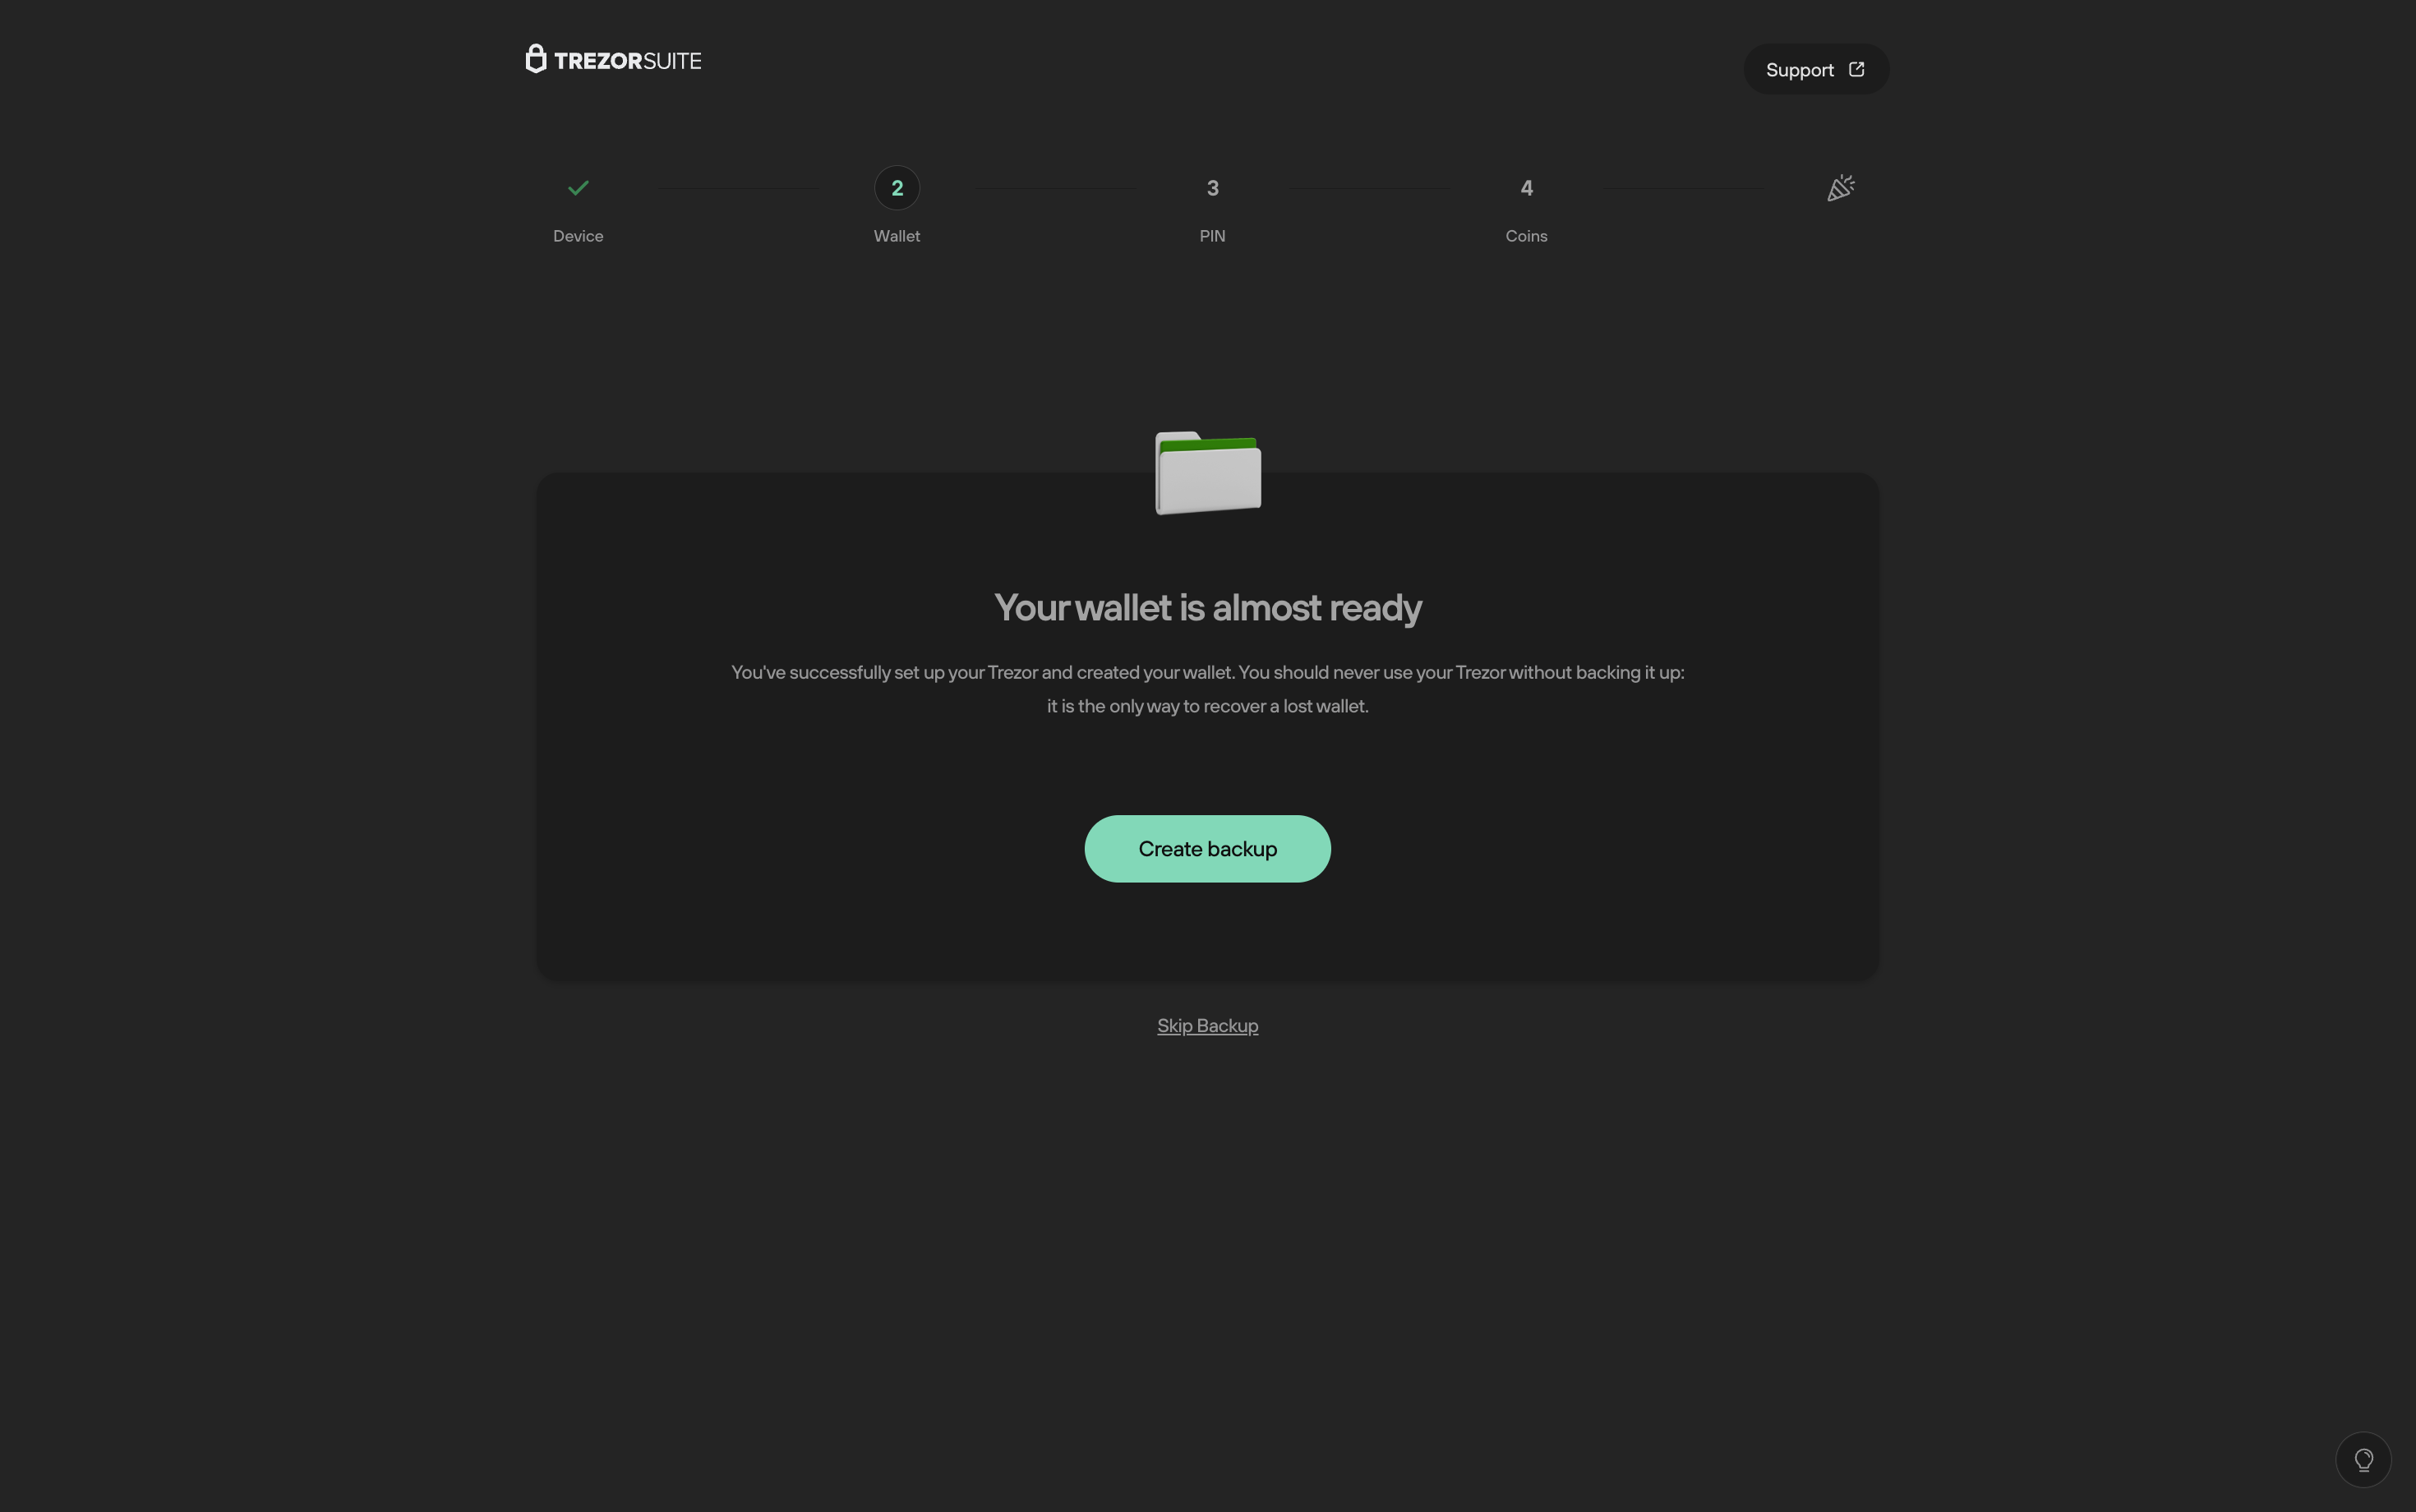
- Your Trezor Safe 3 will prompt you to agree to the Terms and Conditions before continuing to the next step.
- Select 'Create wallet' (right button) to continue:
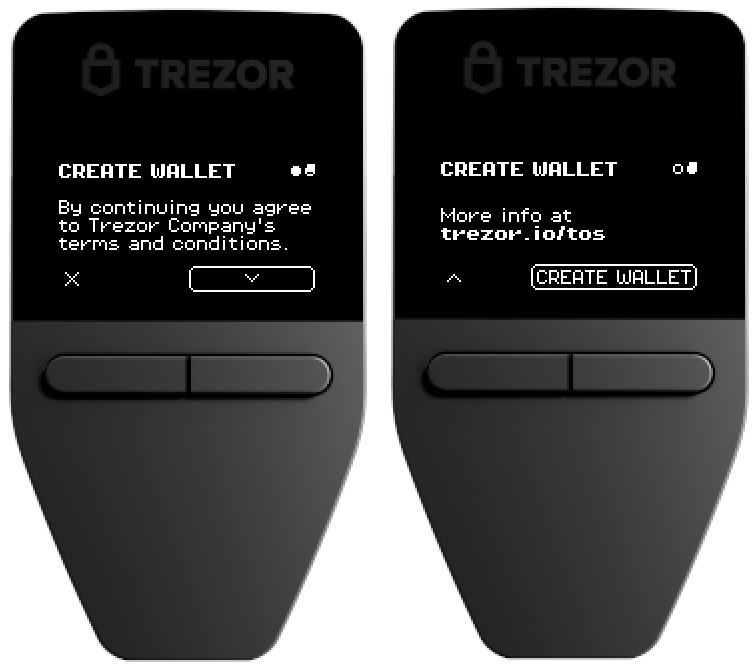
- The next step involves creating the backup, i.e., recording your wallet backup (recovery seed) on the cards provided. To begin the process, click Create backup:

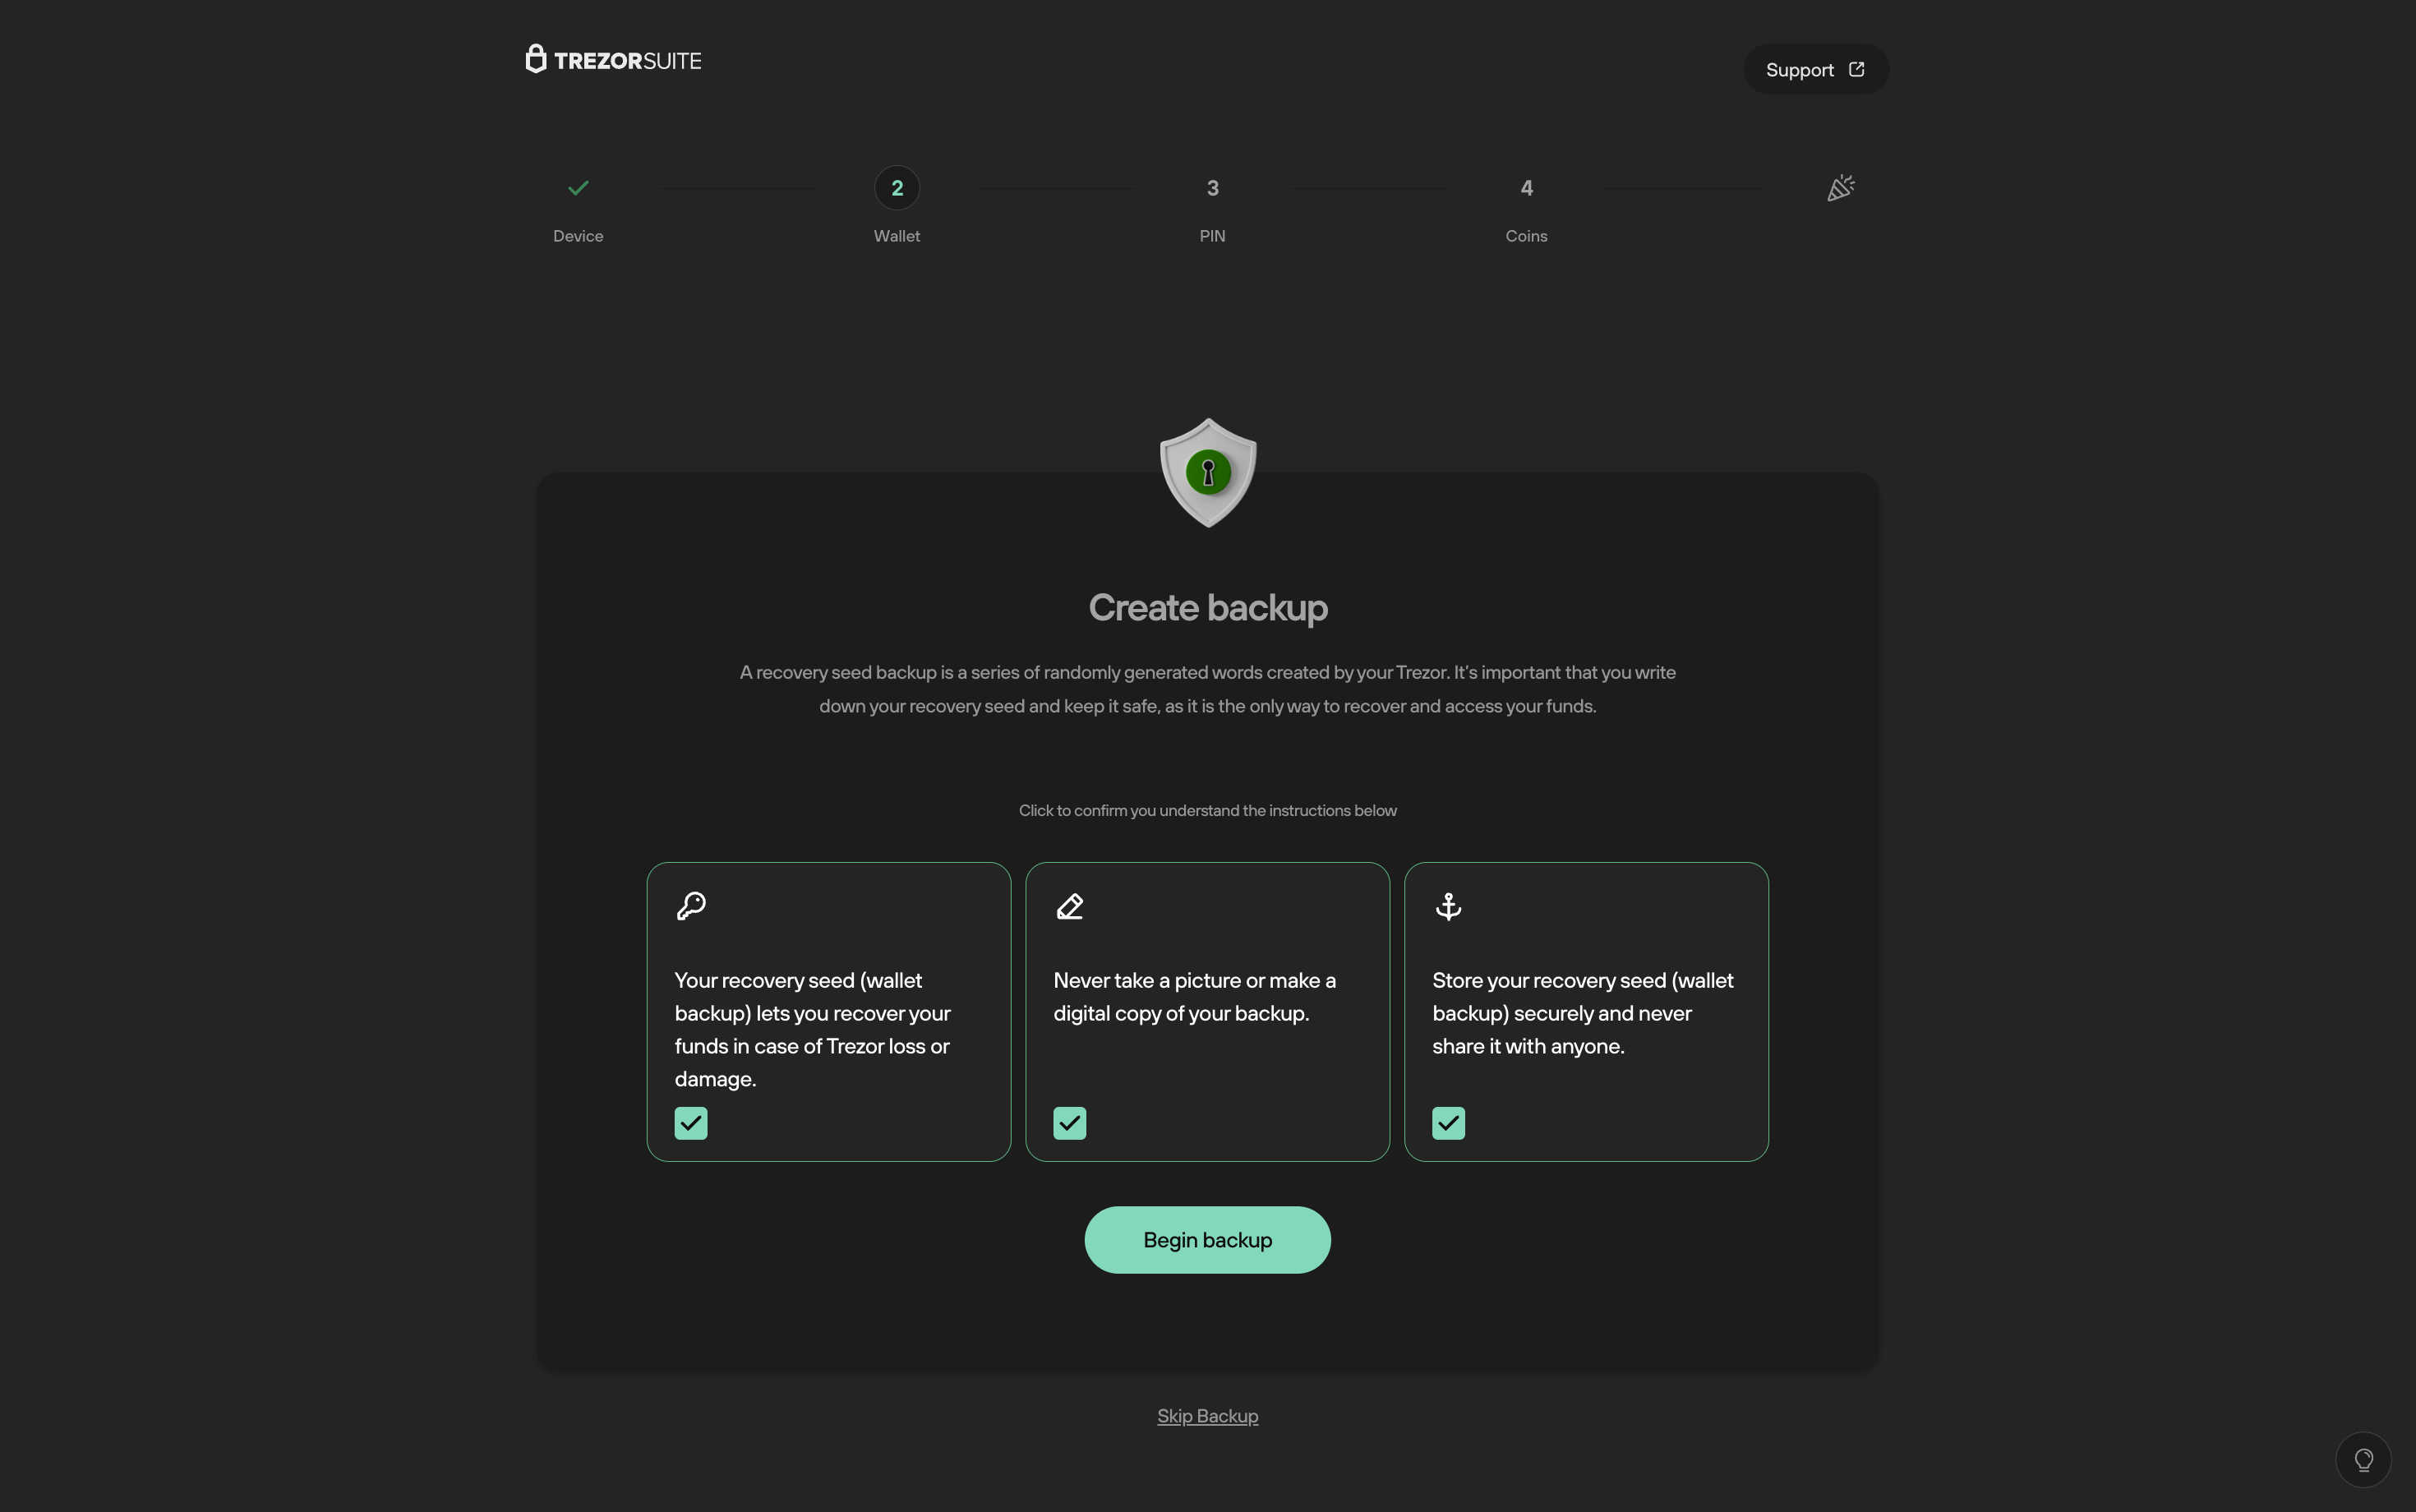
- You’ll then be prompted to confirm that you understand the backup instructions. Once these all have a green check mark, you can hit Begin backup:
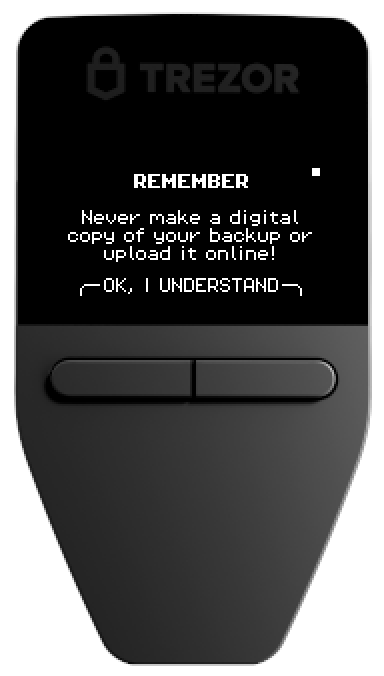
- Your Trezor Safe 3 will ask you to confirm that you understand you shouldn't make digital copies of your wallet backup (recovery seed); select 'OK, I understand' both pressing both buttons on the device:
- Your Trezor Safe 3 will now give you the option to display a list of words generated from the BIP39 word list, which serve as your wallet backup (recovery seed). It's essential to record these words in the correct sequence, and you can use one of the provided wallet backup (recovery seed) cards to do so.
- Press 'Show words' (right button) to proceed.
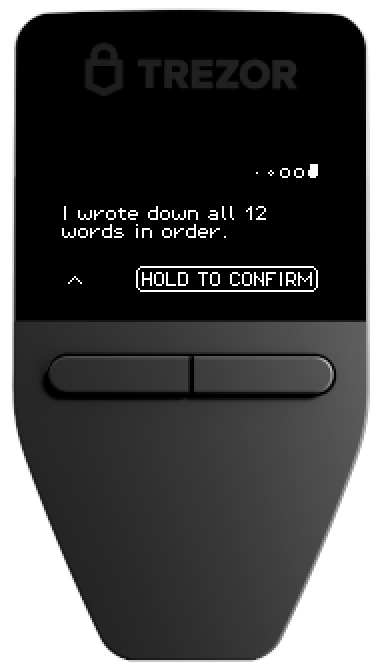
- Once you’ve recorded all of the words in the correct order (12 words is the default wallet backup (recovery seed) length for the 2023 version of the Trezor Safe 3, 20 words is the default wallet backup (recovery seed) length for devices produced in 2024 and onwards) you will then confirm that 'I wrote down all 12 words in order' or 'I wrote down all 20 words in order' by using the 'Hold to confirm' button on the device:
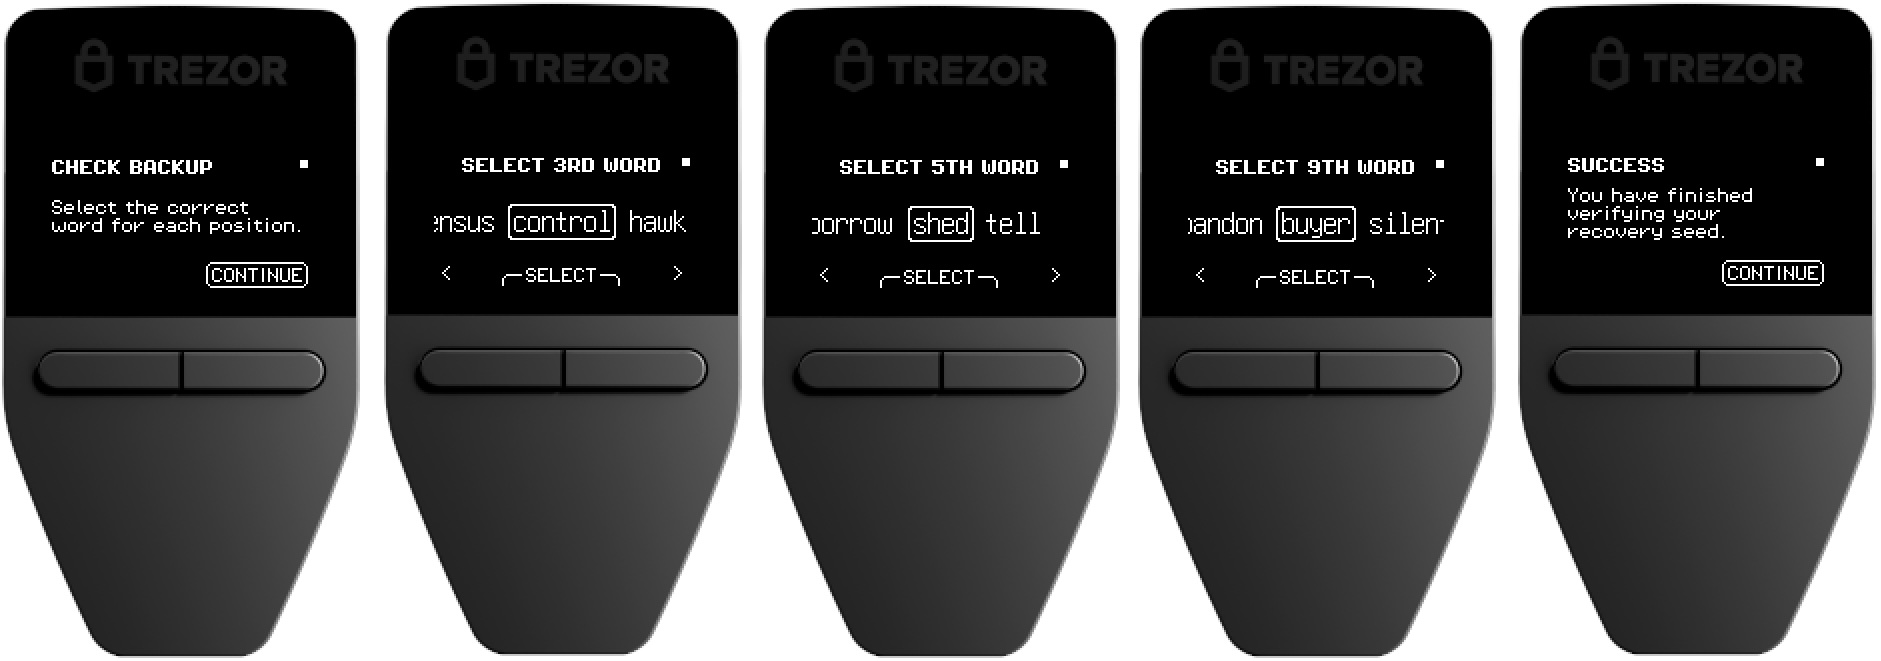
- You then need to check your backup is correct by selecting the requested words from your wallet backup (recovery seed), as instructed by your Trezor. After completing this process, you will see the message ‘You have finished verifying your recovery seed’ and can proceed by pressing the Continue button:
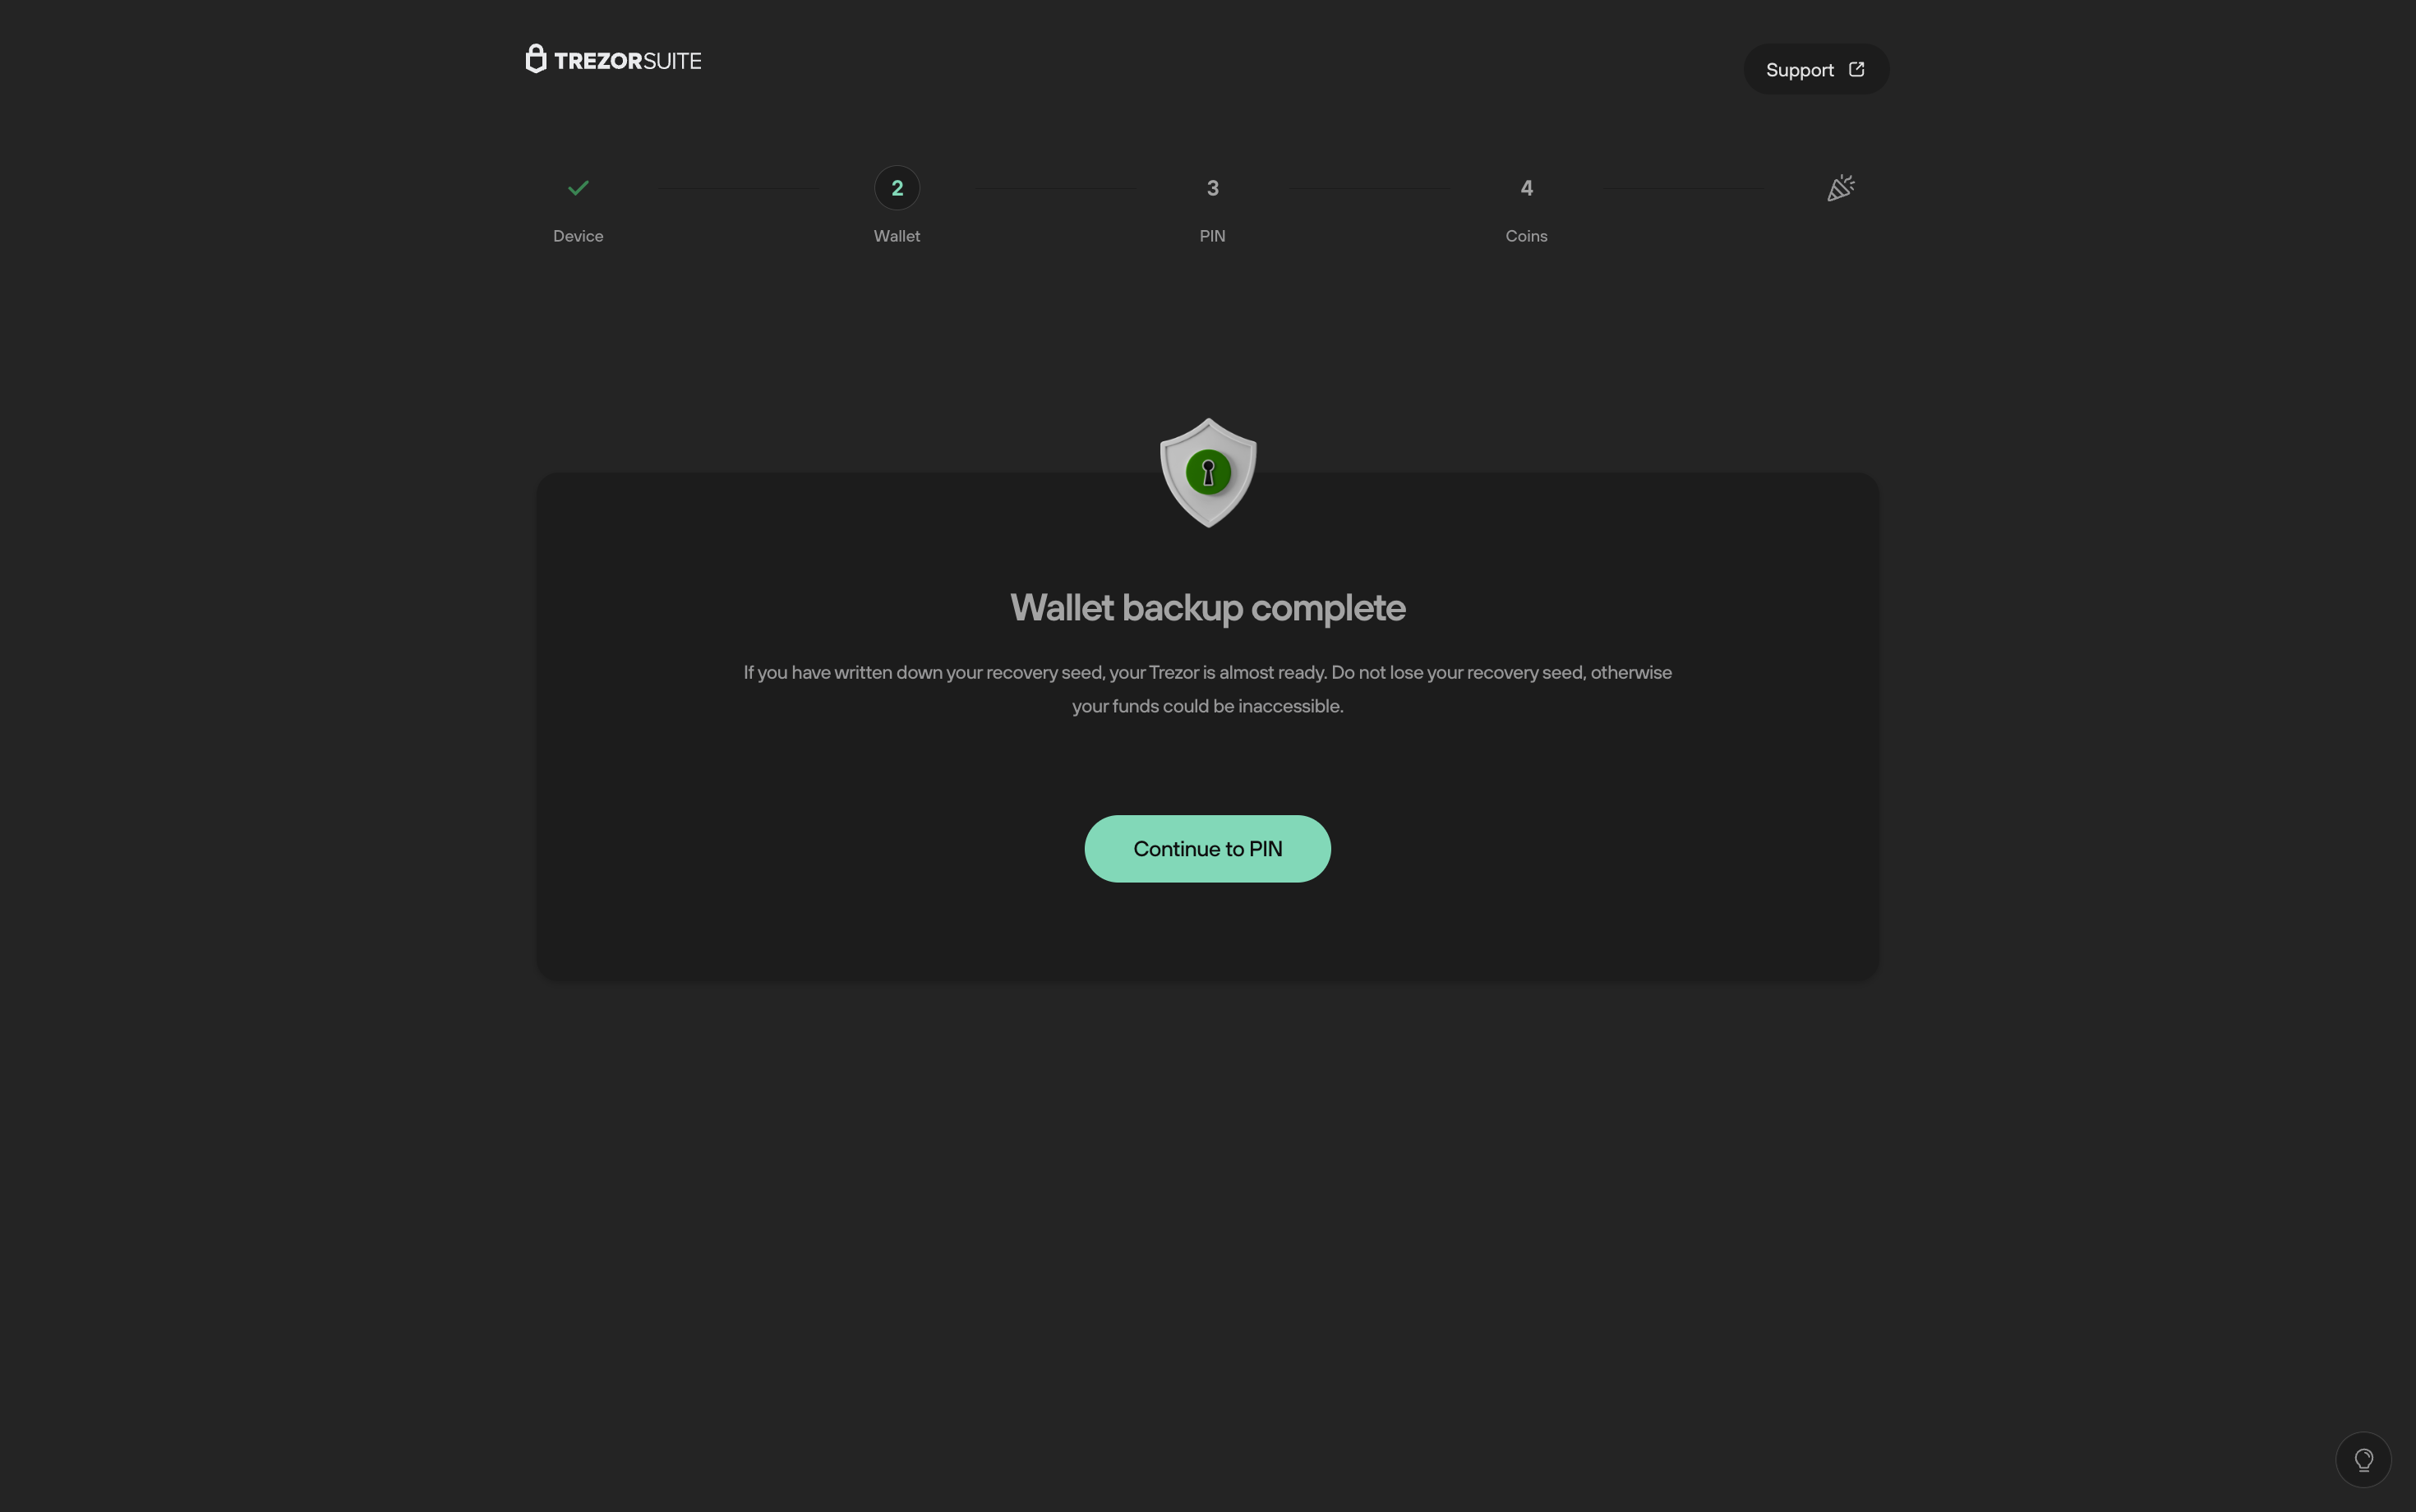
- With the wallet backup complete, you can proceed with setting up a PIN to protect your device from unauthorized physical access
- In the ‘Wallet backup complete’ window, select Continue to PIN:
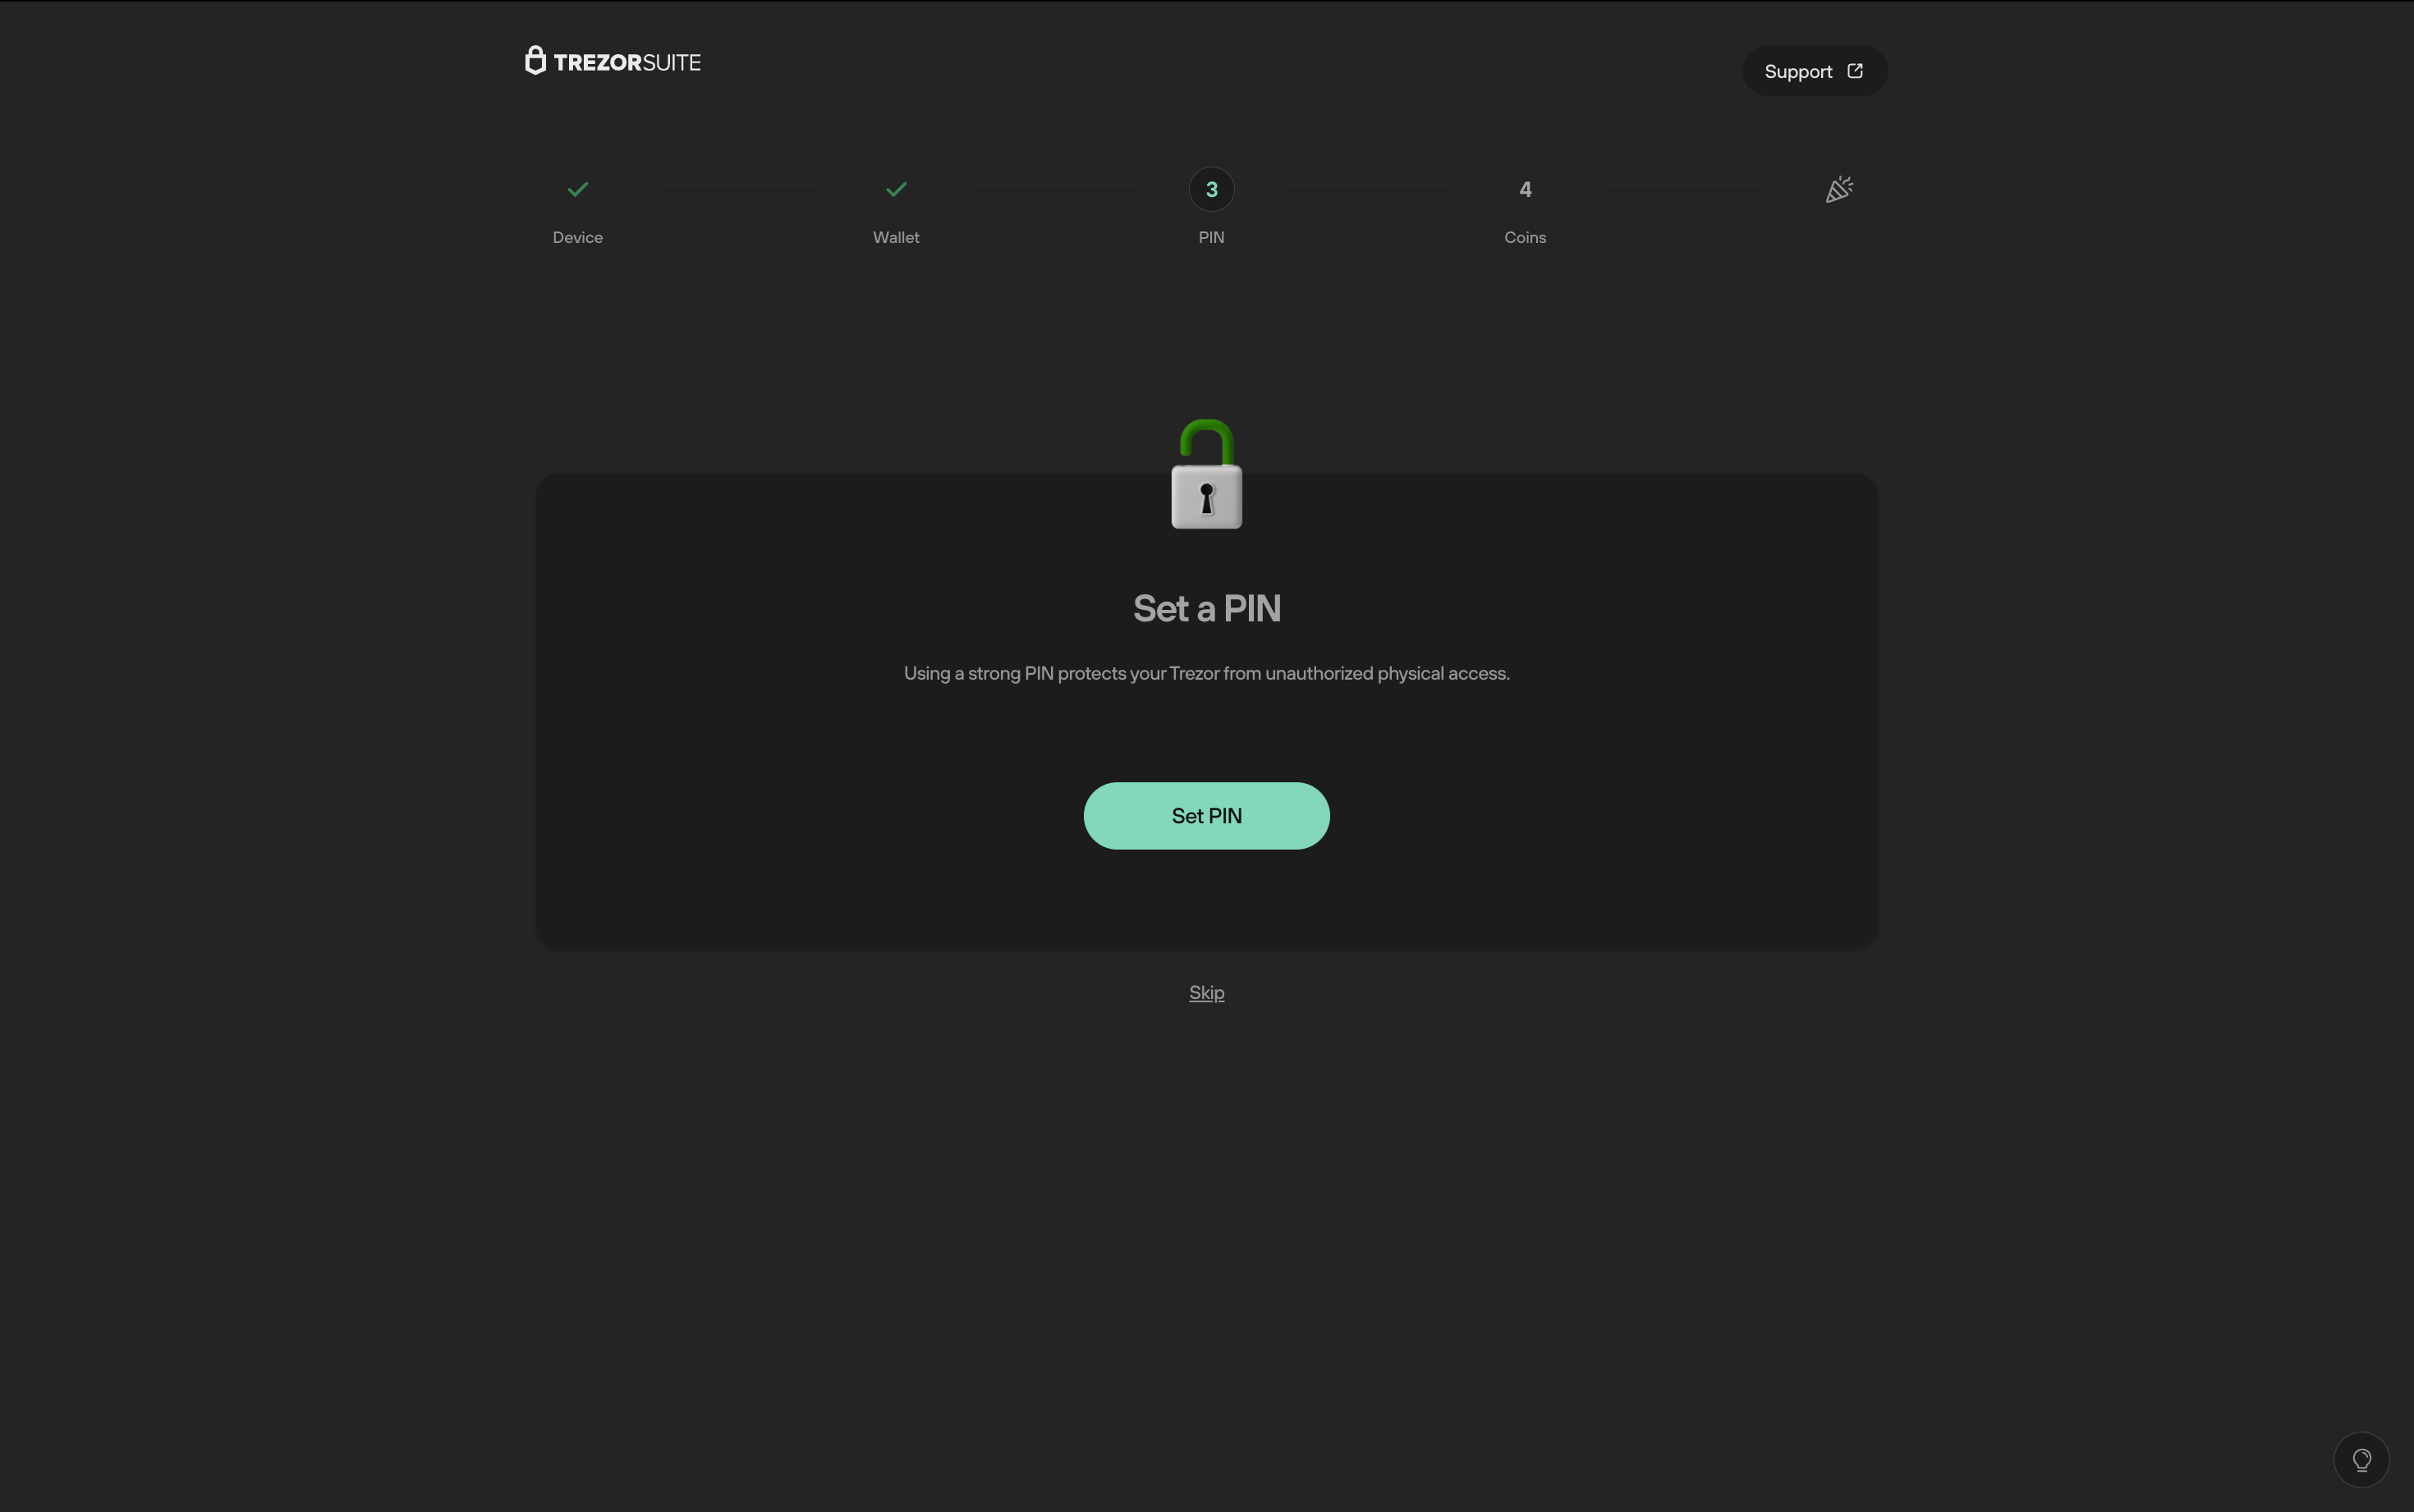
- On the next screen, select Set PIN:
- Your Trezor will prompt you with the question 'Turn on PIN protection?' To confirm, press 'Turn on' (right button).
- After selecting 'Turn on' you must enter your new PIN directly on the Trezor Safe 3 using the buttons on the device.
- Using the left and right buttons on the Trezor Safe 3 navigate to the numbers you want for your PIN and press both buttons to 'Select' it. The position of the cursor will change each time for security purposes.
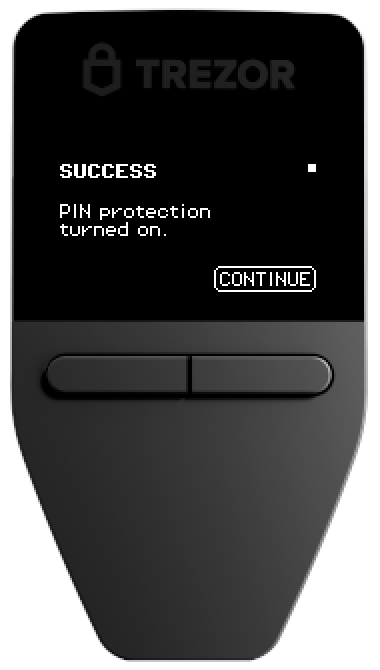
- Once complete, your device will display the message ‘PIN protection turned on’; select 'Continue' to proceed:
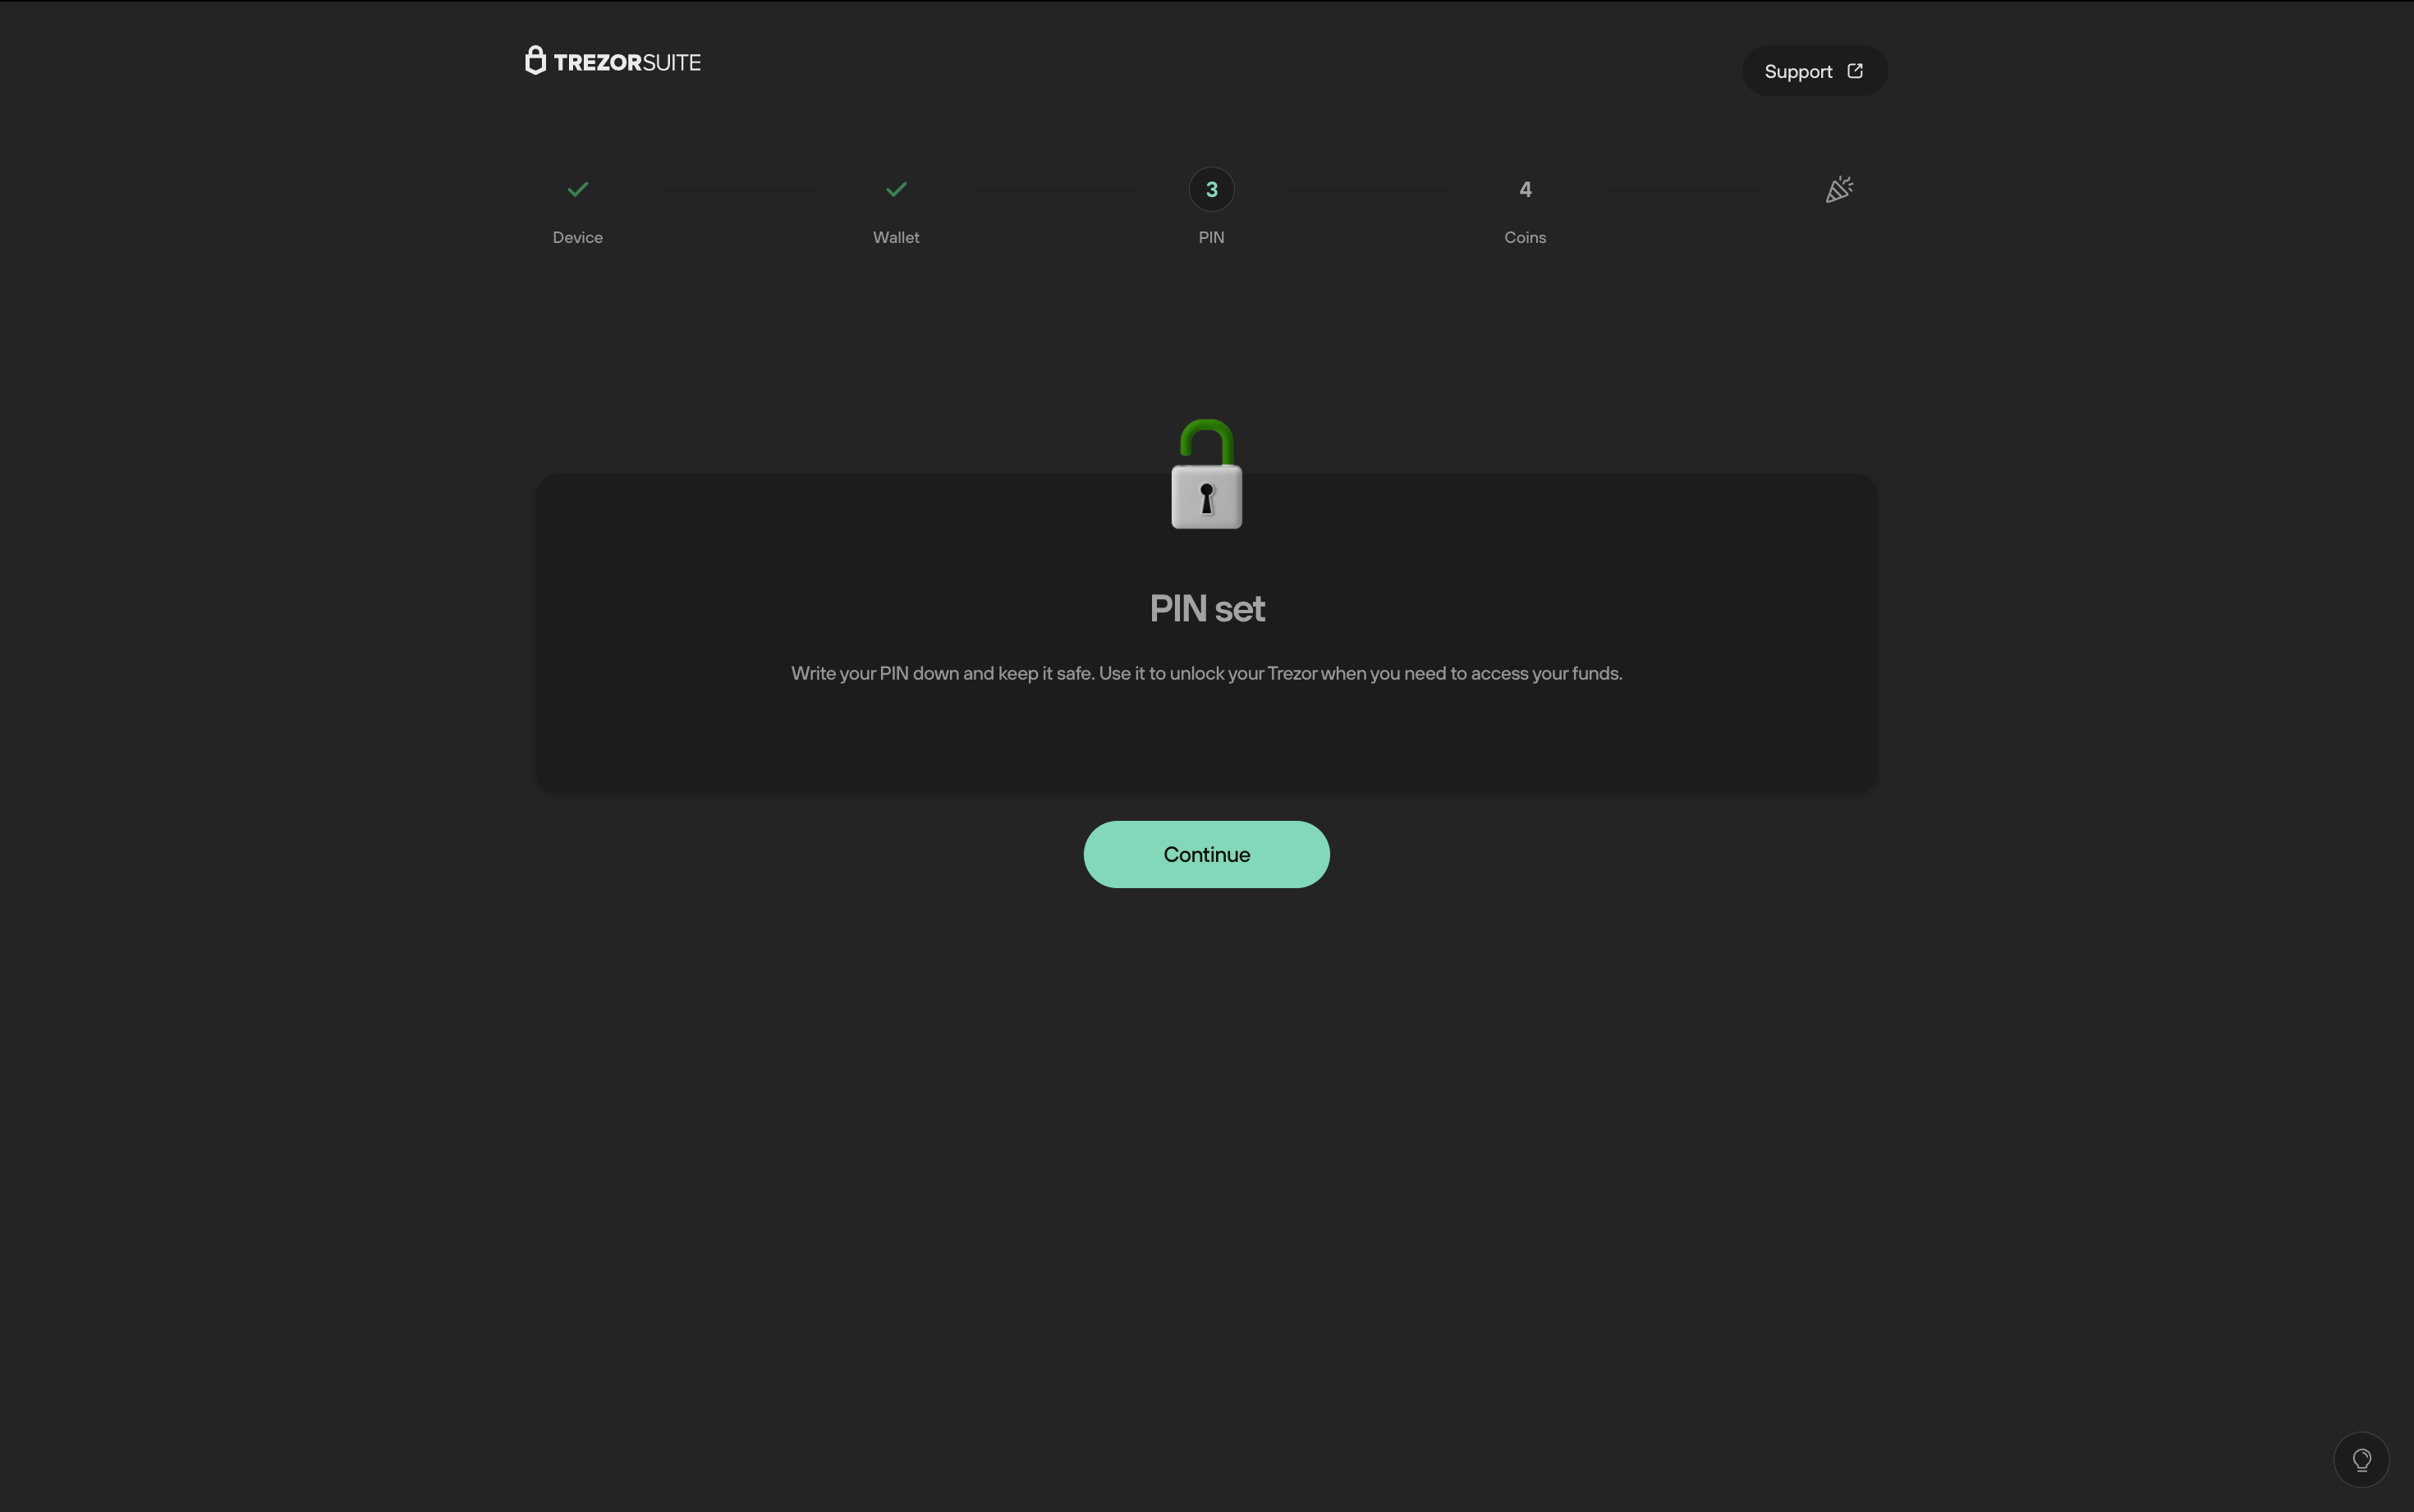
- Trezor Suite will show the confirmatory ‘PIN set’ window:
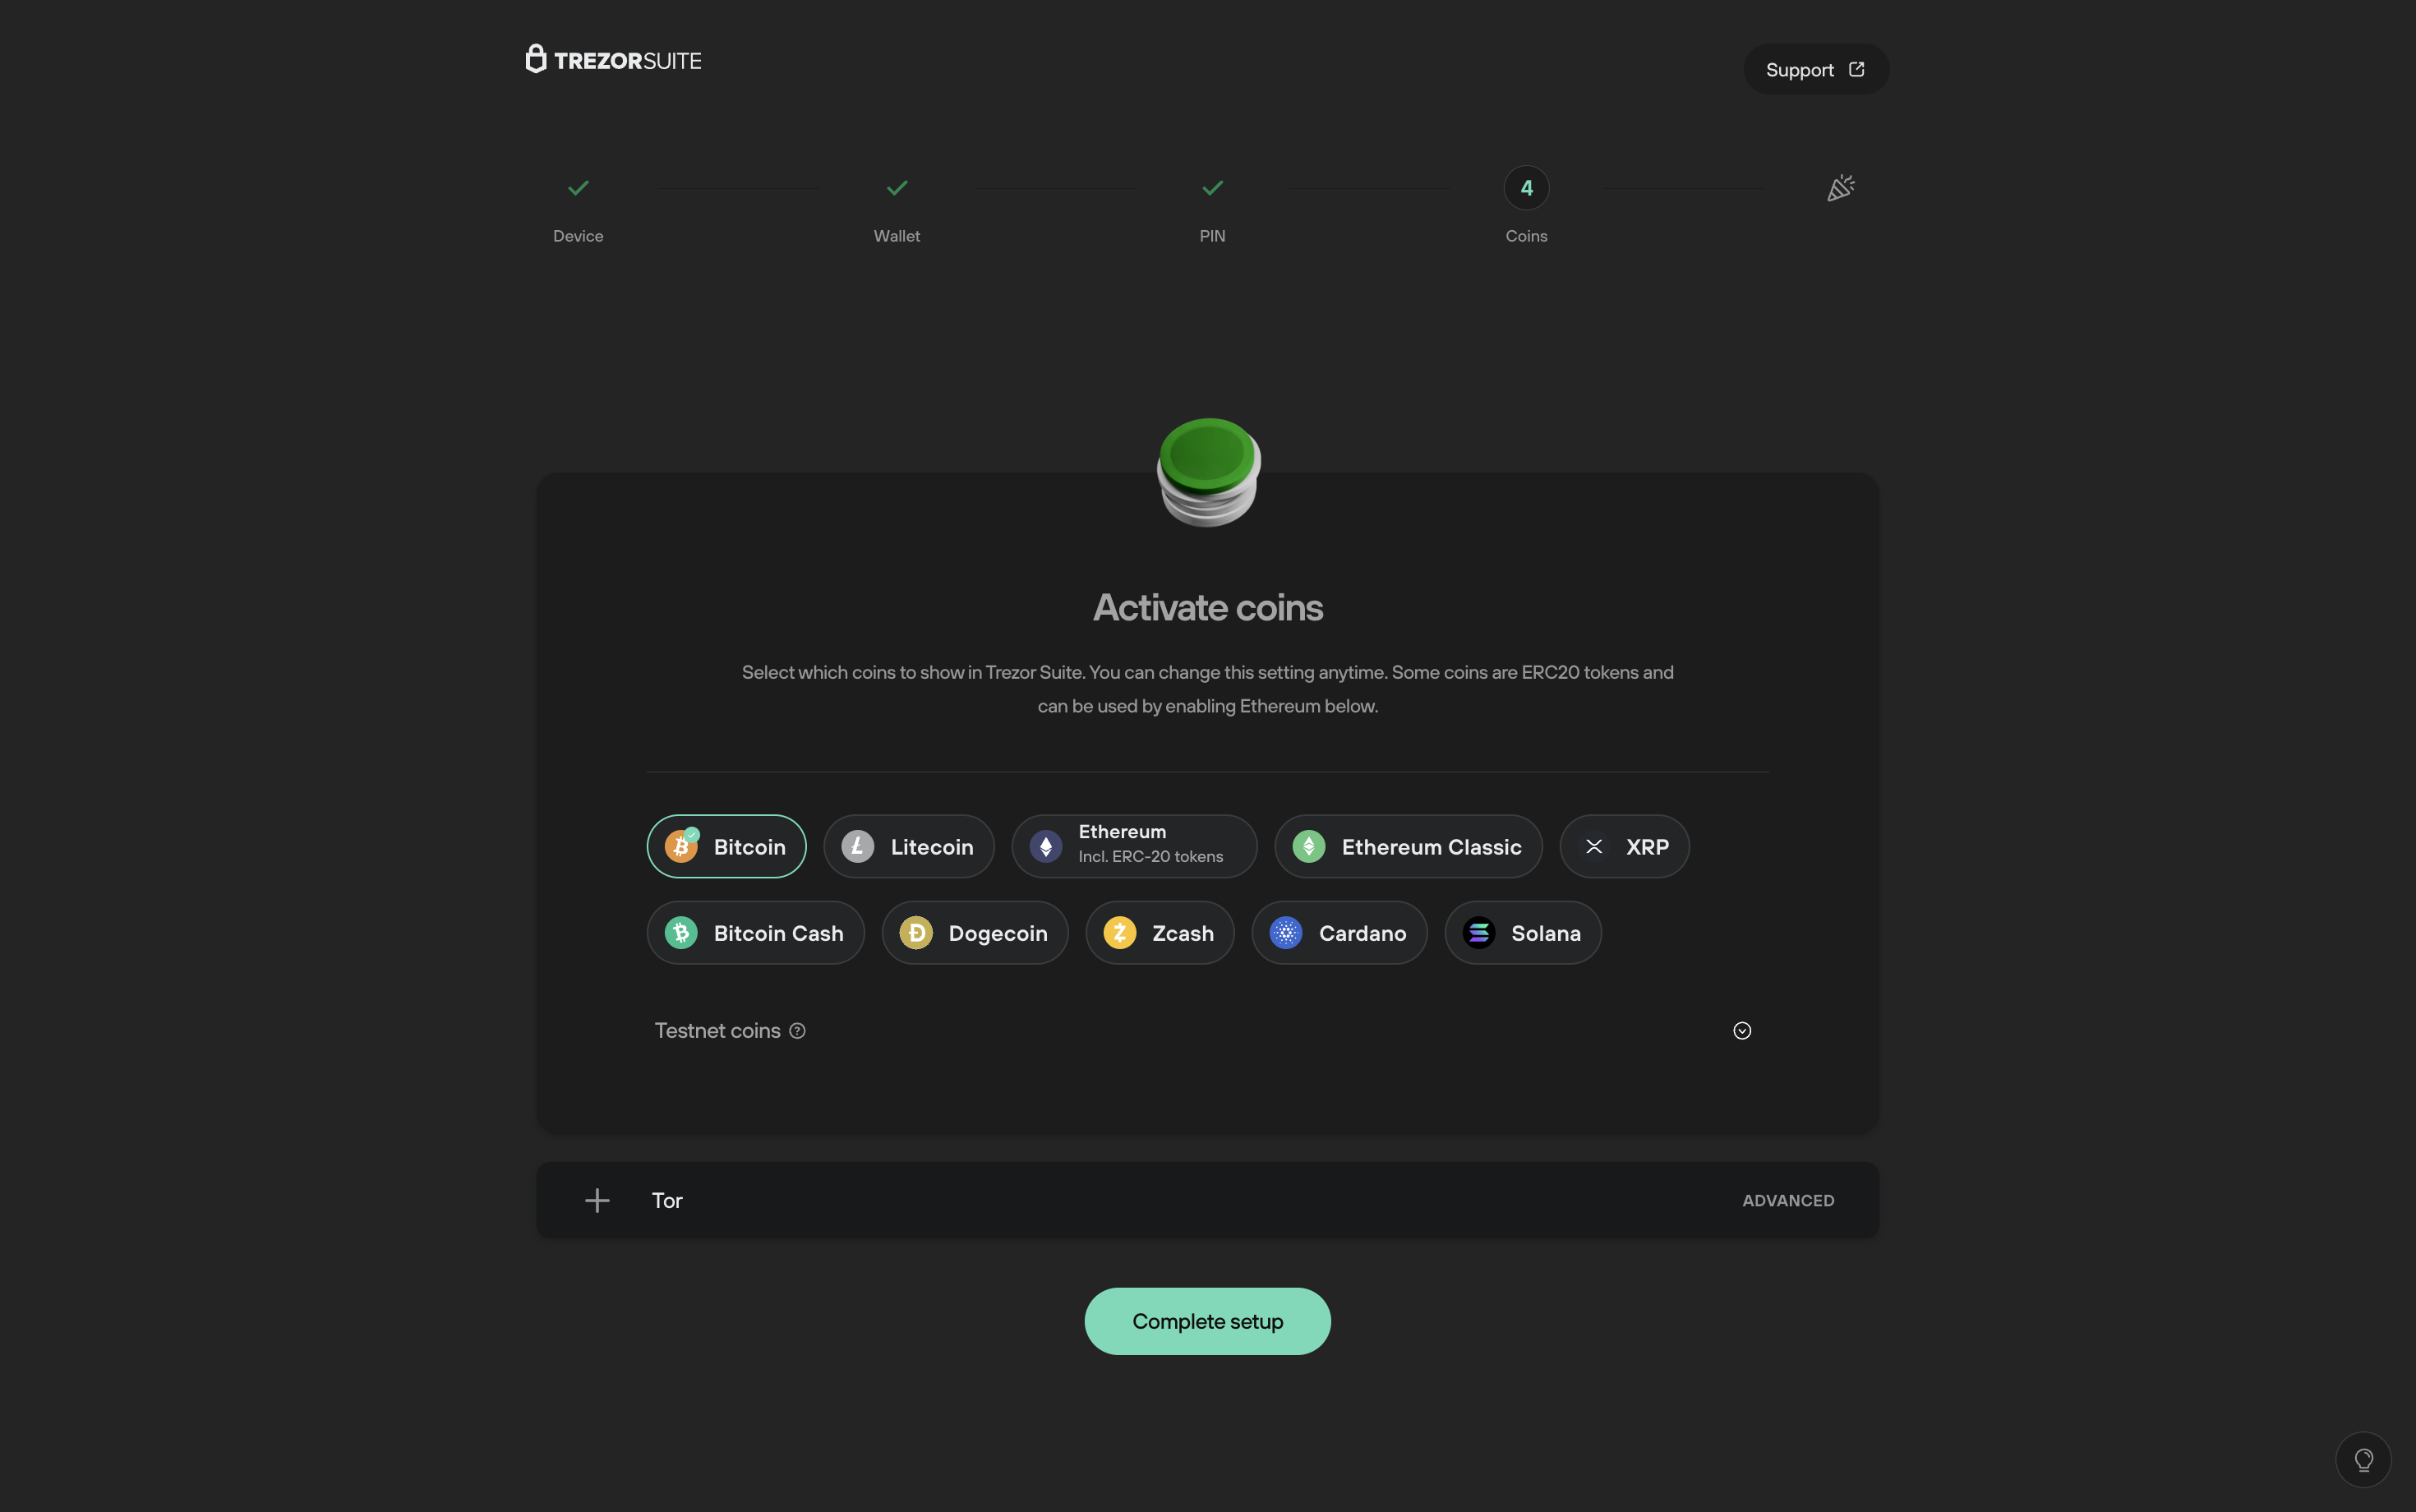
- Press Continue and you will be directed to the ‘Activate Coins’ window, where you’re free to choose which cryptocurrencies are shown in Trezor Suite. This setting can be changed at any time, along with the other (advanced) settings.
- Once you’re happy with your selection of active coins, click Complete setup and you’re all done:
- For a more personal experience, you can choose a name for your Trezor Safe 3 and even change the homescreen wallpaper. Both actions must be confirmed on the Trezor Safe 3 device. Once you are done, click on Access Suite to get started:
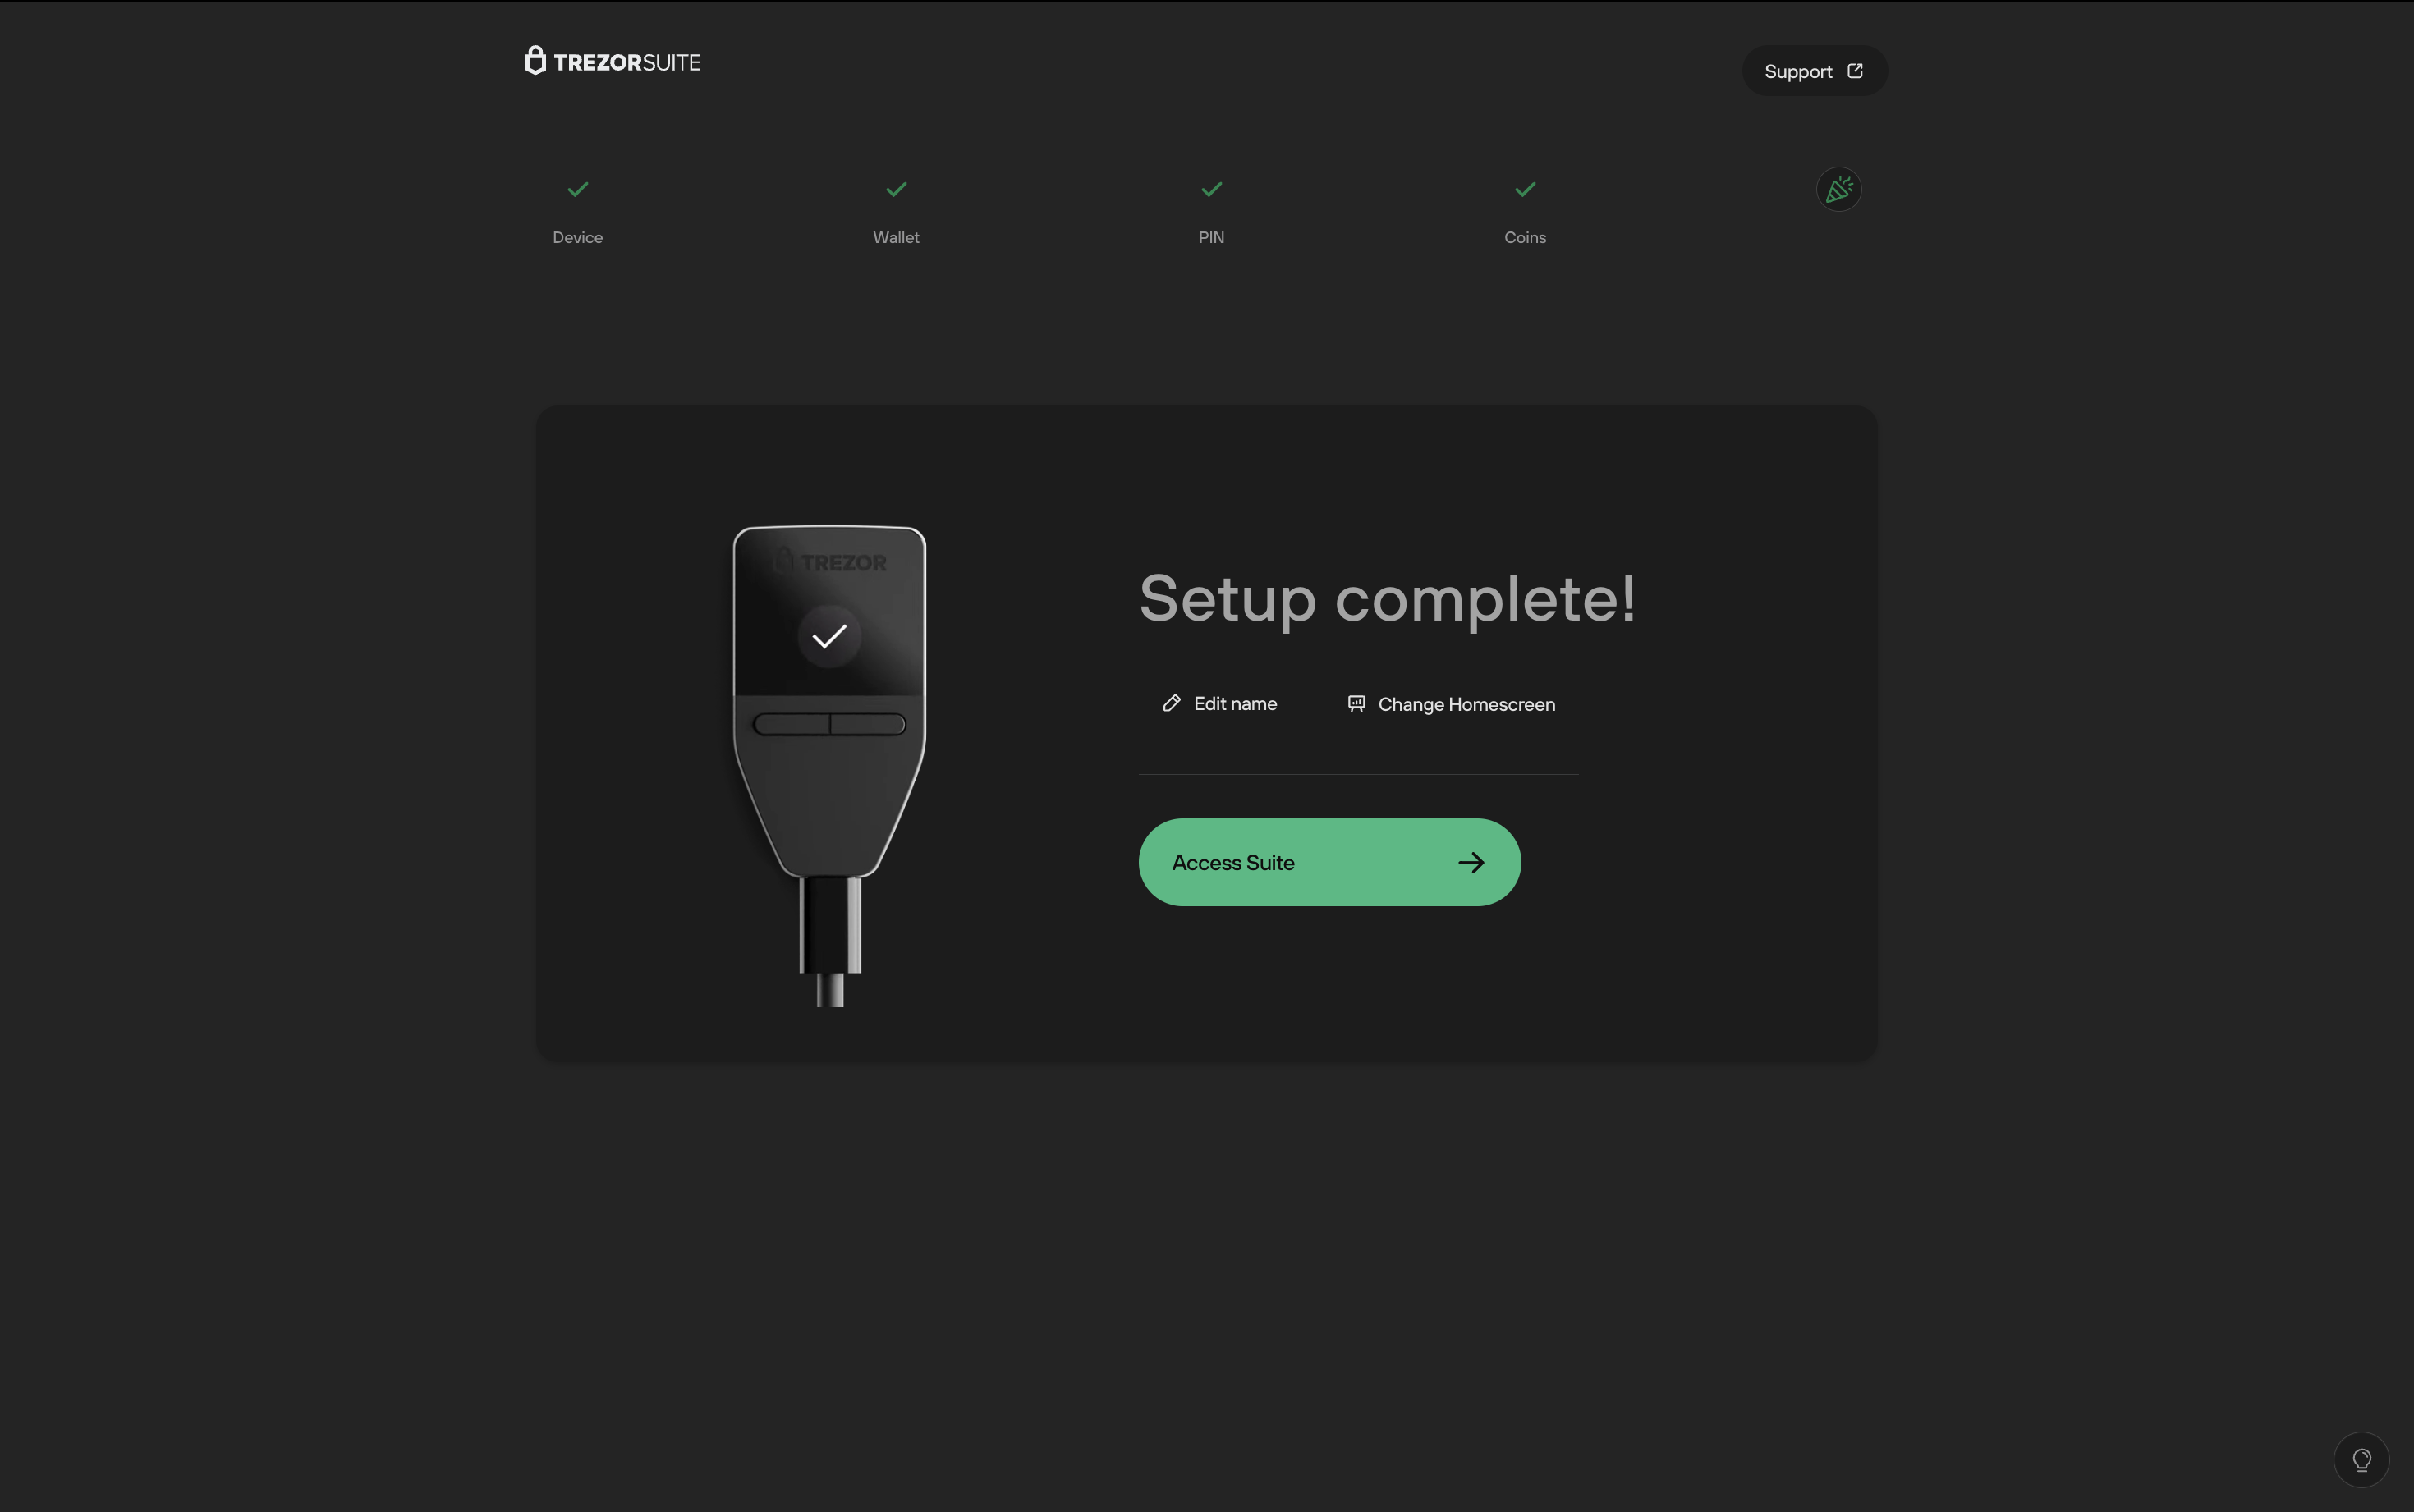
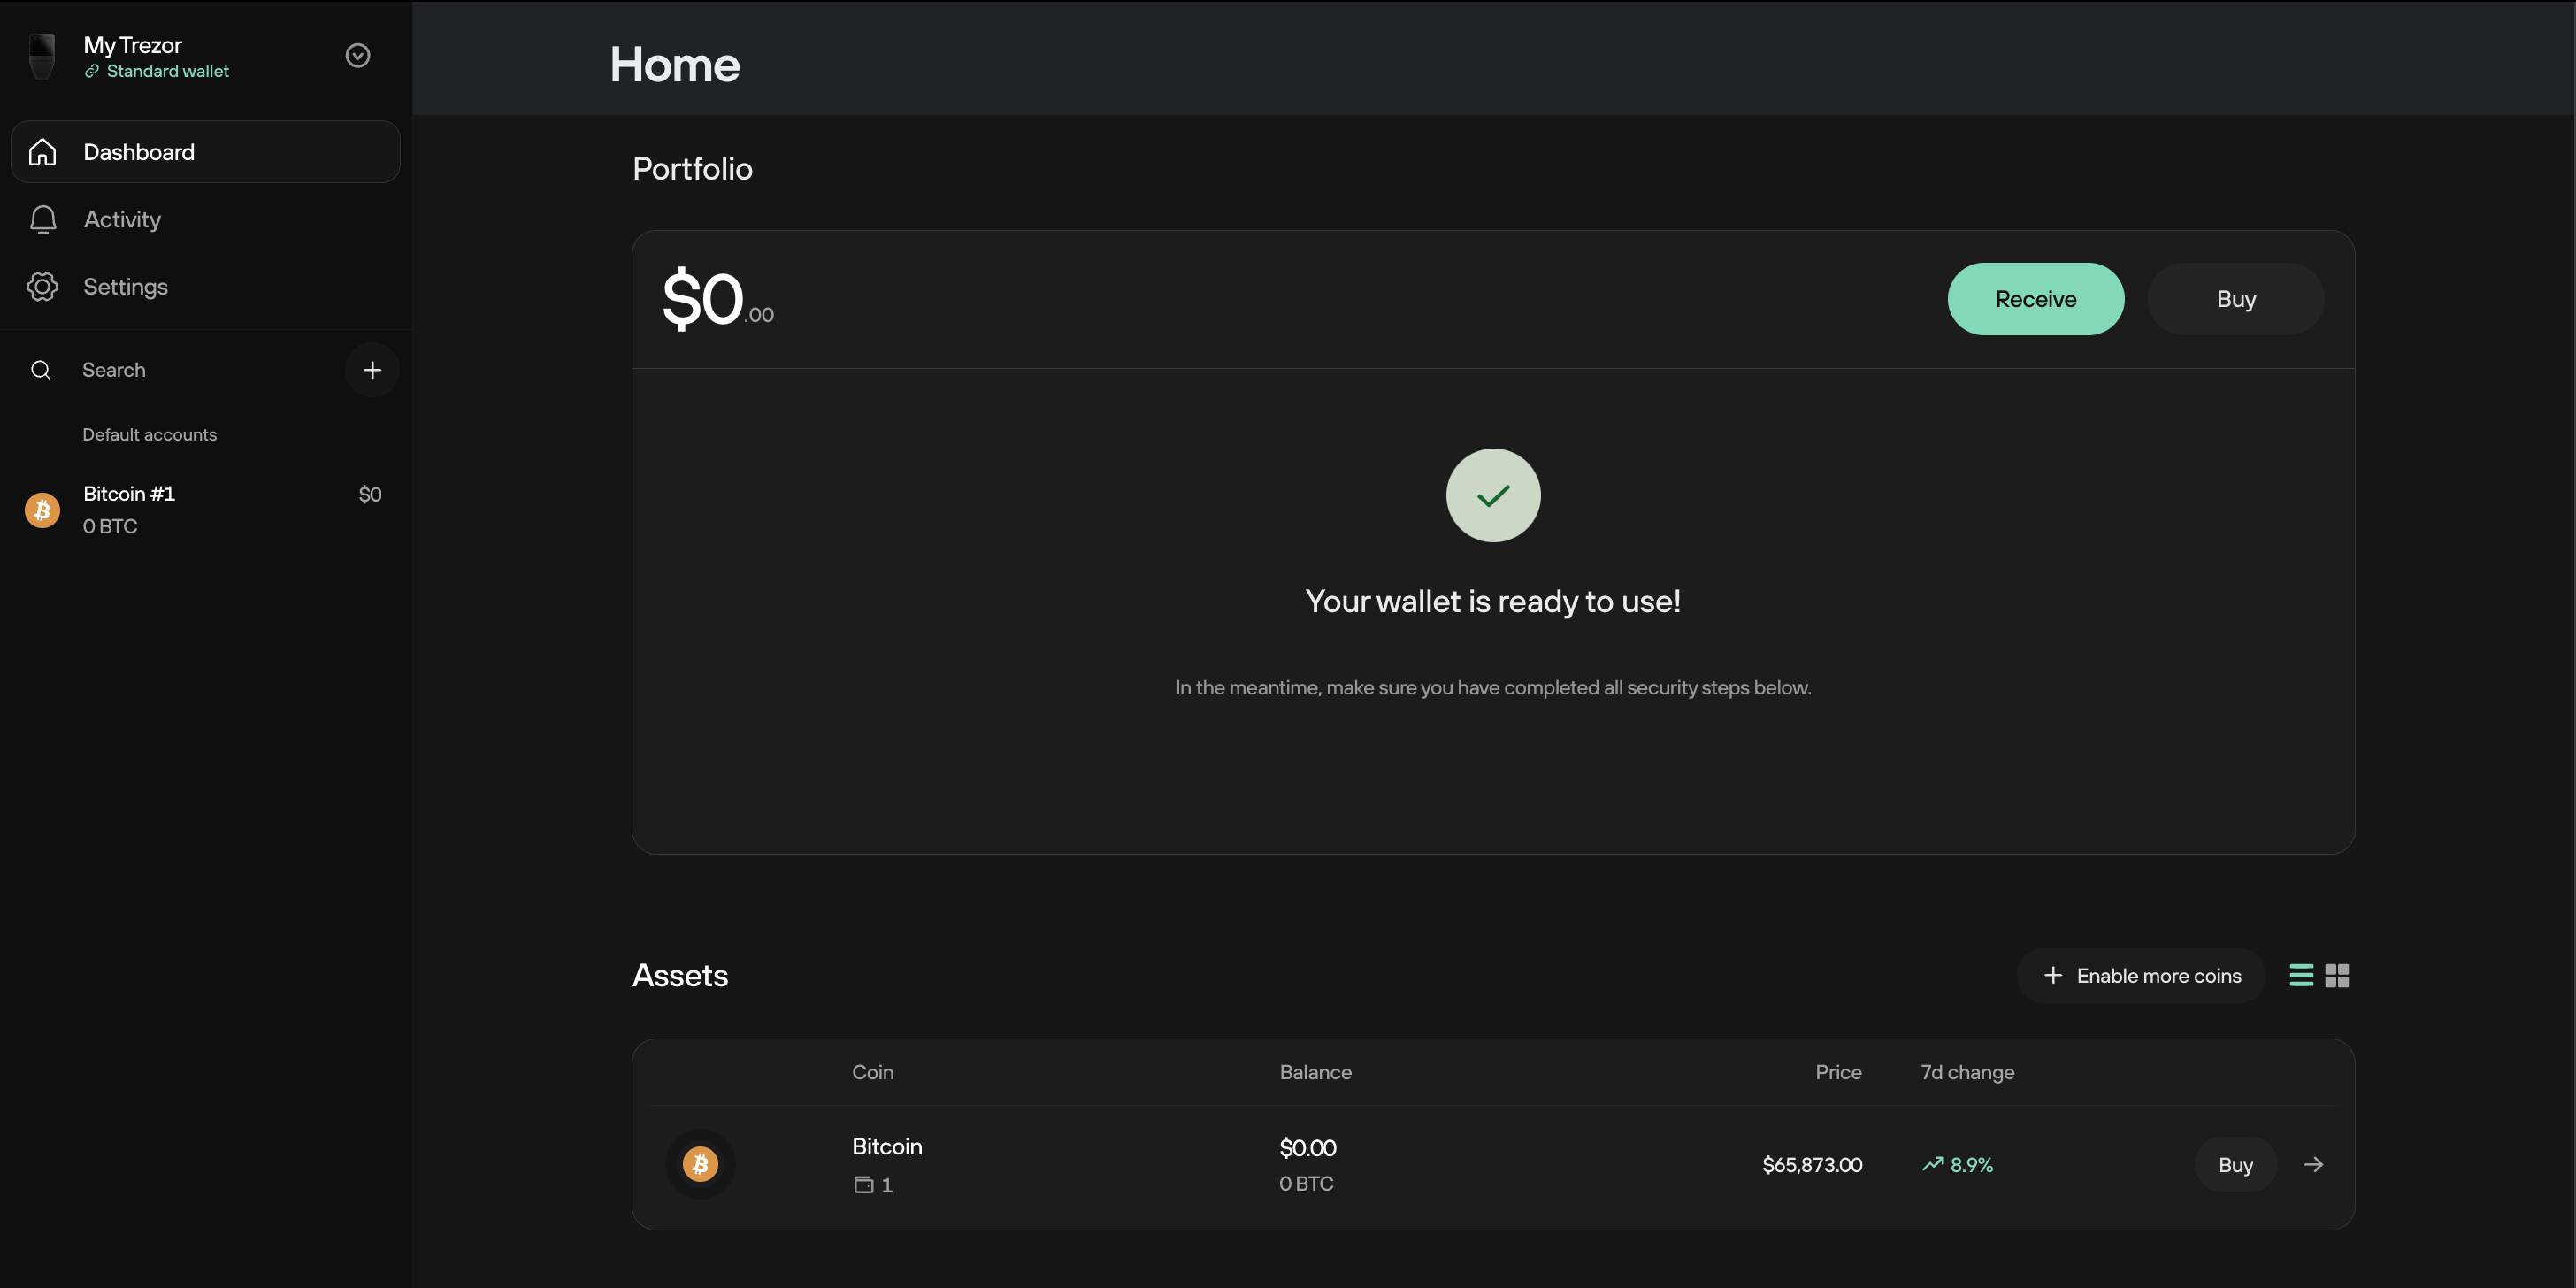
- That's it! You’re in Trezor Suite and your wallet is ready to use:
FAQs
What about the 'Recover wallet' option?
If you already have a wallet backup (recovery seed) from another Trezor device that you'd like to use with your Trezor Safe 3, you can consult our article on how to recover your wallet on the Trezor Safe 3.
However, if you're transitioning from a non-Trezor hardware or software wallet, we recommend creating a new wallet with a fresh wallet backup (recovery seed) and transferring your funds to this new seed.
What if I'm using an initialized Trezor Safe 3?
If you're using an already initialized Trezor Safe 3 and find yourself locked out due to a forgotten PIN or wish to load a different wallet backup (recovery seed), you’ll need to first Factory reset or Wipe device respectively. This introduces some small but important changes to the look of the initialization processes described above.
- If you’ve forgotten your PIN then you’ll need to reset the device in Bootloader mode, i.e., perform a 'Factory reset'. In this case, the firmware is removed along with all other private information including the PIN and wallet backup (recovery seed). As this restores the device to its original factory condition, the initialization process is the same as above.
- If you know your PIN and select Wipe device in Trezor Suite, you’ll still remove all of your private data (including PIN and wallet backup (recovery seed)) but the firmware is not removed. In this case, the initialization process looks a little different.
- Once you’ve connected your device, the first ‘Security check’ window now looks like this:
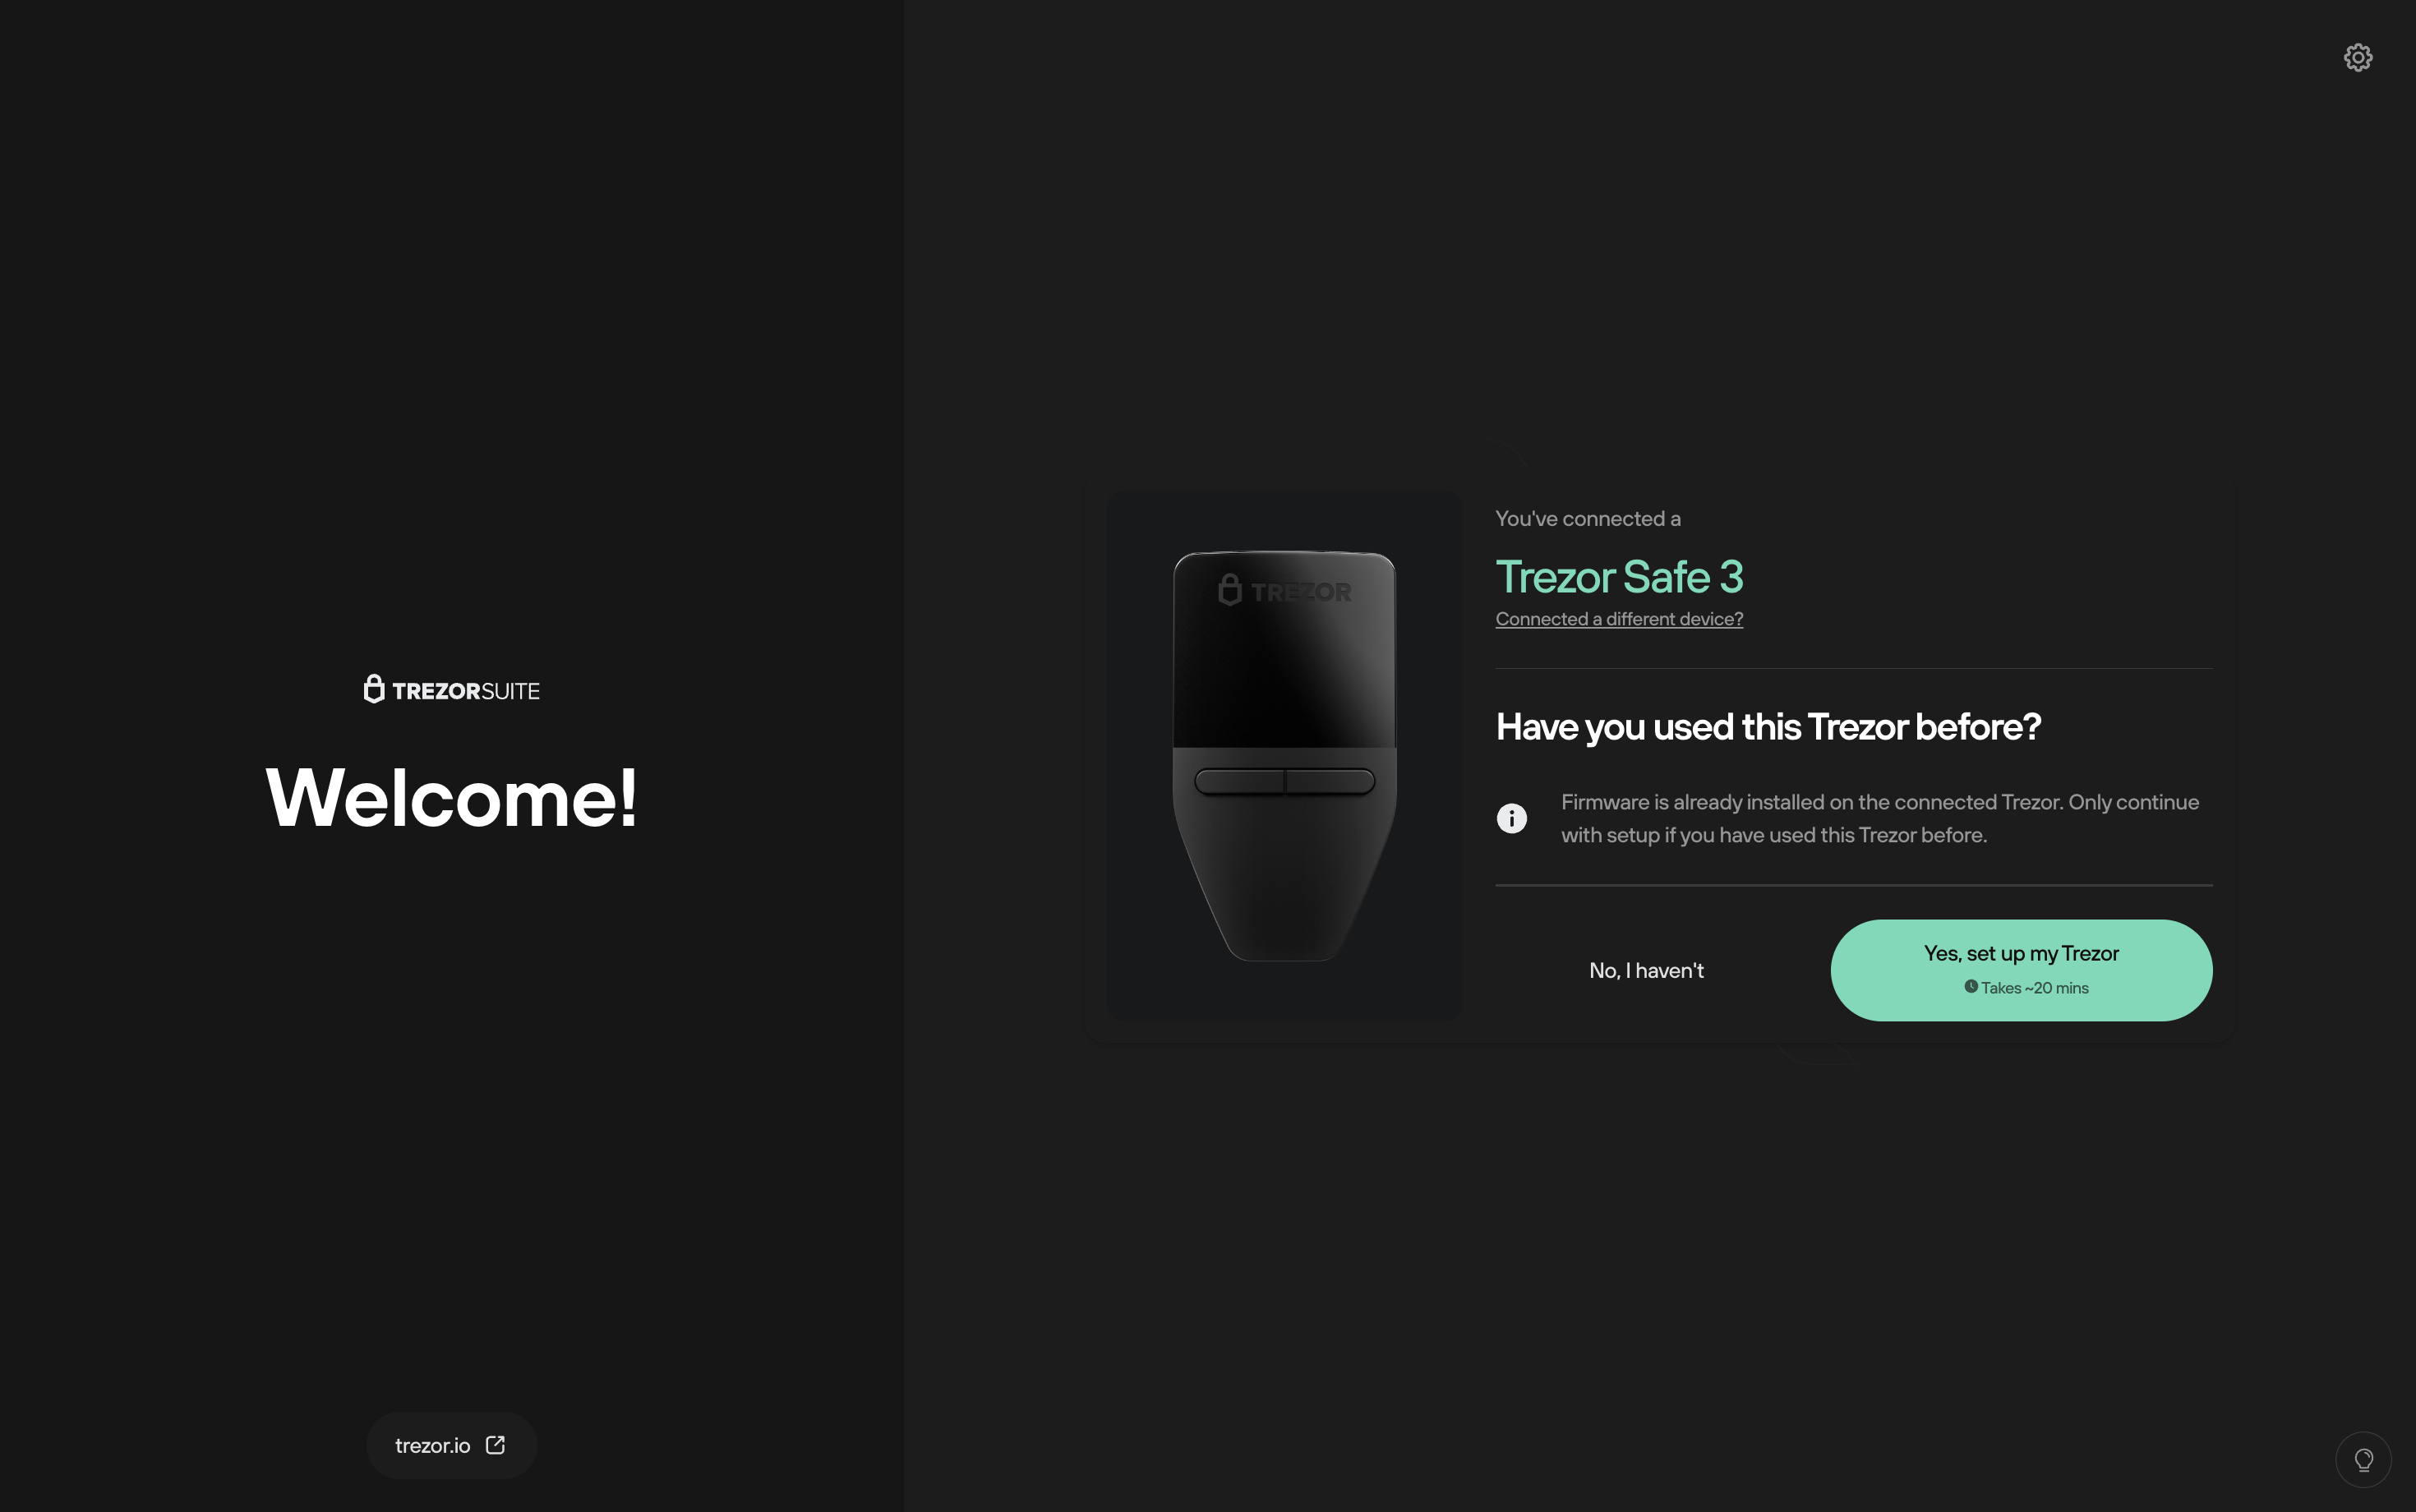
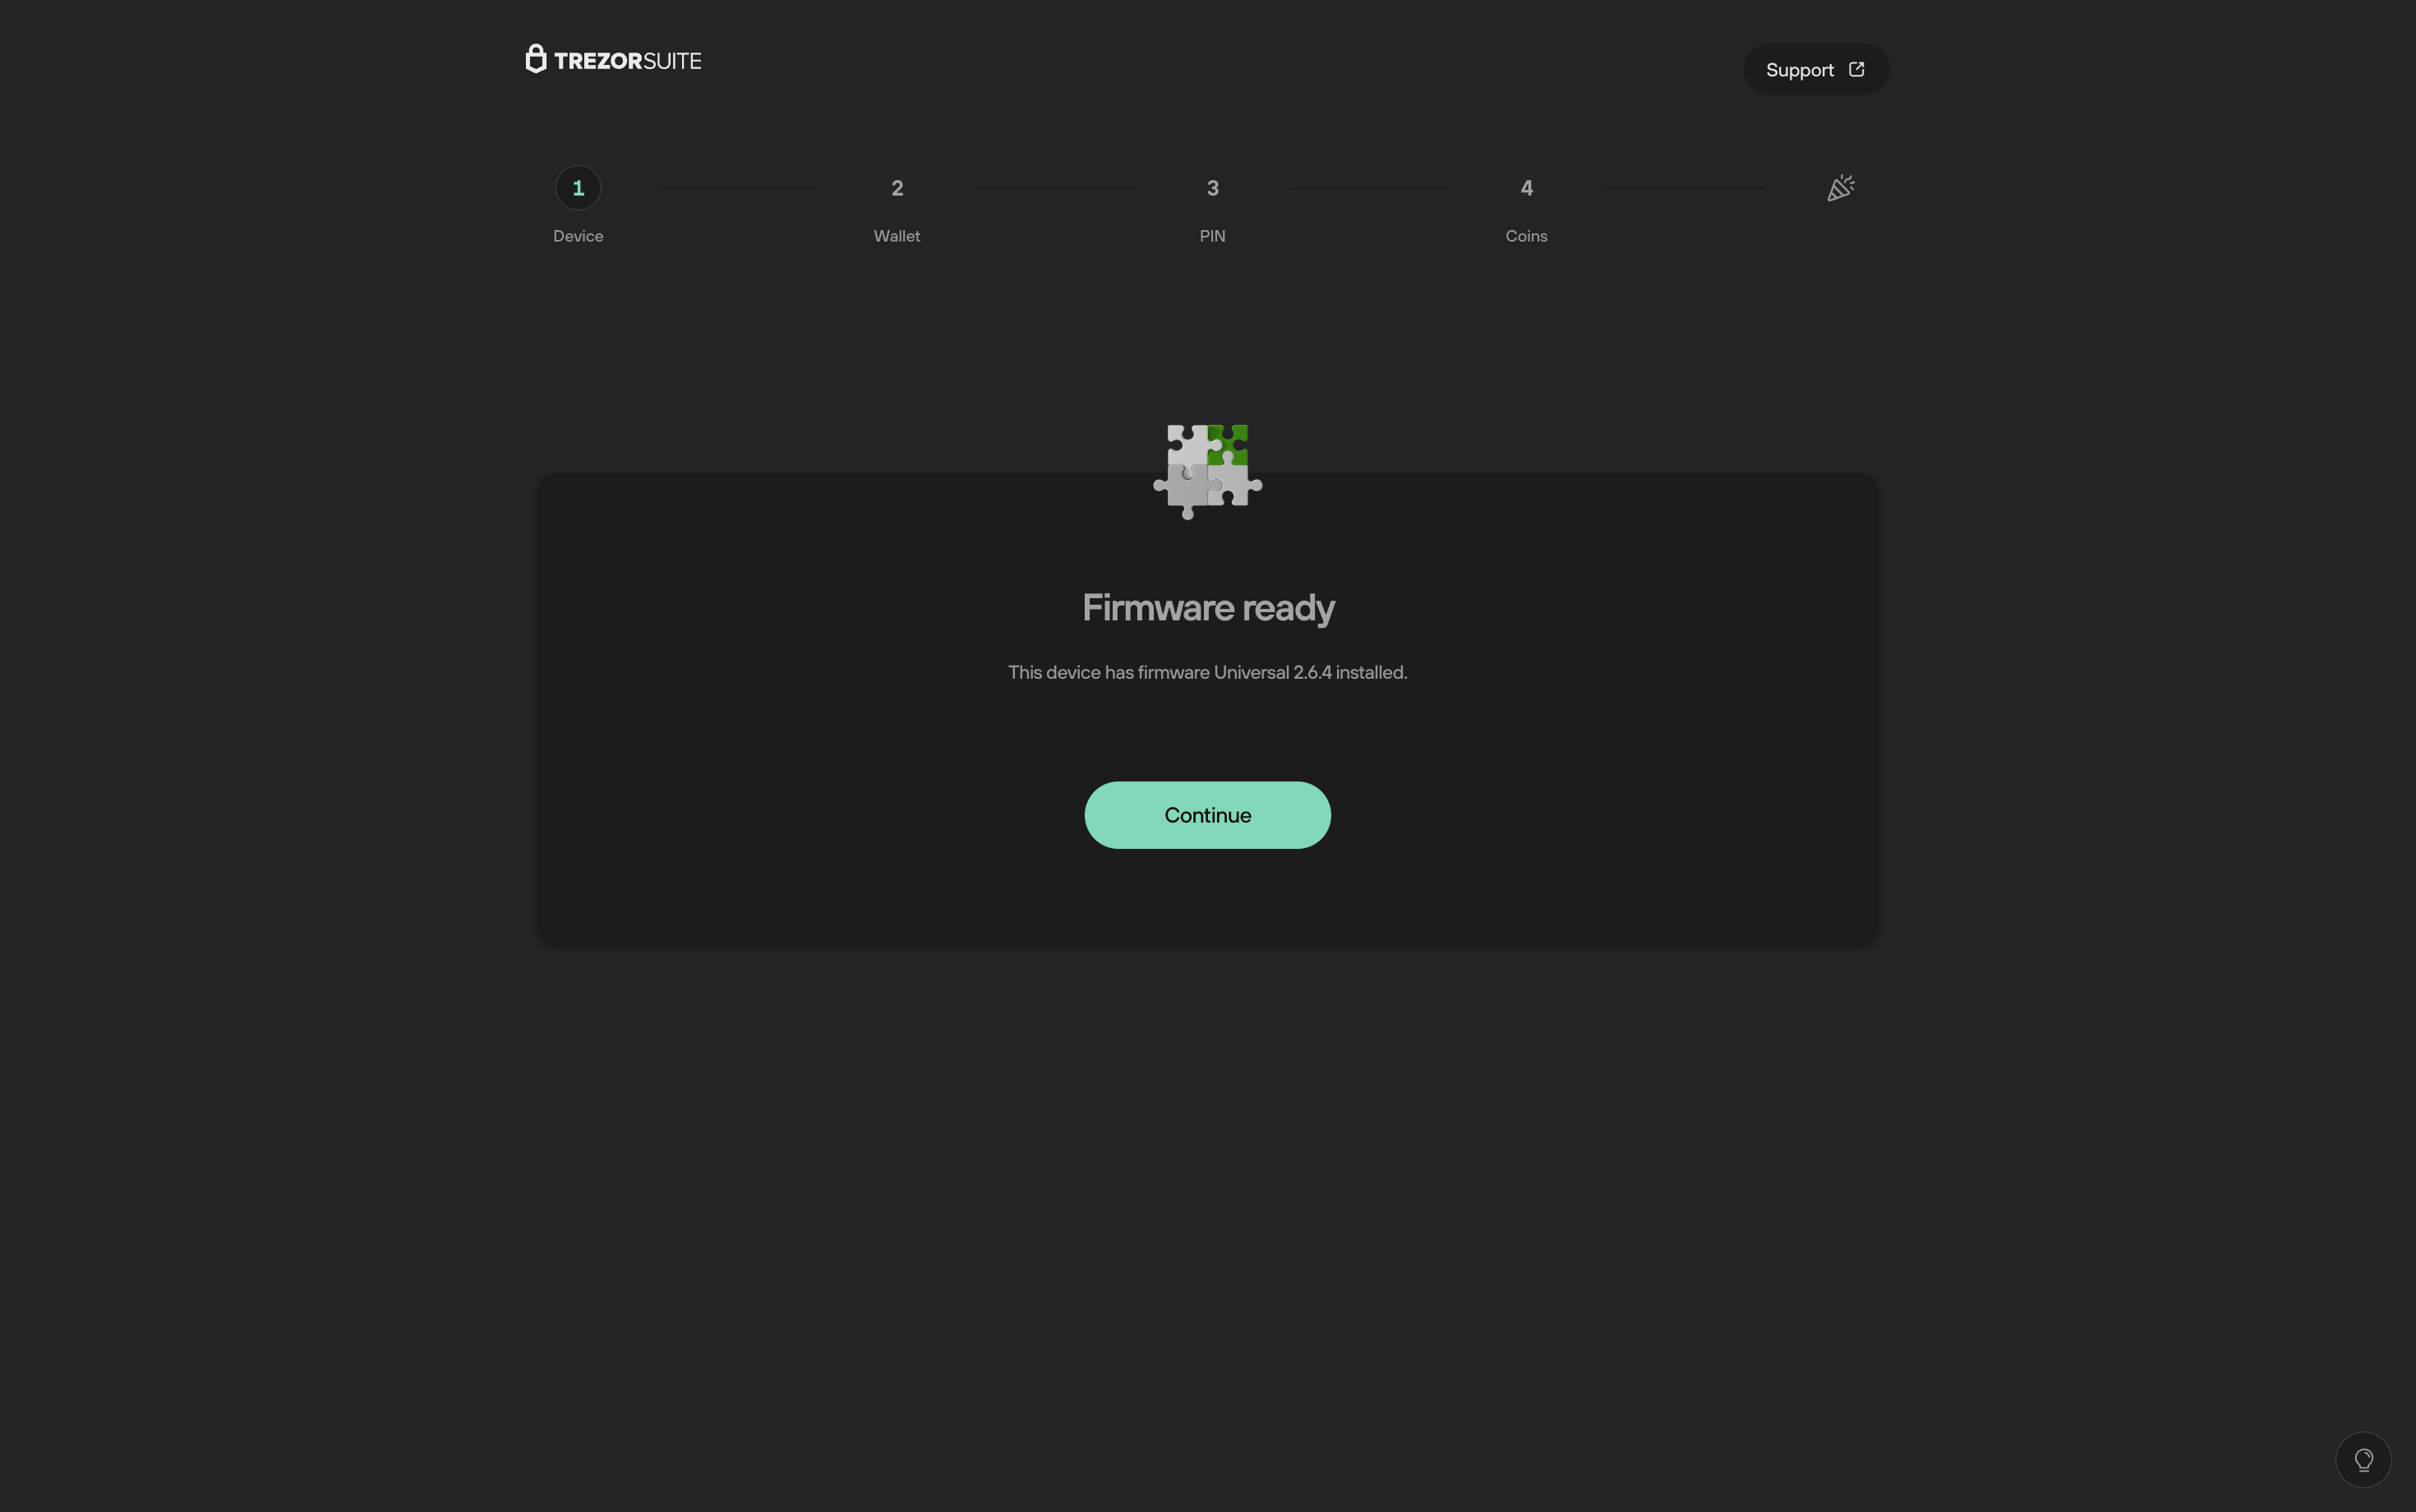
If you're confident that the device is safe to proceed with, click Yes, set up my Trezor to get to the 'Firmware ready' confirmation dialogue:
After completing the device authenticity checks and tutorial, you'll see the same options as in a first-time setup, i.e., 'Create new wallet' and 'Recover wallet':
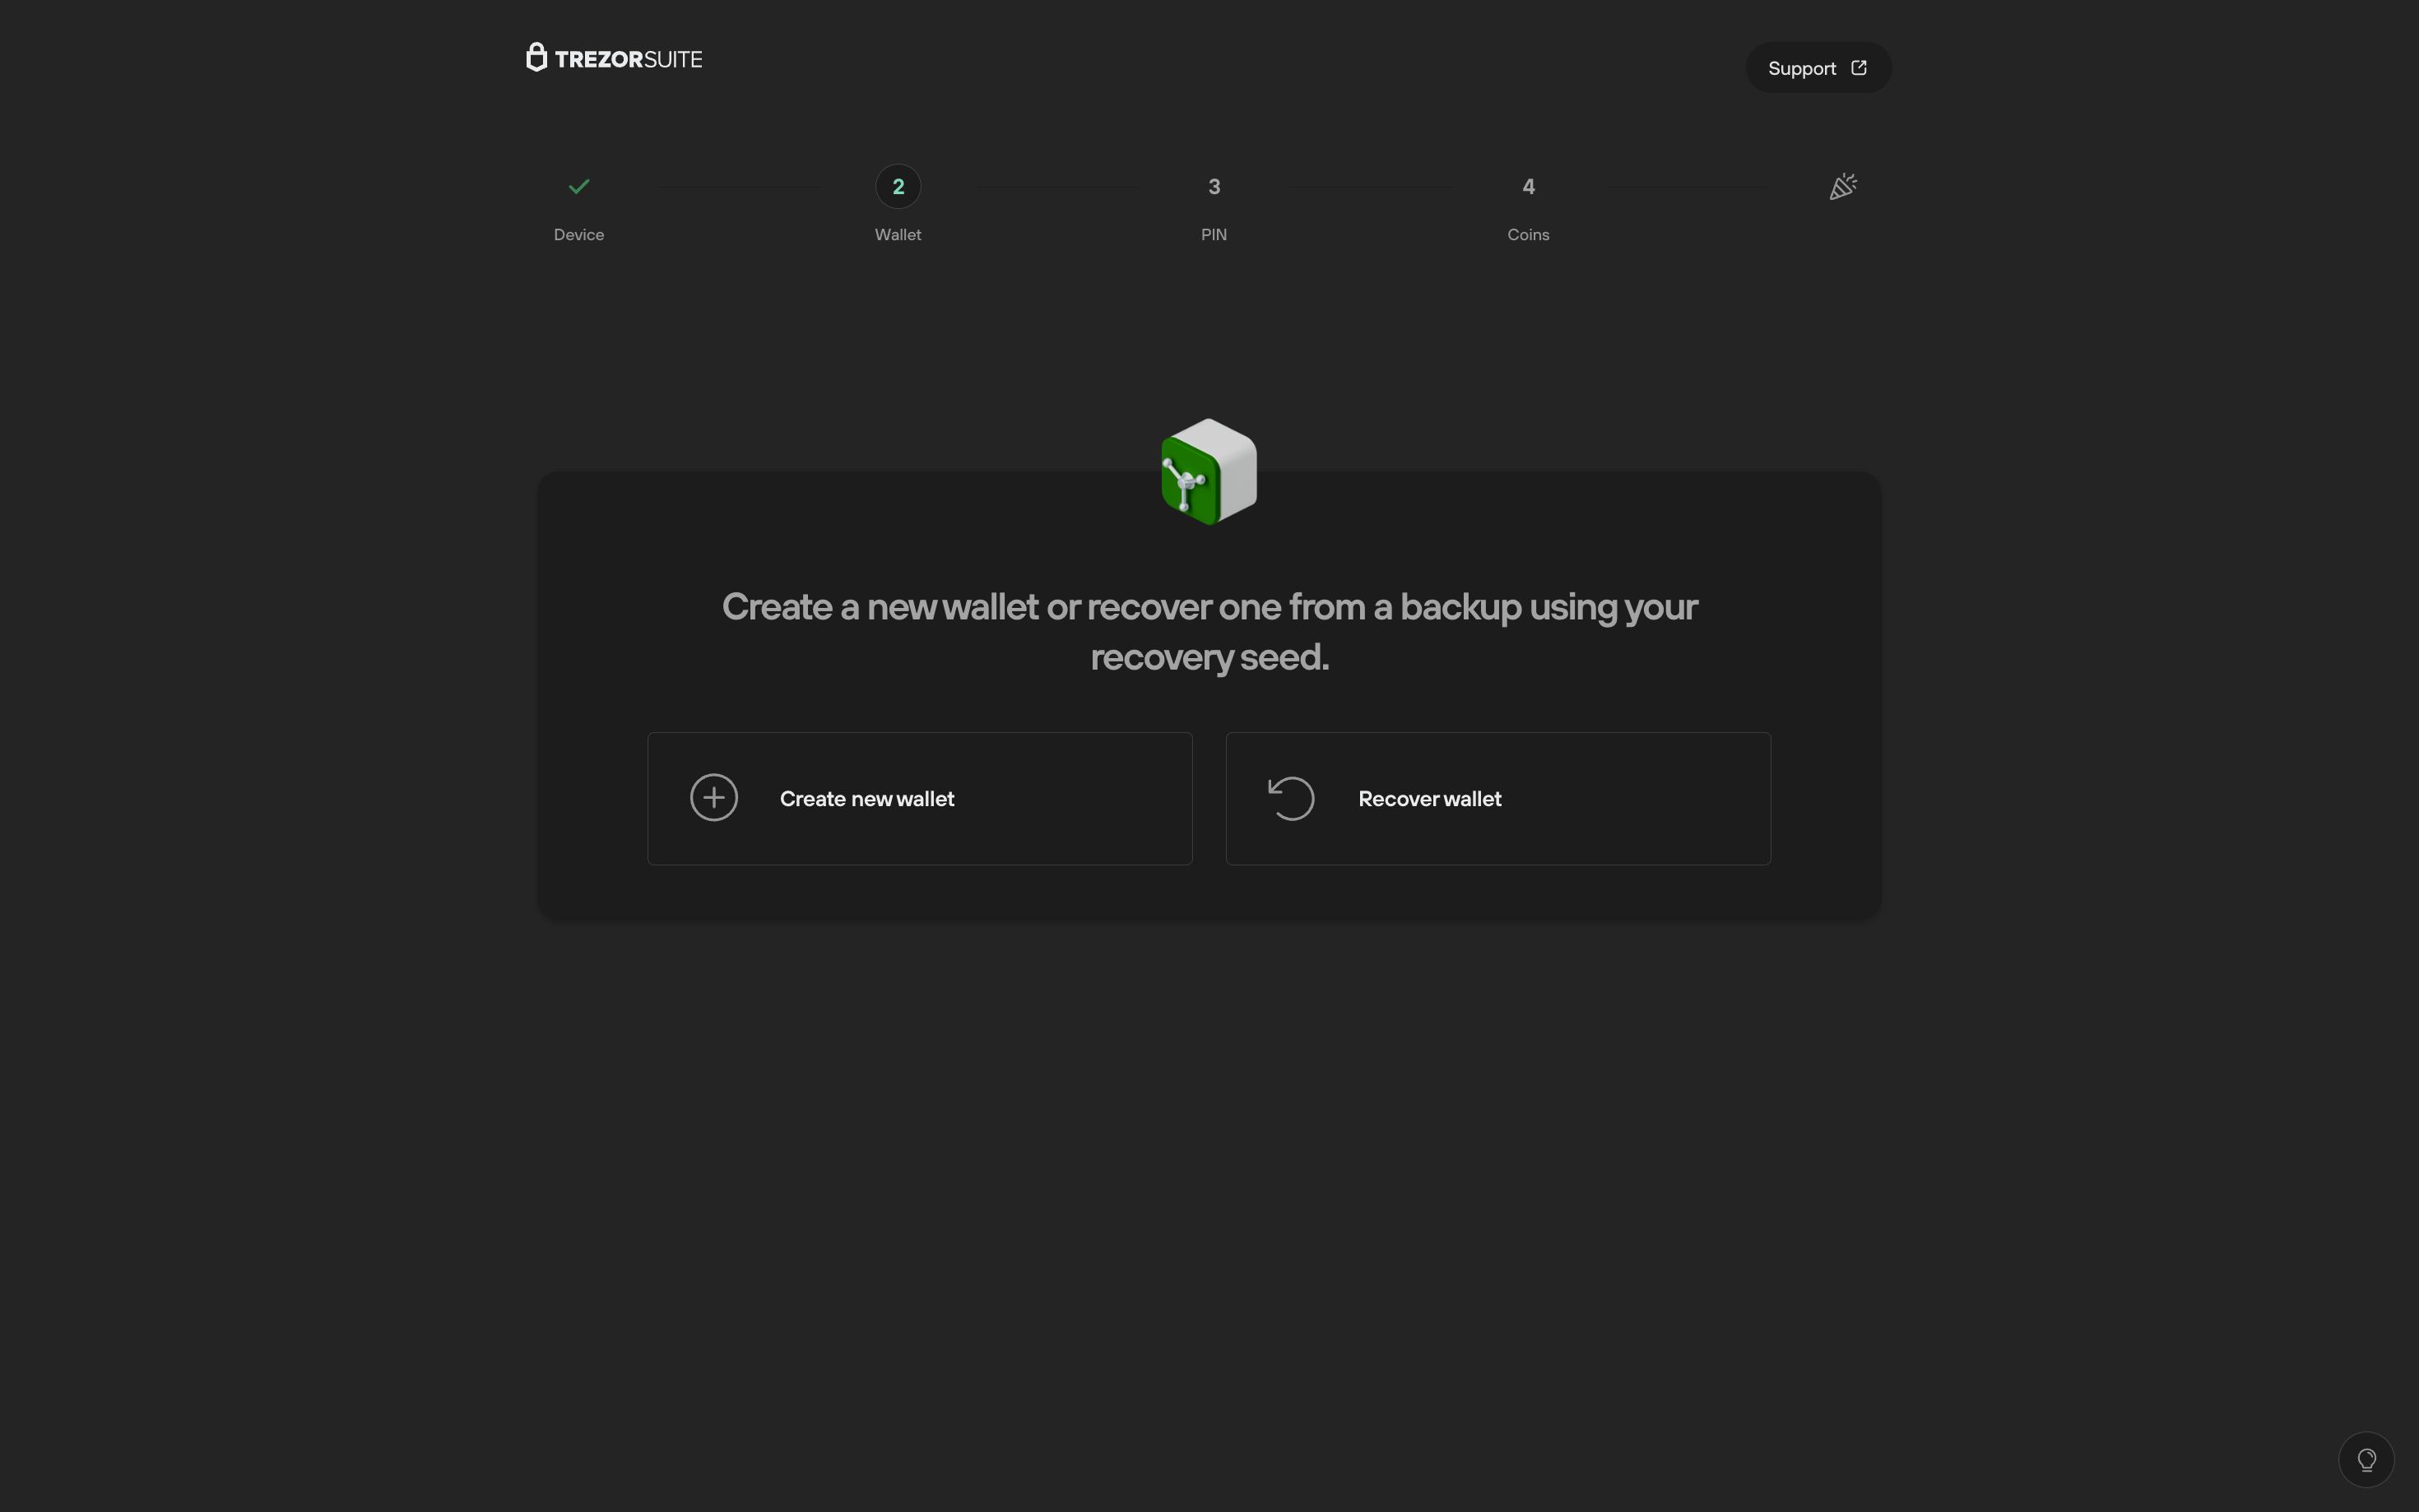
These procedures will mirror the initial setup processes, as detailed above.